EasyManua.ls Logo

Fellowes Jupiter 2 A3 - User Manual

Fellowes Jupiter 2 A3
70 pages
Print Icon
To Next Page IconTo Next Page
Loading...
fellowes.com
1789 Norwood Avenue, Itasca, Illinois 60143-1095 USA 630-893-1600
Ofce Laminator
Auto
Cold
fellowes.com
1789 Norwood Avenue, Itasca, Illinois 60143-1095 USA 630-893-1600
Ofce Laminator
Auto
Cold
406809B_EUR_Jupiter2_v1.2_A5.indd 1 8/15/2013 7:00:02 PM

Other manuals for Fellowes Jupiter 2 A3

Questions and Answers

  • E
    Emily StephensJul 27, 2025
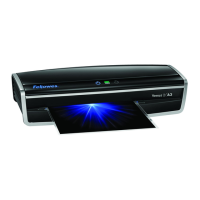
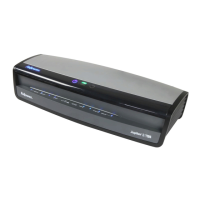
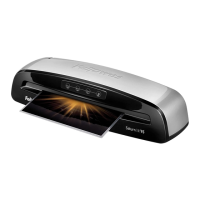
    How to fix a Fellowes Jupiter 2 A3 with no glowing ‘blue’ Power on LED?
    • L
      Lee SparksJul 28, 2025
      If the ‘blue’ Power on LED is not glowing on your Fellowes Laminator, ensure that the machine is switched on at the right rear side and at the wall socket. Also, make sure to press the power standby button.
  • M
    Michael JonesAug 6, 2025
    Why does my Fellowes Jupiter 2 A3 pouch not completely seal the item?
    • S
      spencer07Aug 7, 2025
      If your Fellowes Laminator pouch doesn't completely seal the item, it might be because the item you're trying to laminate is too thick. The maximum document thickness that the laminator can handle is .03 inches. Try passing the pouch through the laminator a second time.
  • J
    Jessica GuerreroAug 16, 2025
    What to do if the pouch is damaged after lamination in Fellowes Jupiter 2 A3?
    • M
      Melody ParksAug 16, 2025
      If the pouch is damaged after lamination in your Fellowes Laminator, it could be due to damaged rollers or adhesive on the rollers. To resolve this, pass cleaning sheets through the machine to test and clean the rollers.

Summary

Laminator Controls Overview

Laminator Capabilities and Specifications

Important Safety Instructions

General Usage Precautions

Instructions for indoor use, stable surface, testing, heat/water sources, power off, unplugging, and pet safety.

Prohibited Actions and Warnings

Warnings against hot surfaces, damaged cords, unauthorized repair, minor use, sharp objects, and empty pouches.

Preparation Before Laminating

Lamination Process Steps

Power On and Ready Indicators

Steps for powering on, checking control panel lights, and standby indicators.

Setting Lamination Type

How to use the Auto (hot)/cold button to select hot or cold lamination.

Pouch Insertion and Cooling

Guide to inserting pouches correctly and handling the hot laminated pouch after exit.

Troubleshooting Common Issues

Storage and Cleaning Guidelines

Product Warranty Information

Fellowes Jupiter 2 A3 Specifications

General IconGeneral
Laminating Speed600mm/min
Maximum Pouch Thickness250 microns
Auto Shut-offYes
Number of Rollers6
Pouch Thickness75-250 microns
Heating Time60 seconds
Warm-up Time60 seconds
Maximum Laminating Width330mm

Related product manuals