Do you have a question about the Fellowes JUPITER A3 and is the answer not in the manual?
Essential safety precautions to prevent electrical shock and damage to the laminator.
Important advisories for proper use, supervision, maintenance, and handling of the laminator.
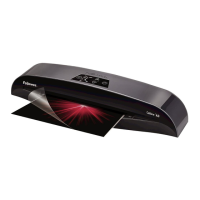
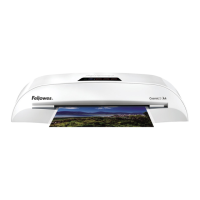
Tips on using correct pouches and positioning the laminator for optimal item feeding.
Connect the laminator to a socket using the separate power cable.
Turn on the laminator using the power button located at the back of the unit.
Press the stand-by button on the front panel to switch the laminator on.
Use navigation keys to select the cold lamination setting.
'Wait' LED indicates temperature adjustment after pressing 'Enter'.
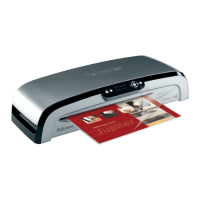
Center item on the clear side of the pouch, against the sealed edge, before insertion.
When 'Wait' LED stops, insert pouch sealed edge first, keeping it straight and centered.
Peel a small part of the protective sheet away from the document for insertion.
Connect the laminator to the socket using the separate power cable.
Turn on the laminator using the power button at the back of the unit.
Press the stand-by button on the front panel to switch the laminator on.
Use navigation keys to select pouch thickness for hot lamination (80-175 micron).
'Wait' LED flashes as the laminator preheats after pressing 'Enter'.
Place item in pouch, center against sealed edge; use carrier sheet for smaller items.
'Wait' LED stops flashing and beeps when the machine is ready for lamination.
Insert pouch sealed edge first, keeping it straight and centered using the edge guide.
Immediately remove laminated item to prevent jamming and let it cool.
Feed an empty cleaning/carrier sheet through to clean the unit before switching off.
Press the 'Open' button; the red light illuminates to indicate readiness.
Fan cools the machine; 'Wait' symbol flashes, cover remains locked until ready.
'Wait' LED turns off and a beep sounds when the machine is ready to be opened.
Press silver buttons on both sides to open; laminator must be switched on.
Open lid with both hands to clean interior and remove residual glue or items.
Experienced users can release rollers by pressing cam levers for maintenance.
Use Fellowes Laminating Roller wipes for cleaning roller residue.
Re-secure the rollers before closing the cover to ensure safe operation.
Cause: Laminator in hot, humid area. Solution: Move to a cool, dry area.
Cause: Item too thick or pouch not centered. Solution: Re-laminate or use correct pouch.
Cause: Item in pouch not straight/centered, or residue on rollers. Solution: Clear jam, re-center, clean rollers.
| Number of Rollers | 6 |
|---|---|
| Auto Shut-Off | Yes |
| Jam Prevention | Yes |
| Cold Lamination | Yes |
| Maximum Pouch Thickness | 250 microns |
| Photo Capable | Yes |
| Carrier Required | No |
| Power Supply | 220-240V |
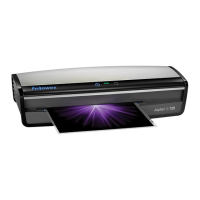
| Maximum Laminating Width | A3 (297mm) |