Connecting Mustang Micro
™
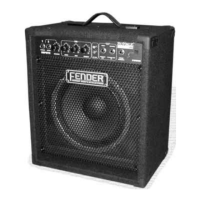
to your guitar couldn’t be easi-
er—simply rotate the 1/4” INPUT PLUG (A) out from the unit and
plug it into the guitar’s input jack (see image at right).
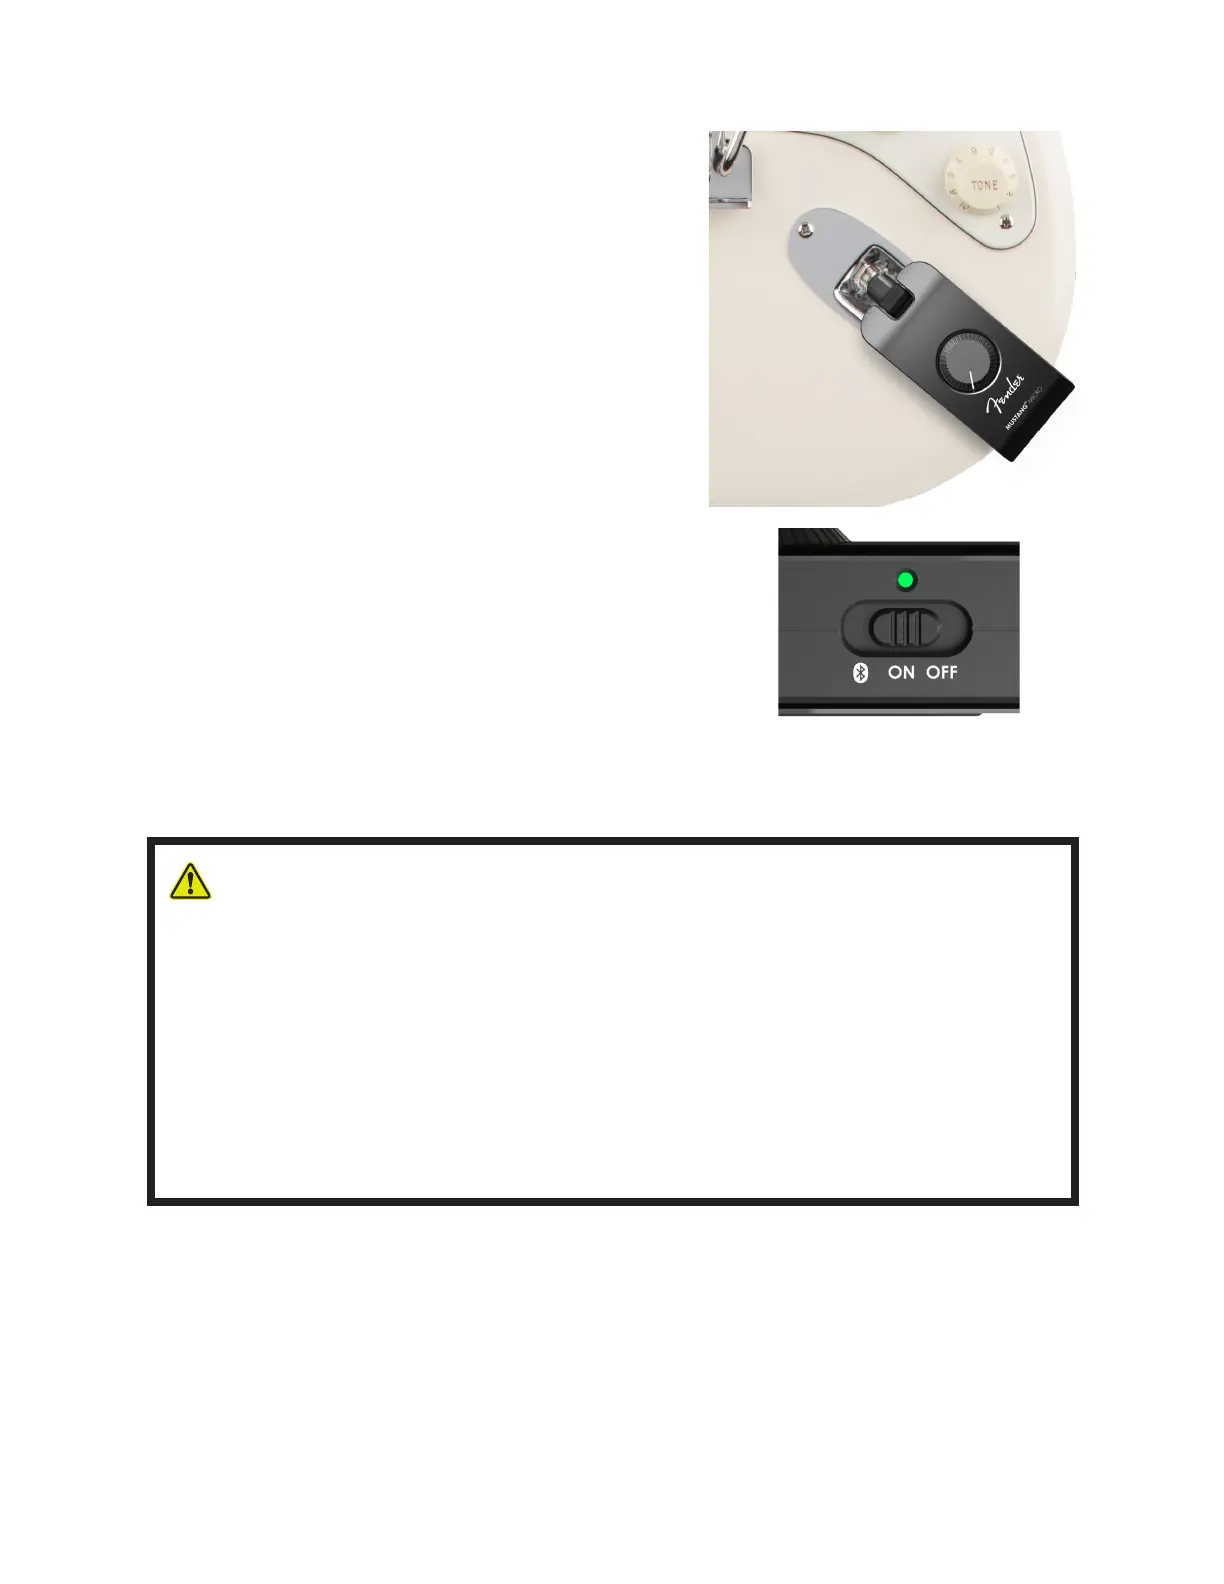
Slide the POWER SWITCH (G) to the center “on” position (see
image at lower right). POWER LED will illuminate green for 10
seconds and then extinguish, indicating that Mustang Micro is
on and charged (dierent LED colors indicate dierent charging
status; see “Charging”, page 7). You’re now ready to choose an
amp, choose an eect and eect parameter setting, adjust vol-
ume and EQ, engage Bluetooth if so desired, and start playing.
If power is on but no instrument input is detected for 15 min-
utes, Mustang Micro will automatically switch to a low-power
“sleep mode”. Press any button to wake up from sleep mode.
CONNECTING TO A GUITAR AND POWERING UP
WARNING: Connecting Mustang Micro to your instrument, disconnecting it or touching the end of
the device’s plug may cause a loud noise. To avoid hearing damage when wearing heaphones/ear
buds, follow these steps to ensure safe operation of your device:
• When connecting/disconnecting Mustang Micro, remove headphones/earbuds, ensure that the
device is turned o, or ensure that the device’s VOLUME control is set to zero.
• Turn the device ON with VOLUME set to zero, then gradually adjust VOLUME to reach a comfortable
listening level.
When wearing headphones/earbuds, connecting/disconnecting Mustang Micro or touching its
exposed plug while unit is on and MASTER VOLUME is up is similar to plugging an instrument cable
into a live amplier with volume up or to touching the exposed end of a live instrument cable.
3