8
EN
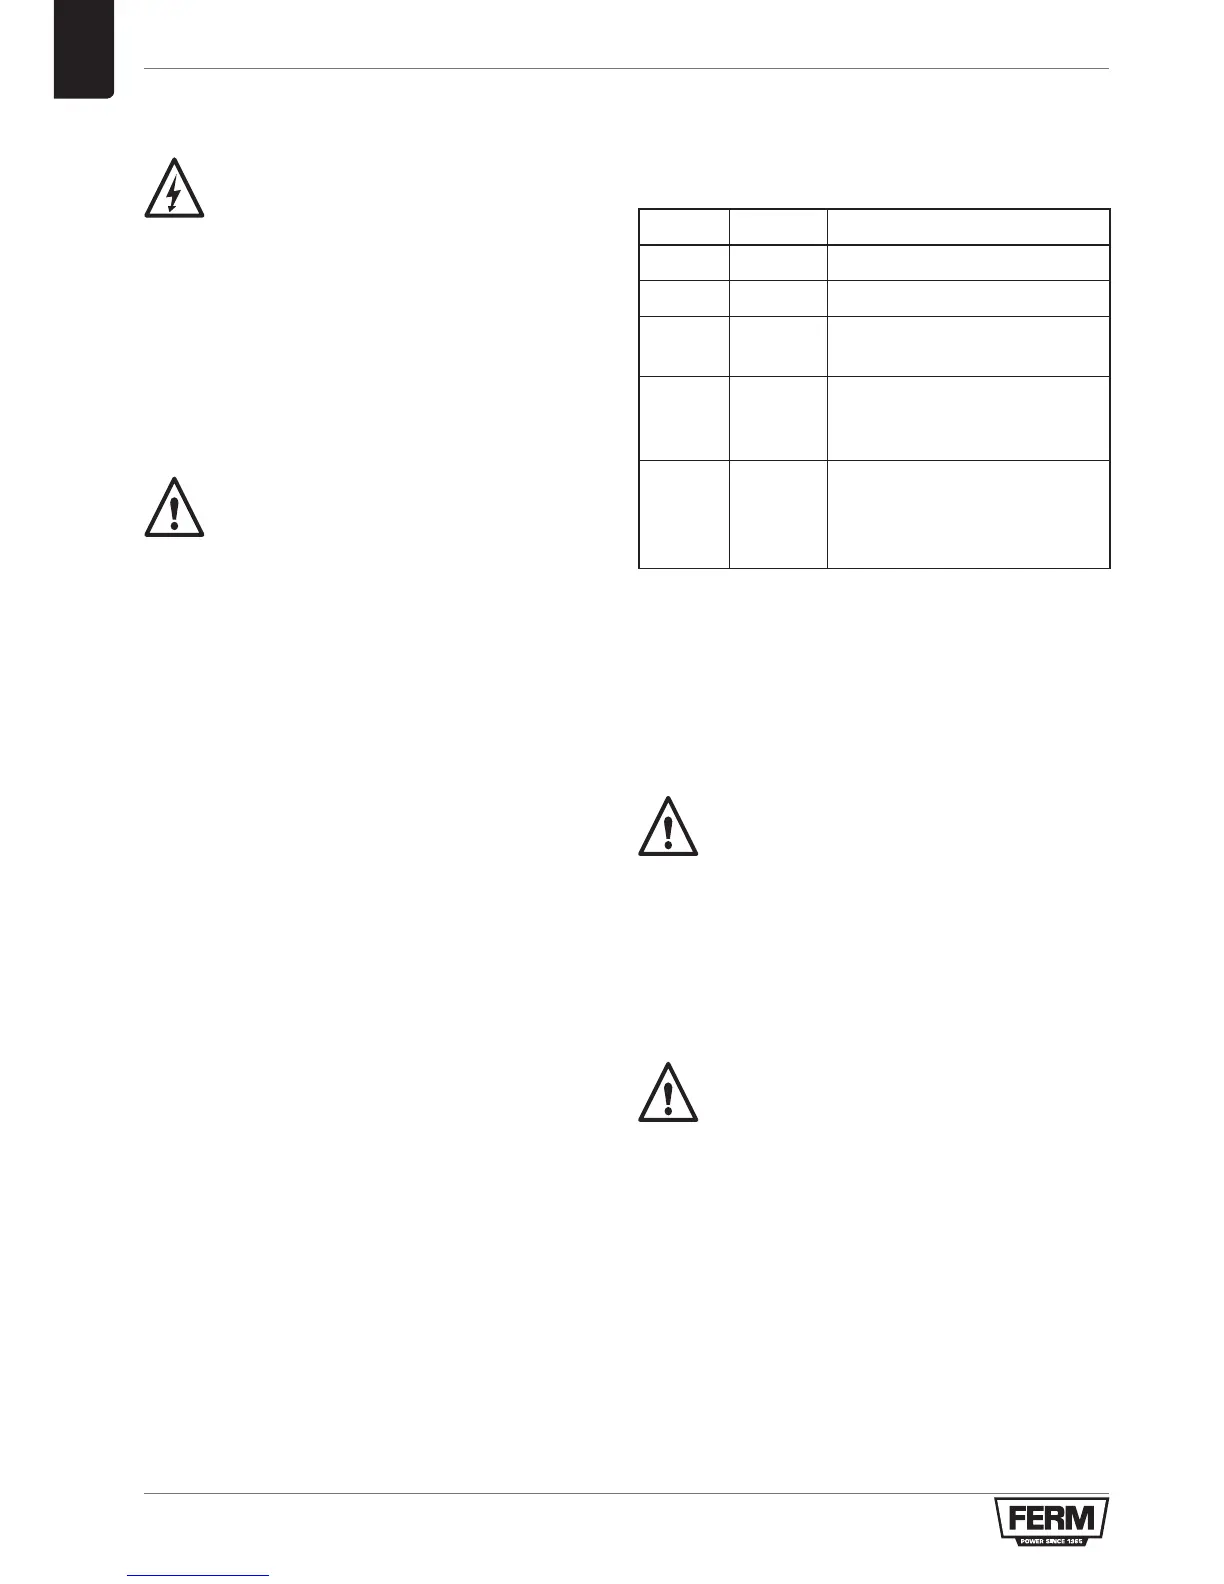
Inserting the battery into the machine
Fig. B
Ensure that the exterior of the battery is
clean and dry before connecting to the
charger or machine.
• Holdthemachine(1)firmlywithonehand
• Insertthebattery(2)intothebaseofthe
machine as shown in Fig. B.
• Pushthebatteryfurtherforwarduntilitclicks
into place.
Checking the battery charging status
Fig. C
The included battery is delivered in partly
charged condition.
• Tocheckthebatterychargestatus,firstinsert
the battery into the machine.
• ShortlypushtheOn/Offswitch(10)toactivate
thechargeindication(4)
• Thechargeindication(4)has3lightsindicating
the charge level, the more lights that burn, the
more charge the battery has left.
• WhenoneofthelightsisburningREDitmeans
the battery is empty and must be charged
immediately.
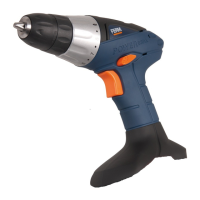
Charging the battery (with the charger)
Fig. D
• Takethebattery(2)fromthemachine
• Turnthebattery(2)toupsidedownpositionand
pushitintothecharger(5)asshowninFig.D.
• Pushthebatteryuntilitisfullypushedintothe
slot.
• Plugthechargerplugintoanelectricaloutlet
and wait for a while. The LED indicator on
thecharger(6)willlightenupandshowthe
charger status.
LED indicator (6)
Fig.D
Thechargerhas1LEDindicator(6)which
indicates the status of the charging process:
LED color LED status Charger status
Off Off No power or no battery is inserted
Green Blinking Battery charging in progress
Green On
Battery charging finished, battery
fully charged
Red Blinking
The battery is not inserted correctly
into the charger or, the battery is
defective and needs to be replaced
Red On
Battery is too hot, charging
progress is on hold. Charging will
start automatically after the battery
has cooled down.
• Fullychargingthe1.3Ahbatterymaytakeup
to 45 minutes.
• Afterthebatteryisfullychargedremovethe
charger plug from the outlet and remove the
battery from the charger.
• Thebatterycanbestoredordirectlyinstalled
on the machine.
Lithium-Ion cells can be stored for a long
period without losing much of their
charge. When the machine is not being
used over a longer period of time it is
best to store the battery in charged
condition.
Fitting and removing drills or screwdriver bits
Fig. E
Always remove the battery before
mounting an accessory.
Thedrillchuck(7)issuitablefordrillsand
screwdriver bits with round shaft as well as
hexagonal shaft.
• Holdthemachinefirmlywithonehand
• Openthedrillchuck(7)byrotatingthechuck
with your other hand in clockwise direction
until it is opened far enough for the bit to slide
in.
• Inserttheshaftofthedrillorscrewdriverbit
• Tightenthedrillchuckagainbyfirmlyrotating
thechuck(7)counterclockwise.