© Ferno-Washington, Inc. / March 2016 / 234-3621-00
19
18
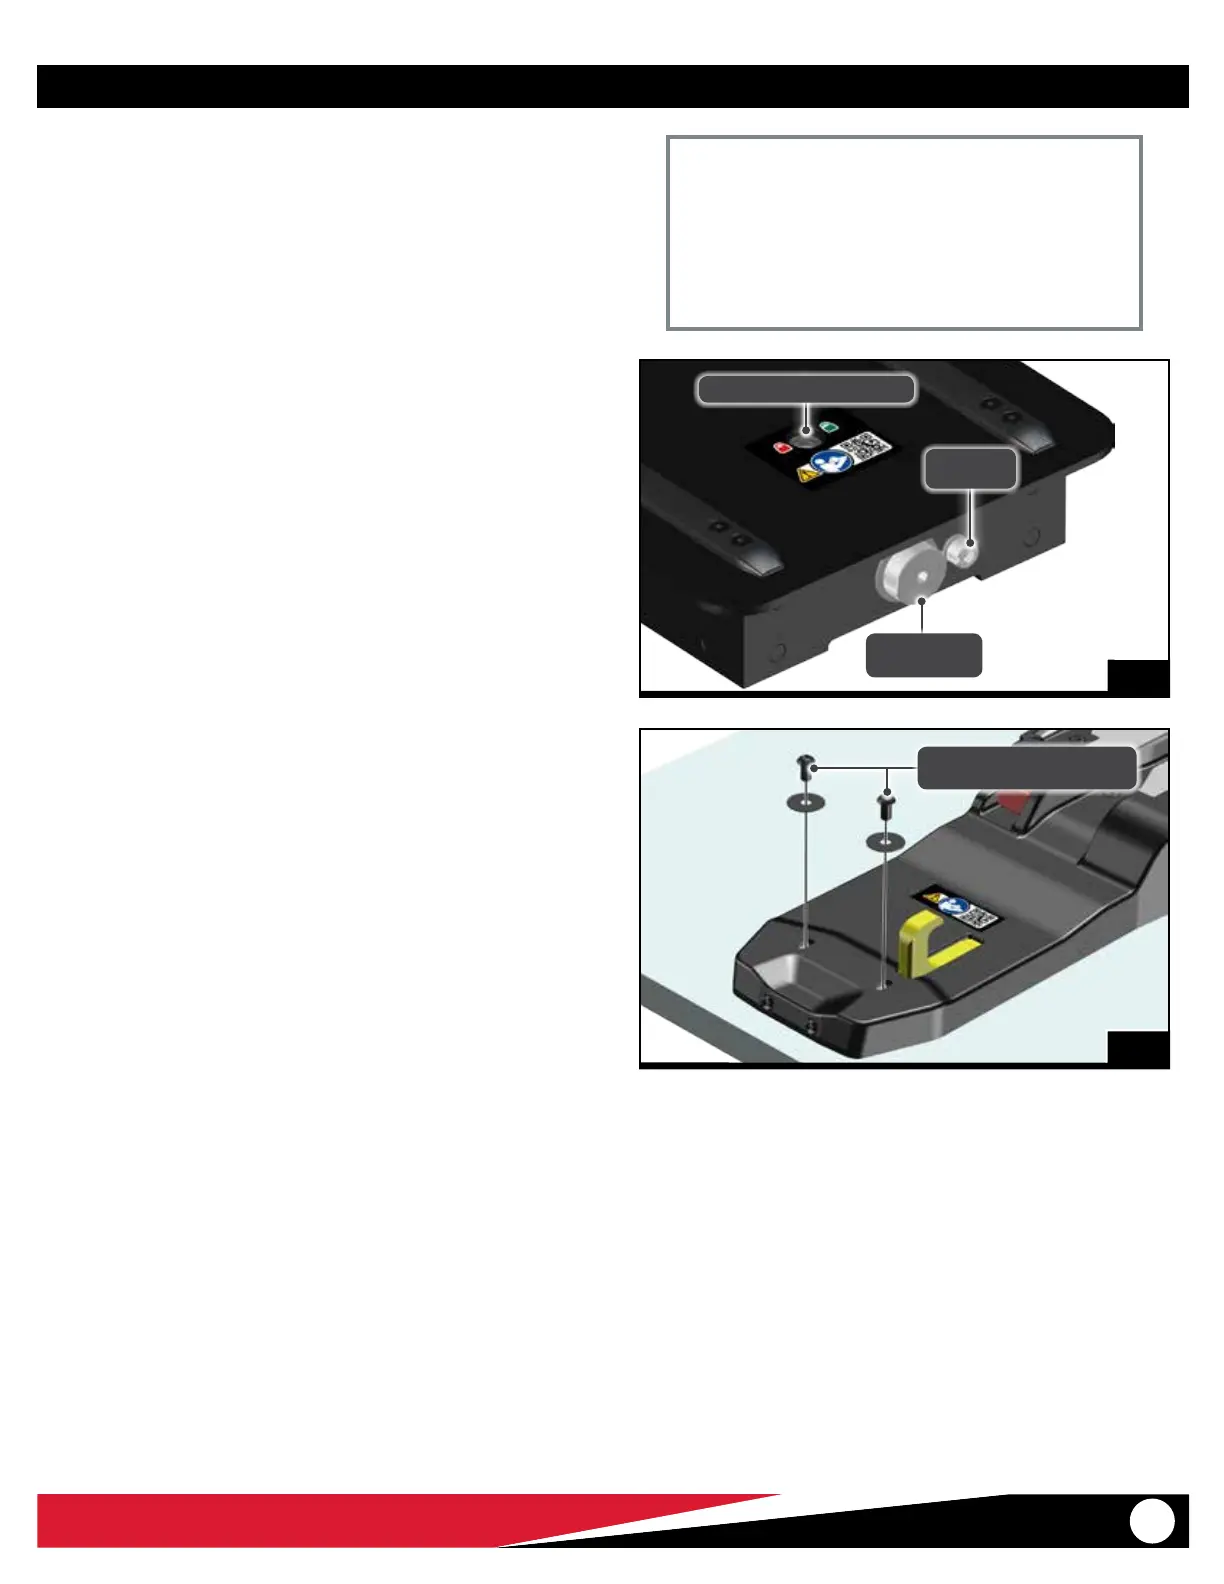
Fastening Bolt
M6 Wrench
Set Screw
M6 Wrench
Floor Lock Indicator Window
7. Use an M6 Allen wrench to tighten the fastening bolt (Figure
18). Verify the floor lock indicator window changes from green
(unlocked) to fully red (locked). See “Floor Lock Indicator
Window” on page 13.
8. Use an M6 Allen wrench to tighten the set screw (Figure 18).
Tighten until snug.
9. Clean and prepare the two M4 nose screws as follows:
○ Clean the threads of the screws, plus the mating threads of the
safety-hook mounting block with acetone or an appropriate
Loctite® cleaner/primer (not supplied). Allow the threads to dry
completely.
○ Apply 1 drop of threadlocker (Blue Loctite® 242®) to the threads
of the screws. Install the screws immediately. Wipe of any excess
threadlocker.
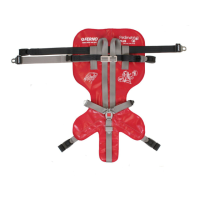
10. Use and M4 Allen wrench to attach the two nose screws (Figure
19). Tighten until snug. Do not overtighten.
19
Nose Screw (2) and Washer (2)
M4 Wrench
Maintenance
Important
When tightening the fastening bolt, the bolt should be
able to rotate at least 12 complete 360° rotations. If the bolt
stops prior to this, or if any green shows in the window, the
fastening bolt is not tight enough. Remove and reposition
the fastening system and verify it is properly engaged with
the oor posts.