10
4、After the exercise, the score of the whole hitting exercise will be displayed, with 0- 100 points to
evaluate the accuracy of the current exercise. 2
5、Press the < Select > key in the C-1 mode to enter the parameter setting interface. You can adjust the
number of practice sections in the practice mode as required The number of sections to practice
determines the length of this exercise.
6、Press the < Select > key in the C-2 mode to enter the parameter setting interface. You can adjust the
number of practice sections in the practice mode as required The number of sections to practice
determines the length of this exercise.
7、Press the < Select > key in C-3 mode to enter the parameter setting interface. You can adjust the
variables of the current bpm. The variables are changed each time Speed value.
8、During the practice, you can press the < click > key again to stop the practice.
5
SONG MODE
(It's too slow)
(It's too fast)
(very good)
2、Press the < Song > button to enter the song mode. When the indicator light jumps to the left with four
"song" buttons, the screen displays 01 (song number).
3、Turn the data wheel or press the < + > < - > button to select the song to play.
4、Press the < Select > key in the song mode, and the screen will jump to enter the song parameter
setting interface. The drum sound of the Etude can be turned off by default On: select on / off by turning
the data wheel or pressing the < + > < - > button.
5、After parameter adjustment, press the < Select > key to confirm and exit the parameter interface.
1、Press the < > key to start playing songs, and press the < > key again to temporarily stop playing.
1、Press < kit >, the indicator light jumps to the left "kit" button. When the screen jumps to 01
(drum group number), press < Select > to enter Drum parameter adjustment mode.
2、Tap the drum disc you want to adjust, and then press the< + > < - > button to select the sensitivity option
you want to adjust: S03 (surface sensitity)T05 (trigger threshold), C05 (crosstalk threshold),
R05 (repeated trigger), V01 (drum force curve), L25 (drum volume)
3、Change the parameters by rotating the data wheel, long press the < - > key, the screen displays sav,
and these parameters are saved successfully.
● All drum settings of this product are factory settings, which have been corresponding to the audio of the
module.it is unnecessary to change the drum parameters in case there is a drum or cymbal insensitive,
triggered for many times, or cascaded. If other drums are insensitive, triggered many times, crosstalk, etc.
after adjustment, you can press and hold press < + > to restore the factory settings.
1、Press and hold < - > key, sav will be displayed on the screen and saved successfully.
2、Press and hold the < + > key, the screen displays res, the reset is successful, and the factory setting
is restored.
1、Use the USB-b data cable to plug in the USB interface and connect it to the PC.
2、Select the MIDI device.
6
DRUM PARAMETERS
7
RECORDING FUNCTION
8
SAVE / RESET
1、Press the < rec > button when the indicator light is in "kit" and "click" status, and the screen displays the
word "REC" in respiratory flashing status,Enter the recording preparation state.
2、Tap any drum and the metronome sounds. At this time, the screen displays "--" in breathing flashing state
and starts recording.
3、Press the < rec> key or < play > key again, the recording stops and 'A-1" is displayed on the screen.
4、Press < > to start playing the current recording, and press again to stop playback.
5、If you enter the recording preparation state again without any hitting, the "A-1" recorded last time is played
back.
9
USBMIDI
2、At this time, press the < click > key, the metronome sounds, and starts to hit the drum for practice.
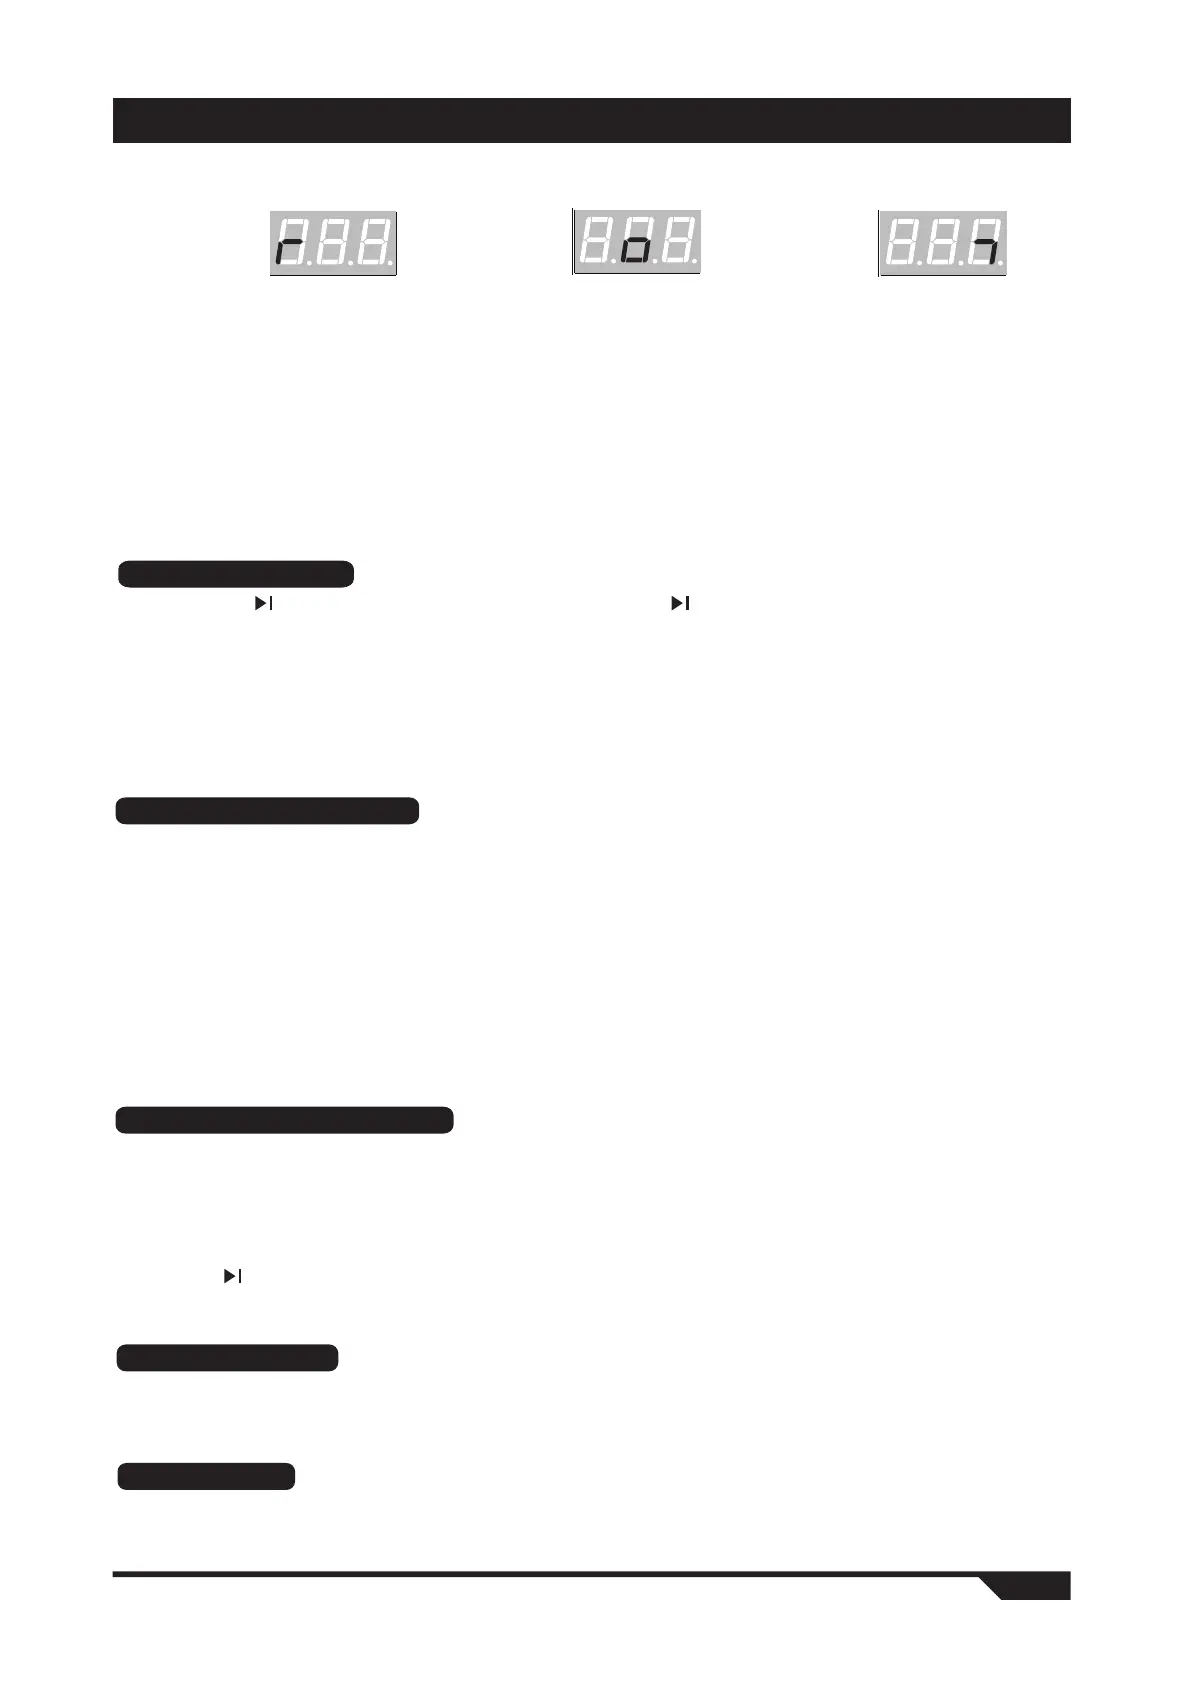
3、After four preliminary beats, the display will show.
OPERATION GUIDE