Page 2
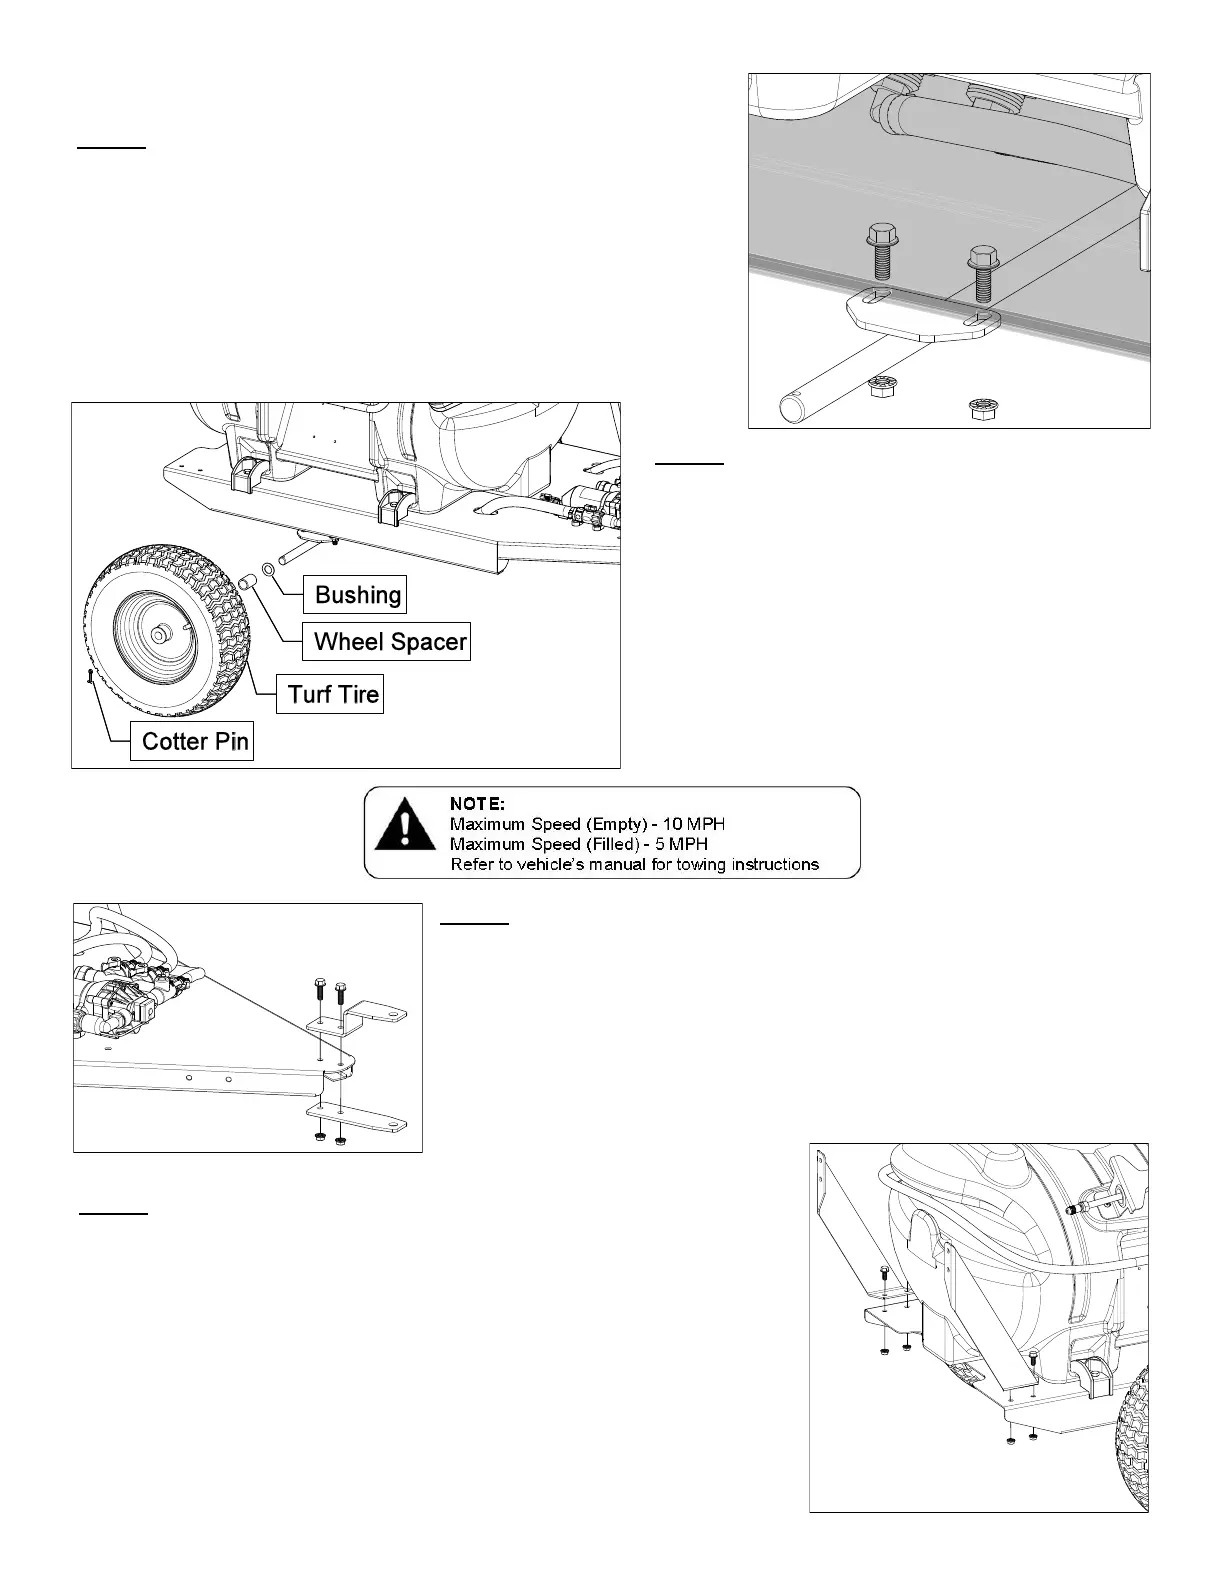
Locate the (2) wheels, (2) machine bushings, (2) wheel
spacers and (2) cotter pins from the carton.
Slide the machine bushing, and wheel spacer on to the
axle. Slide the wheel on to the axle, making sure the
valve stem is facing outward.
Retain the wheel on the axle with the cotter pin. Place
the pins through the holes at the end of the axle.
Repeat for opposite side.
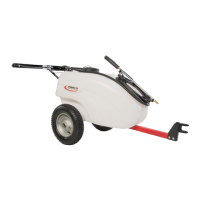
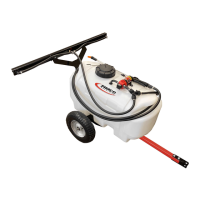
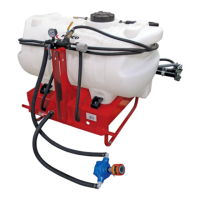
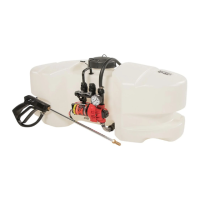
Your tank comes mostly pre-assembled from the factory,
To assemble the axle weldment to the frame: locate the
(4) 3/8”-16 x 1” flanged bolts, (4) 3/8-”16 flanged whiz
nuts and the axle weldment.
Secure the axle weldment to the frame. Tighten bolts and
nuts.
Left Hand (LH) and Right Hand (RH) sides of the sprayer are determined as if
you are standing behind the sprayer, looking at it (facing forward)
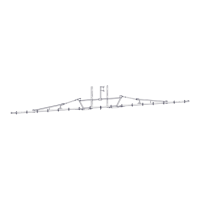
Mount the (LH) and (RH) boom mounts to the back of the frame (If not already
done).
Locate both the (LH) & (RH) boom mounts, (4) 5/16”-18 x 3/4” bolt and
(4) 5/16”-18 flanged whiz nuts.
Attach the boom mounts to the frame. Make sure the brackets are parallel with
each other before tightening down the bolts.
Step 1
Assembly Procedure (TR-40-EX)
Step 2
Step 4
Remove the hitch brackets, both at and formed from the
parts bag. The at one is to be placed under the frame and the formed one gets
placed on top of the frame.
Bolt them together, ‘sandwiching’ the frame between both of the brackets.
Use the (2) 5/16”-18 x 1” bolts and (2) 5/16”-18 hex whiz nuts.
Step 3