Release the ON OFF pushbutton to initialize this Meter.
Replace the battery before using this Meter when the
battery test gives a reading of only a few hours or when the
low-battery indicator is displayed on the digital display.
If this Meter dose not turn ON, the battery is mis
s
i
ng or
worn out. To replace the battery, see 5.1 Battery
Replacement.
This Meter shuts OFF after 10 minutes if no pushbutton is
pressed, even if it is making a measurement. To disab
l
e
the auto power off, press the ON OFF pushbutton (
is displayed), when
i
f you pres
s
the ON OFF pushbutton
again, the Meter turns OFF.
When you want to use this Meter in manual range, press
the RANGE pushbutton, than this Meter is in manual
range. Press RANGE pushbutton for 2 seconds to return to
Autoranging mode.
5.4 Measuring AC Amperes
When this meter ha
s
been powered up, it defaults in the AC
amperes mode with 250-ms mea-surement intervals (AC
d
i
s
played) and auto-ranging mode (AUTO displayed), which
auto-matical
l
y selects the proper range for both the bar
scale and the digital d
i
s
play. Press the RANGE pushbutton
to select a fixed scale instead of autoranging. Obser
v
e that
each press alternates between the 40A and 400A scales
and AUTO is no longer d
i
s
played. When the reading is
beyond the limits of the digita
l
display, for example, 40A on
a 40A scale, OFL appears on the digita
l
display.
Press the RANGE pushbutton for 2 seconds and than
release in order to return to autoranging mode. This Meter
acknowledges with a beep sound and displays AUTO.
1110
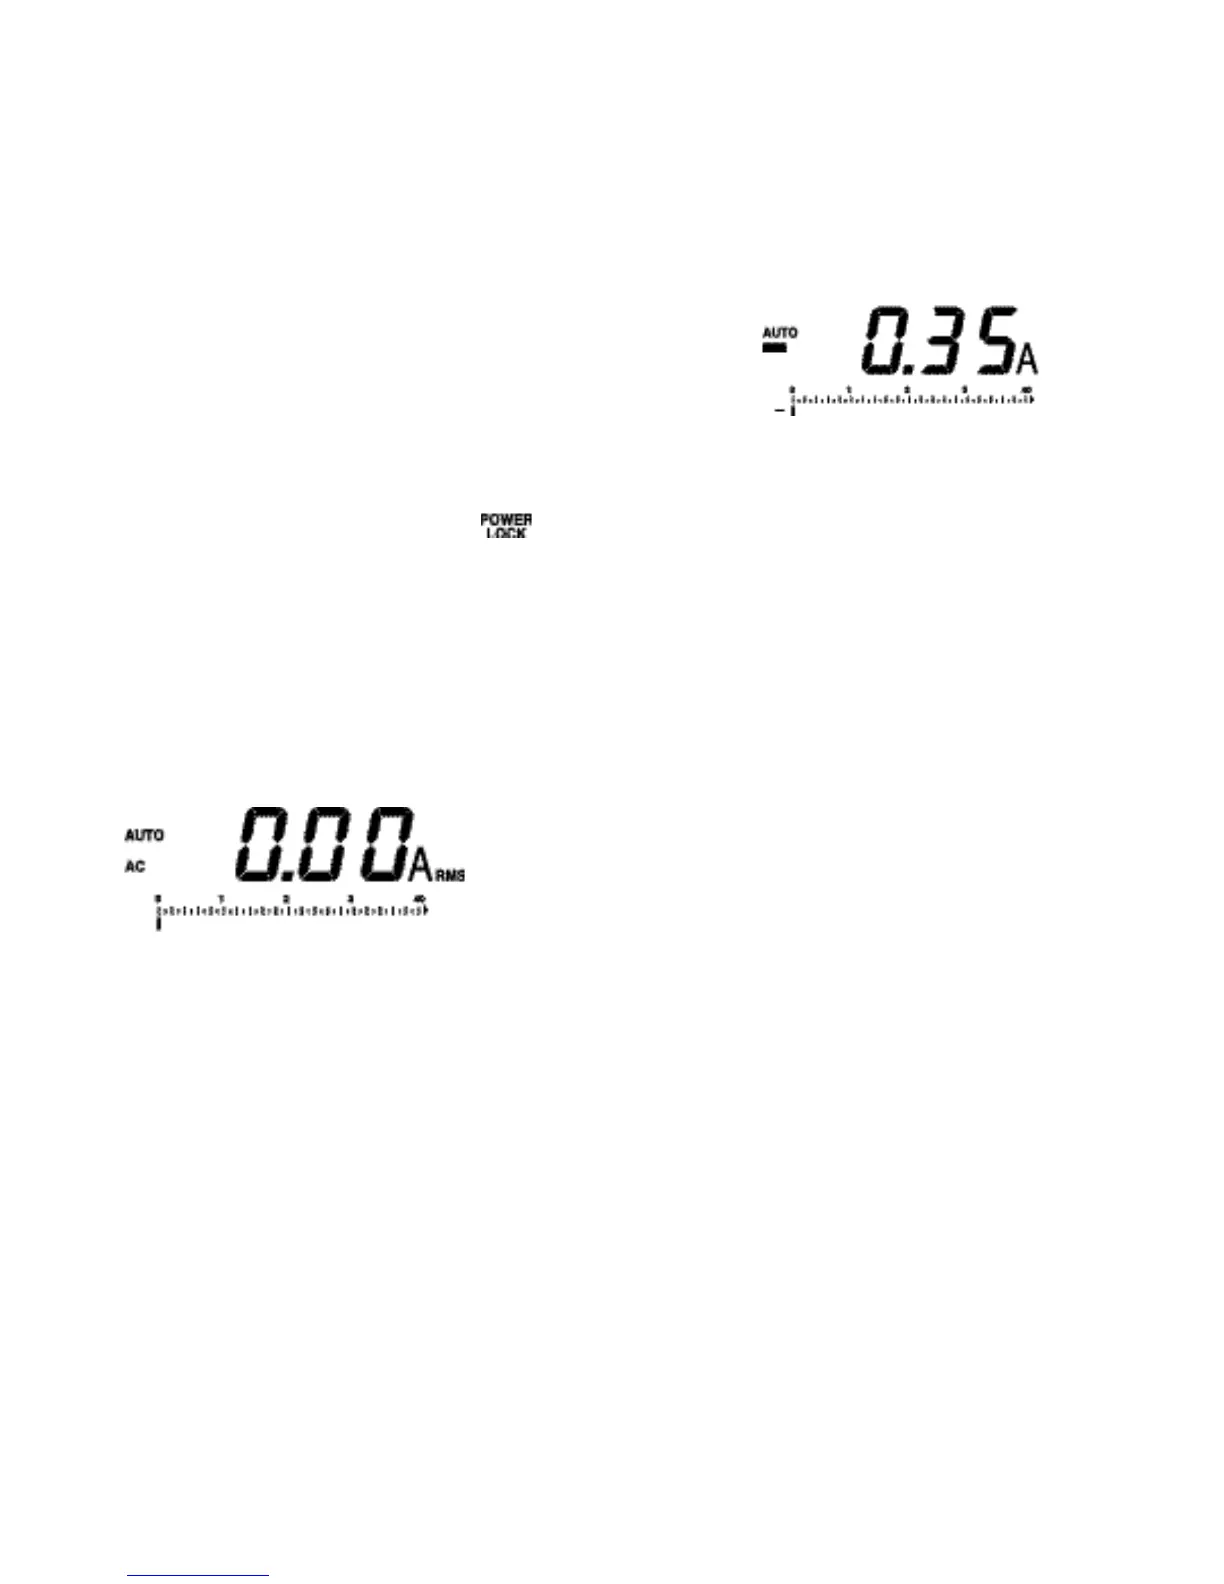
5.5 Measuring DC Amperes
Press the A
C
DC pushbutton to select the DC ampere
s
measurement mode (AC disappeared on the LCD), but the
meter is
s
ti
l
l
i
n the autoranging mode (AUTO displayed),
unless you press the RANGE pushbutton to enter into the
manual ranging mode.
When the DC amperes measurement mode is entered, the
display reads a non-Zero DC ampere
s
(positive or
negative) value due to the presence of the Earth’s
Magnetism. This value is variable according to the location
measuring DC amperes.
Zero Adjustment by the Microprocessor
To initiate the Zero Adjustment procedure, press the HOLD
pushbutton for 2 second. Then, the meter beeps and the
display reads Zero
j
ust after the microprocessor
memorized the right preceding disp
l
ay value that is used
for calculating the exact DC amperes measurement value
when measuring the DC amperes of a current-
c
arrying
conductor.
When measuring the DC amperes of a current-carrying
conductor, the DC amperes value has a posit
i
ve or
negative polarity according to the direction of current-
carrying. This va
l
ue is positive when the current flows
through the conductor in the forward-moving direction of a
right-hand threaded
s
crew. And it is negative when the
currents flows through the conductor in the backward-
moving direction of a right-hand threaded screw.
 Loading...