10
UNPACKING AND HANDLING
CAUTION:
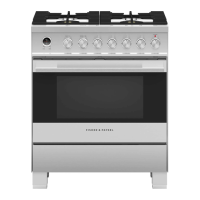
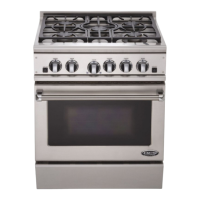
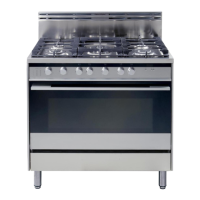
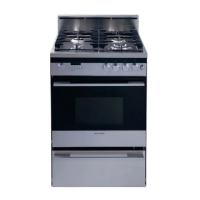
Proper equipment and adequate manpower must be used in moving the range
to avoid damage to the unit or the floor. The unit is heavy and rests on
adjustable steel legs.
WARNING:
DO NOT lift range by the oven door handles or drip pan handle!!
WARNING:
DO NOT remove the grill or griddle assemblies!!
It may be necessary to remove the oven doors and
knobs to pass through some doorways. With the
doors and knobs removed, a 29-1/16” (RGS-36/48) or
29-3/8” (RGS-305) wide opening is required. Without
removing the door, a 31-1/2” (RGS-36/48) or 30”
(RGS-305) wide opening is required. Remove the
outer carton and packing material from the shipping
base.
Remove the kick panel by removing two screws at
the top and pulling forward. The range is held to the
skid by two bolts in the front behind the kick panel,
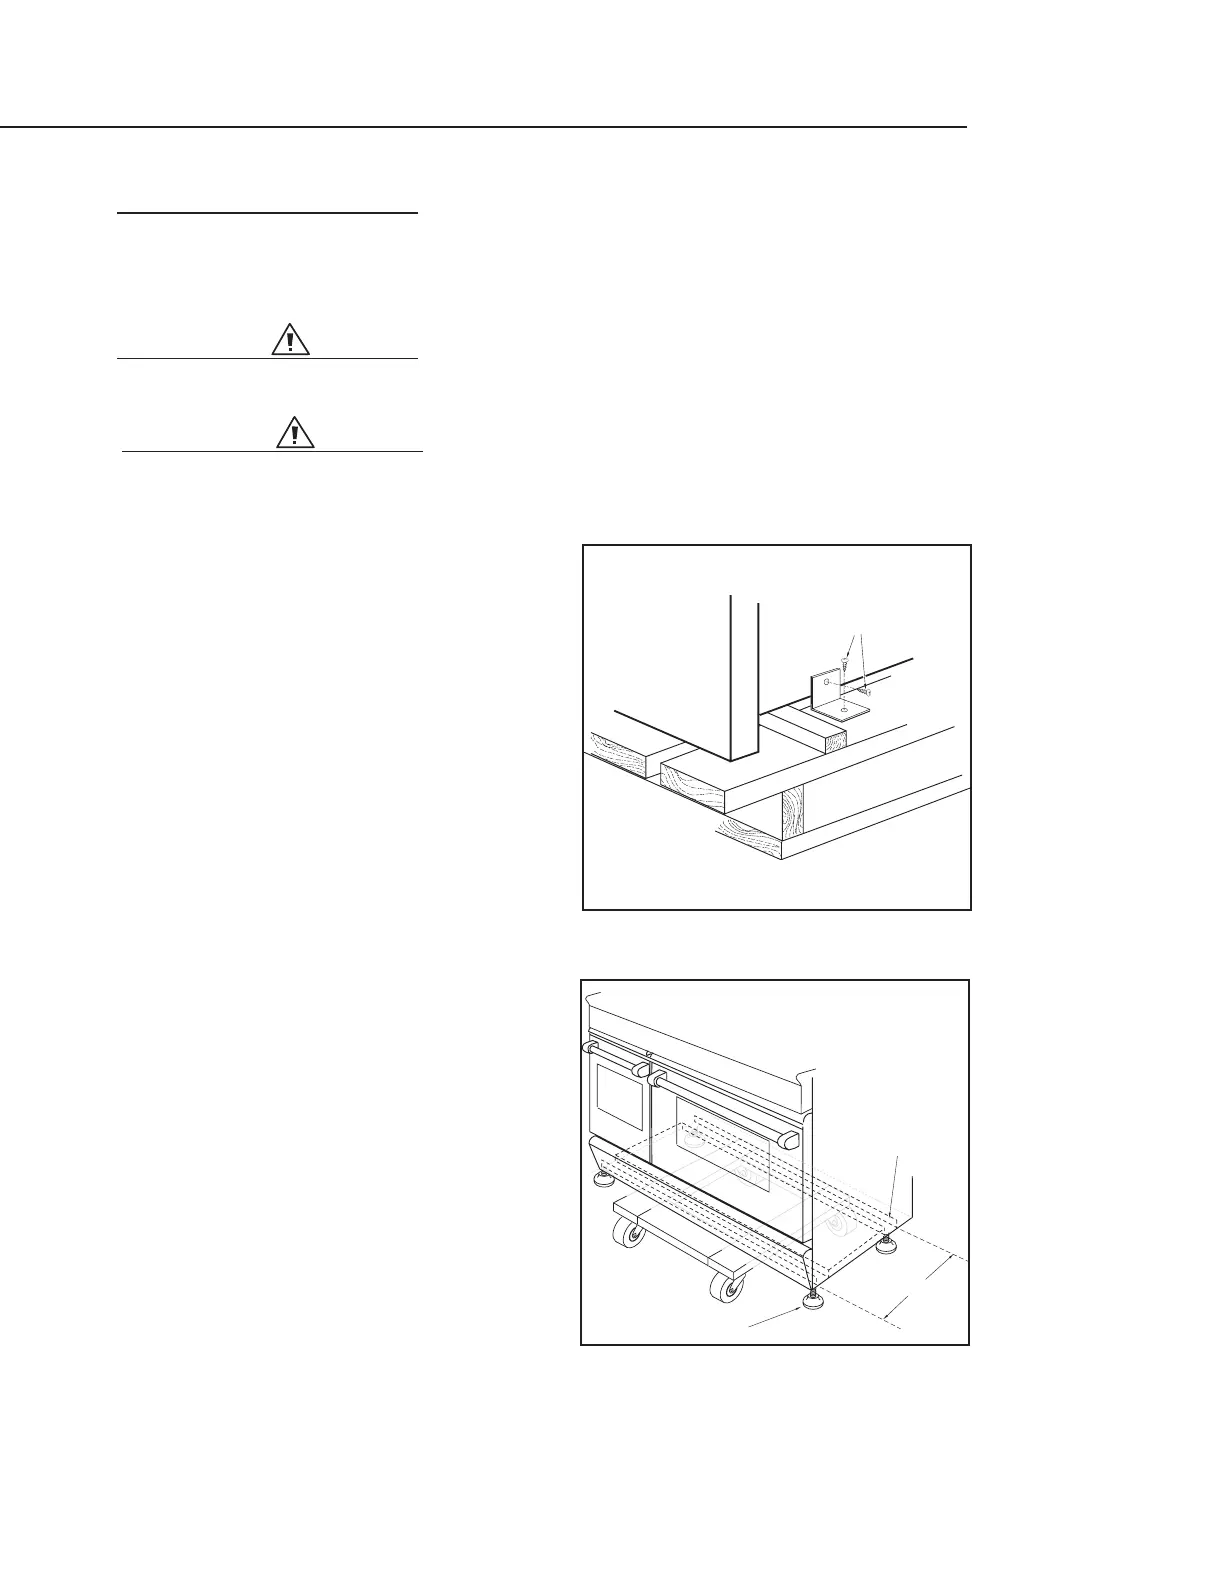
(fig. 2 pg. 6) and two L-brackets located on the
bottom flange of the range back (fig. 3). After
removing the bolts and brackets, the range must be
lifted and removed from the skid.
Due to the weight,a dolly with soft wheels should be
used to move this unit. The weight must be
supported, uniformly across the bottom (fig. 4). To
remove the door, open the door and hold it all the
way open. Move both hinge latches to the locked
position (both top and bottom must be hooked
together) (fig. 5 pg. 8) and release the door. The door
can then be removed by gently lifting and pulling
the door, with the hinges up and out of the frame
(fig.6).
Anti-tip device should be installed (see page 10 for
instructions). Electric and gas connections should be
made (see page 10, 14 & 15) before the range is slid
into the cabinet opening.If installing a full backguard
with the range it should also be installed before the
range is placed in its final position (refer to page 5)
for proper performance, the professional range
should be level. To achieve a flush fit of the range to adjoining countertops,it will be necessary to have
level cabinets (front to back, and left to right across opening of the range).

 Loading...