Do you have a question about the Fisher & Paykel DE5060M1 and is the answer not in the manual?
Lists items included with the dryer, found inside the drum.
Instructions for removing packaging and preparing the dryer for use.
Specifies suitable and unsuitable placement for the dryer.
Importance of proper ventilation for safety and efficiency.
Dryer designed for external venting for advantages.
Front venting as the only option for internal venting.
Instructions for positioning the dryer on the floor.
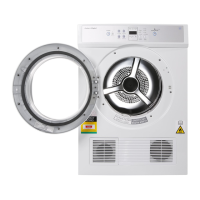
Instructions for inverting and mounting the dryer on a wall.
Detailed steps for securing the dryer to the wall using brackets.
Specifies voltage, frequency, and amperage for the electrical supply.
Guidelines for handling and checking the power cord.
Steps to run a test cycle to ensure proper installation and function.
Items to verify before starting normal dryer operation.
Details on dryer capacity, width, depth, and height.
Information on voltage, frequency, amperage, and power rating.
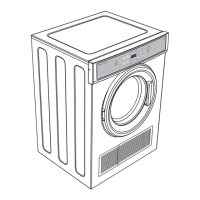
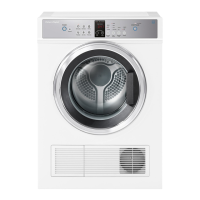
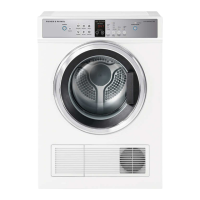
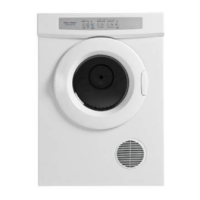
This document provides installation instructions and specifications for Fisher & Paykel vented dryers, including models DE7060M, DE5060M, and DE4060M.
The Fisher & Paykel vented dryer is designed to dry laundry by circulating heated air through a rotating drum. It offers various installation options, including freestanding, inverted wall-mounted, and different external and internal venting configurations. The dryer is equipped with a control panel for selecting drying cycles and settings.
Capacity:
Dimensions:
Electrical:
Venting System Requirements:
Installation Options: The dryer can be positioned in two main ways:
Venting Options:
Installation Test Cycle: A test cycle must be completed before normal use to ensure correct installation and proper functioning.
Packaging Removal:
Electrical Connection Safety:
Lint Filter:
General Maintenance Note:
| Brand | Fisher & Paykel |
|---|---|
| Model | DE5060M1 |
| Category | Dryer |
| Language | English |