MR95 Series
13
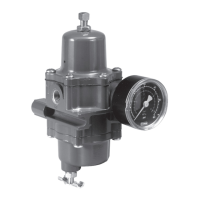
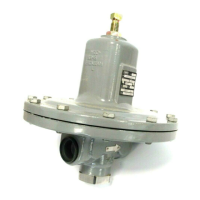
Types MR95L, MR95H, MR95HP
and MR95HT
Key numbers are referenced in Figure 6, 8 or 9.
1. Loosen the jam nut (key 17).
2. Turn the adjusting screw (key 15) clockwise to
increase outlet pressure or counterclockwise to
decrease it.
3. Monitor the outlet pressure with a test gauge
during the adjustment.
4. Tighten the jam nut (key 17) to maintain the
desired setting.
Types MR95LD and MR95HD
Key numbers are referenced in Figure 7 or 10.
1. Turn handwheel (key 38) clockwise to increase
outlet pressure or counterclockwise to decrease it.
2. Monitor the outlet pressure with a test gauge
during the adjustment.
Shutdown
1. Close the upstream block valve to the regulator inlet.
2. Close the downstream block valve to the
regulator outlet.
3. Vent the downstream pressure by slowly opening
the bleed valve between the regulator and the
downstream shutoff valve. Without changing
regulator spring adjustment, all pressure between
the upstream and downstream shutoff valves
will be released through the bleed valve, since
the Type MR95L, MR95H, MR95HP or MR95HT
regulator opens in response to the decreased outlet
pressure. For Types MR95L, MR95H, MR95HP
and MR95HT regulators, skip steps 4, 5 and 6. For
Types MR95LD and MR95HD continue steps 4
through 6.
4. Close the block valve to the loading pressure.
5. Vent loading pressure slowly to release pressure
in the spring case.
6. Vent inlet pressure slowly (through the bleed
valve) to release all remaining pressure in
the regulator.
Maintenance
WARNING
!
To avoid personal injury, property damage
or equipment damage caused by sudden
release of pressure or explosion of
accumulated gas, do not attempt any
maintenance or disassembly without
rst isolating the regulator from system
pressure and relieving all internal
pressure from the regulator.
To avoid possible personal injury from
spring or pressure-loaded actuator, make
certain the adjusting screw is completely
backed off and the spring case pressure
is vented prior to disassembly. Otherwise,
the spring load or loading pressure could
forcefully eject the spring case.
Regulators that have been disassembled
for repair must be tested for proper
operation before being returned to
service. Only parts manufactured by
Emerson™ should be used for repairing
Fisher
®
regulators.
Due to normal wear or damage that may
occur from external sources, this regulator
should be inspected and maintained
periodically. The frequency of inspection
and replacement of parts depends upon
the severity of service conditions or the
requirement of local, state and federal
rules and regulations.
Due to normal wear that may occur, inspect the
parts periodically and replace if necessary. The
frequency of inspection depends on the severity of
service conditions or the requirements of state and
federal laws.
Replace parts such as the O-rings, gaskets, diaphragm
and packing as necessary. Always apply lubricants as
the regulator is being reassembled. Suitable lubricants
are shown in the assembly drawings.
The regulator does not have to be taken out of the
pipeline to be disassembled. All key numbers are
referenced in Figures 4 to 10.
 Loading...