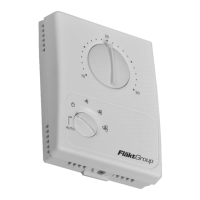
CET.ACEC compact controller Assembly and Installation
FläktGroup DC-2017-0104-GB 2018-05/R1 • Subject to change 13
3.2 Mounting the FläktGroup CET.ACEC compact controller
The casing of the FläktGroup CET.ACEC compact controller (IP30) is suitable for on-
wall and flush-mounted sockets.
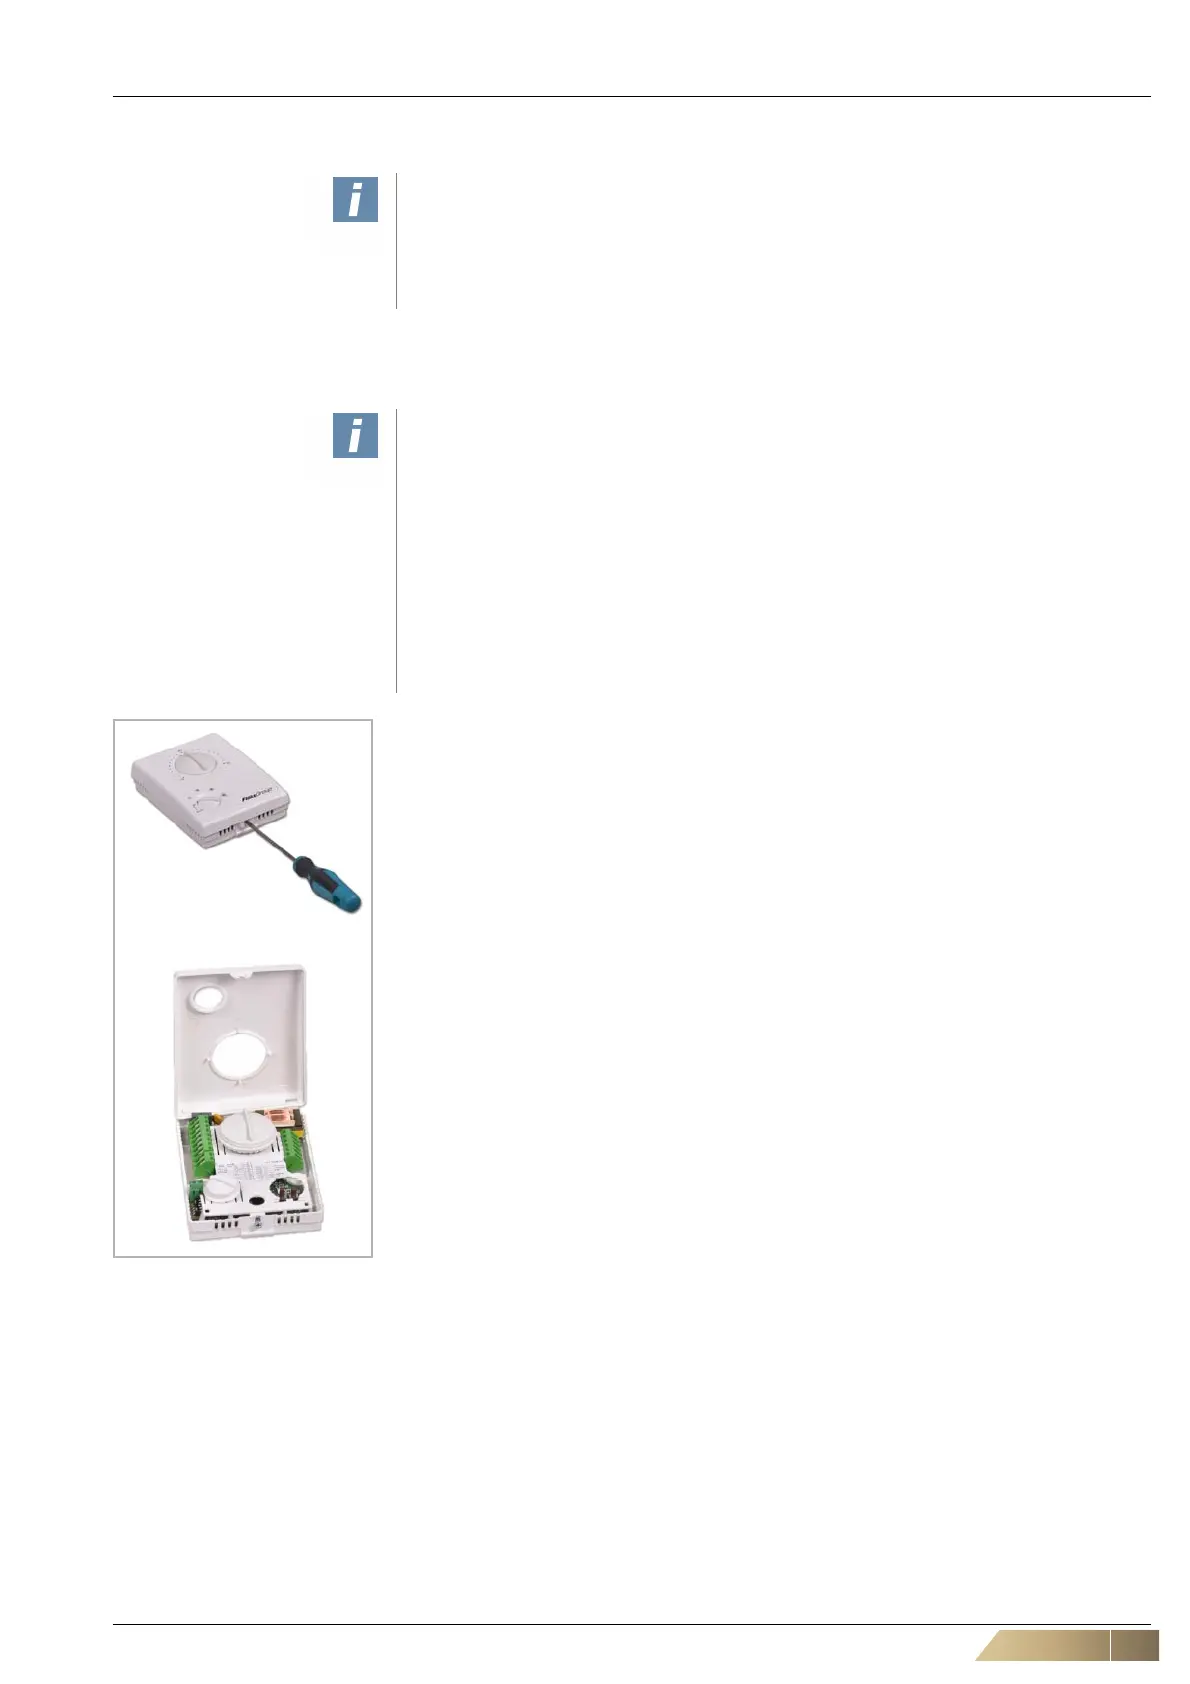
• Apply a screwdriver on the bottom side of the CET.ACEC compact controller to
unlock the front panel and lift the front panel upwards away from the mounting plate,
as depicted in the figure.
• Route the wires through the opening in the mounting plate of the CET.ACEC
compact controller.
• Secure the mounting plate of the CET.ACEC compact controller on the wall or in the
flush-mounted socket.
NOTICE!
• Use the drilling template for wall mounting of the FläktGroup CET.ACEC
compact controller (see „Drilling hole spacing for FläktGroup CET.ACEC
compact controller“ on page 26).
• Make sure that the mounting plate is not deformed during installation.
NOTICE!
• When mounting the CET.ACEC compact controller in a flush-mounted socket,
especially a hollow-wall socket, ensure that nothing can impede the correct
measurement of the room temperature. To avoid draught, provide appropriate
insulation of the flush-mounted socket, if necessary.
• If the control panel is mounted into a flush-mounted socket, edges of the
mounting plate may remain visible, which depends on the socket used and the
way it is mounted. If necessary, use paint, wall paper, or similar means to
prepare the installation surface.
• It also possible to hide the visible edges of the mounting plate by using a wall-
lamp socket with vertical mounting dimensions (screw clearance) of 60°mm
 Loading...