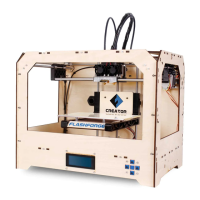
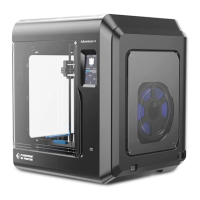
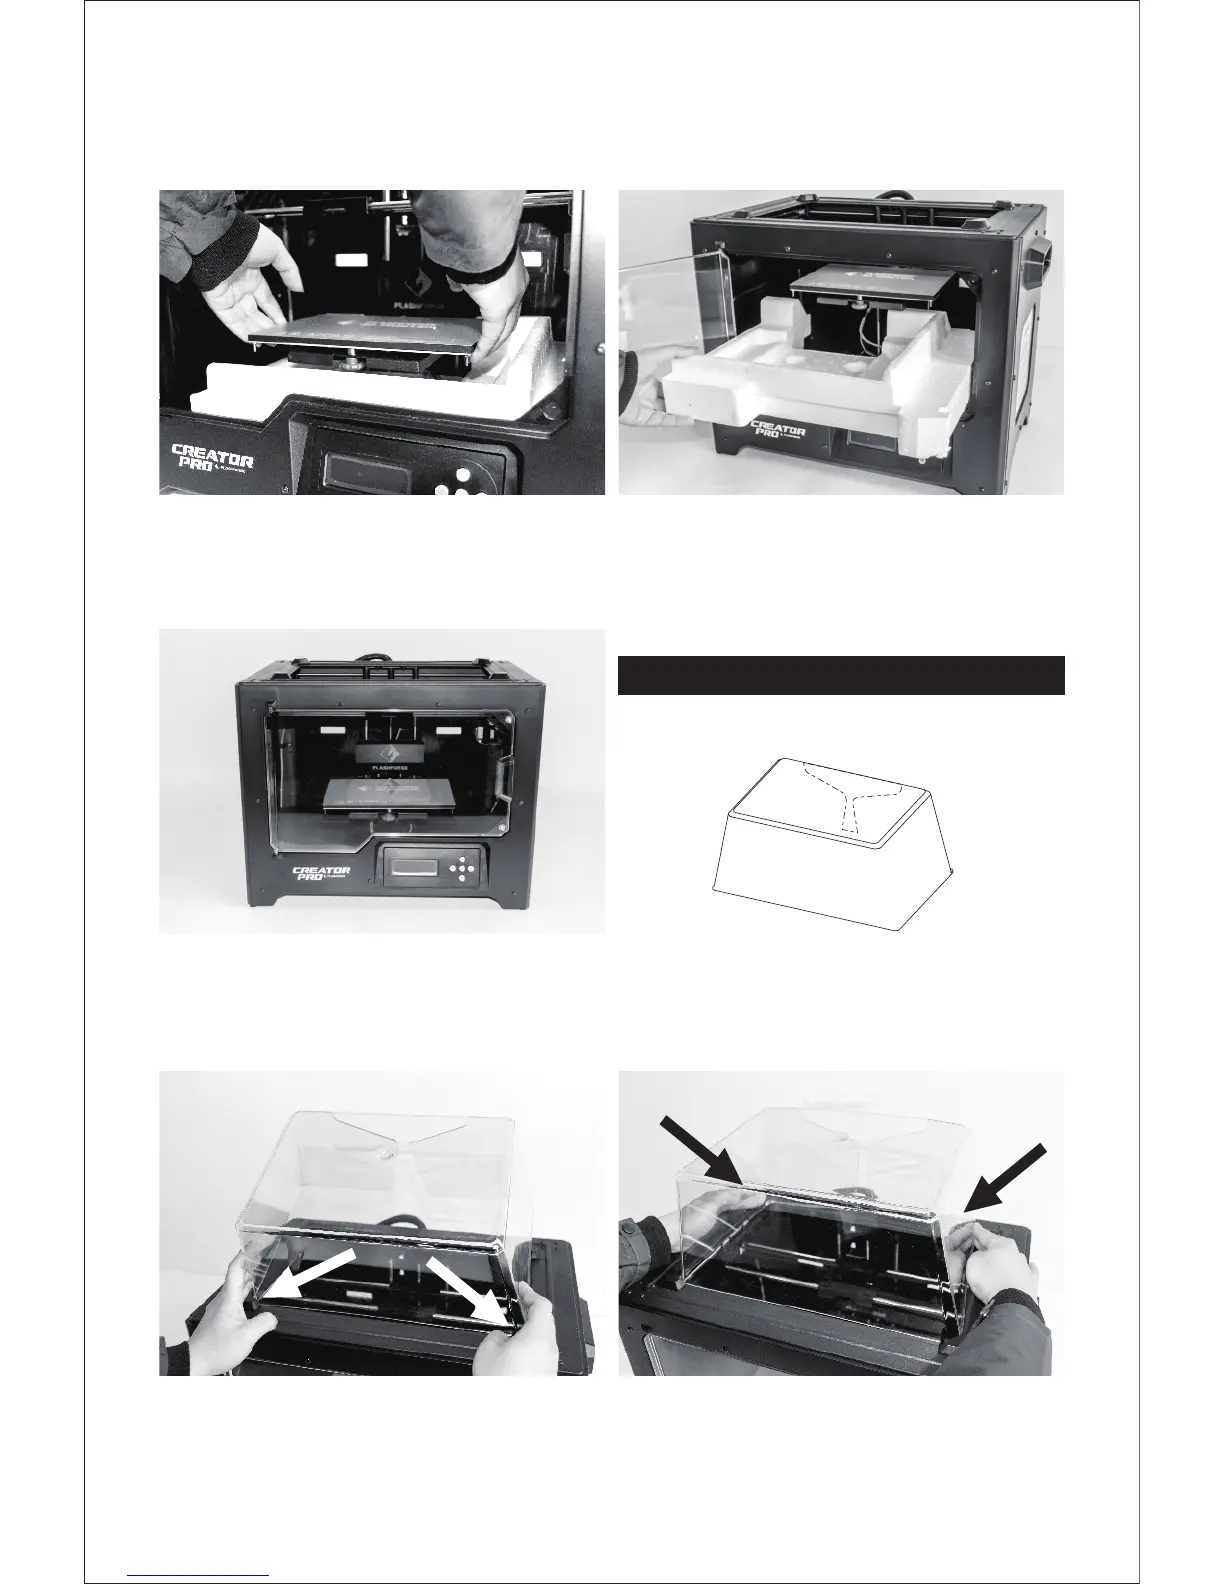
1. Place the two anterior angles of the lid into
the corresponding front slots.
2. Slightly squeeze the two relief angles to place
them into the corresponding rear slots.
To remove the lid, squeeze the relief angles to
remove them from the slots.
Anterior Angle
Relief Angle
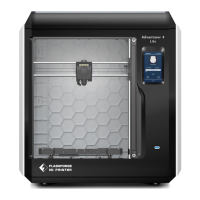
13. Take the bottom protective foam from
the printer and then lower the build plate
back.
14. Congratulations! You’ve finished the
unpacking process. (Tip: Save your
Flashforge Creator Pro packaging for
future transportation and storage. )
12. Elevate the build plate to its limit with care.
Anterior Angle
Installation and Dismantlement
05