Operation
12
scene. However, the disadvantage is lower sensitivity and a higher level of signal
noise.
Temperature unit area: To select a different temperature unit, click Celsius or Fahrenheit.
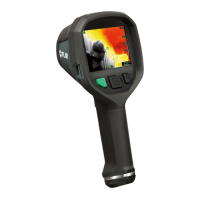
Thermal indication area:
• Digital readout only: Select to display the thermal information in the image as the tem-
perature of the spotmeter only. In modes with automatic heat colorization, the color-
ization of the image will remain but the static heat color reference icon will not be
displayed.
• Reference bar: In modes with automatic heat indication colorization, a vertical heat
color reference bar is displayed in the thermal indication area. This static icon shows
how heat colors are applied to the range of the camera mode. The colors yellow, or-
ange, and red correspond to a temperature-dependent change in hue as the tempera-
ture increases.
• Temp bar: Select to display the thermal information in the image as a temperature bar,
similar to a thermometer. This displays a dynamic vertical temperature bar on the
right-hand side of the image. The top of the dynamic bar represents the temperature
of the measured spot. In modes with automatic heat colorization, the colorization of
the image will remain, with a static heat color reference bar displayed next to the tem-
perature bar.
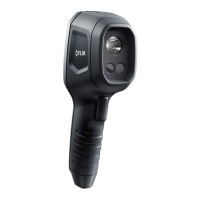
Add custom boot image area: To select an image of your choice to appear during start-
up, click Browse, and navigate to the image file. This is useful for, for example, identifying
your fire department’s cameras. By incorporating your fire department’s logo, and a
unique identity number in the image, you can keep track of your cameras. This image
can also be accessed from the camera menu.
To download any setting changes to the camera, click Apply.
#T559946; r. BG/87484/87484; en-US
39