FLIR MR59 - QUICK START MR59-QS-en-US_AB
MR59 - QUICK START - EN
To obtain the detailed User Manual please visit http://support.flir.com (download
tab). Please read the user manual carefully before use. The MR59 includes a 3-year
limited warranty, visit www.flir.com/testwarranty to read the warranty document
and to register your product for a free warranty extension.
QUICK STEPS
1. Ensure that a 9V battery is installed in the meter’s rear compartment.
2. Long press the Power button to switch the meter ON. The meter
will display ‘CAL’ while it performs a ZERO calibration (keep hands and
objects away from sensor during this calibration).
3. The meter automatically switches OFF after 30 minutes (APO).
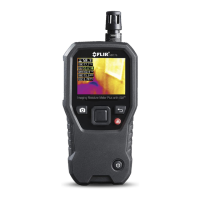
4. Place the ball sensor on the surface of the material under test. The
sensitivity of the sensor is uniform across its entire surface. The sensor
can detect moisture to a depth of 100 mm (4”) maximum.
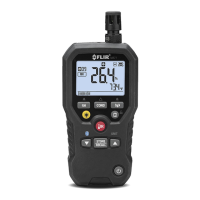
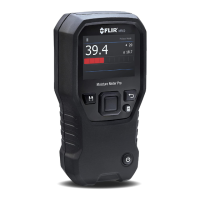
5. Read the moisture level in % on the meter display. Take readings in
several locations for the best representation of the moisture present.
6. Note the MAX and MIN moisture readings on the display. Long press
the CLEAR button to reset the MAX/MIN readings.
7. Long press the
button to switch the meter’s backlight ON/OFF.
8. Long press the
button to switch the meter’s Work Light ON/OFF.
9. To freeze/unfreeze a displayed reading, short press the HOLD button.
10. The MR59 beeps when the moisture reading exceeds the high alarm
limit. To set the alarm limit, short press the
SET button, and then
use the up /down arrows to set the value (press
SET again to exit).
To enable/disable the alarm, long press the
SET button. When the
alarm is enabled (default), the alarm bell icon appears.
11. Refer to the Bluetooth® section below, and the separate user manual,
for information on transmitting readings to a remote device.
12. The micro USB port (battery compartment) allows for System firmware
and Bluetooth® firmware upgrades. See the User Manual for details.

 Loading...