910-0001-00-MAN-R06 FLIR Proprietary Information Page 36 of 81
Information contained in this document pertains to a Canadian origin product that is controlled as "dual use" by the Canadian
government. However, when in the United States or possessed by a US person, it may be considered a defense article from the US Government's
perspective. US government authorization may be required for re-transfer to a foreign person. If you have any questions, please contact FLIR's
Global Trade Compliance group at exportquestions@flir.com .
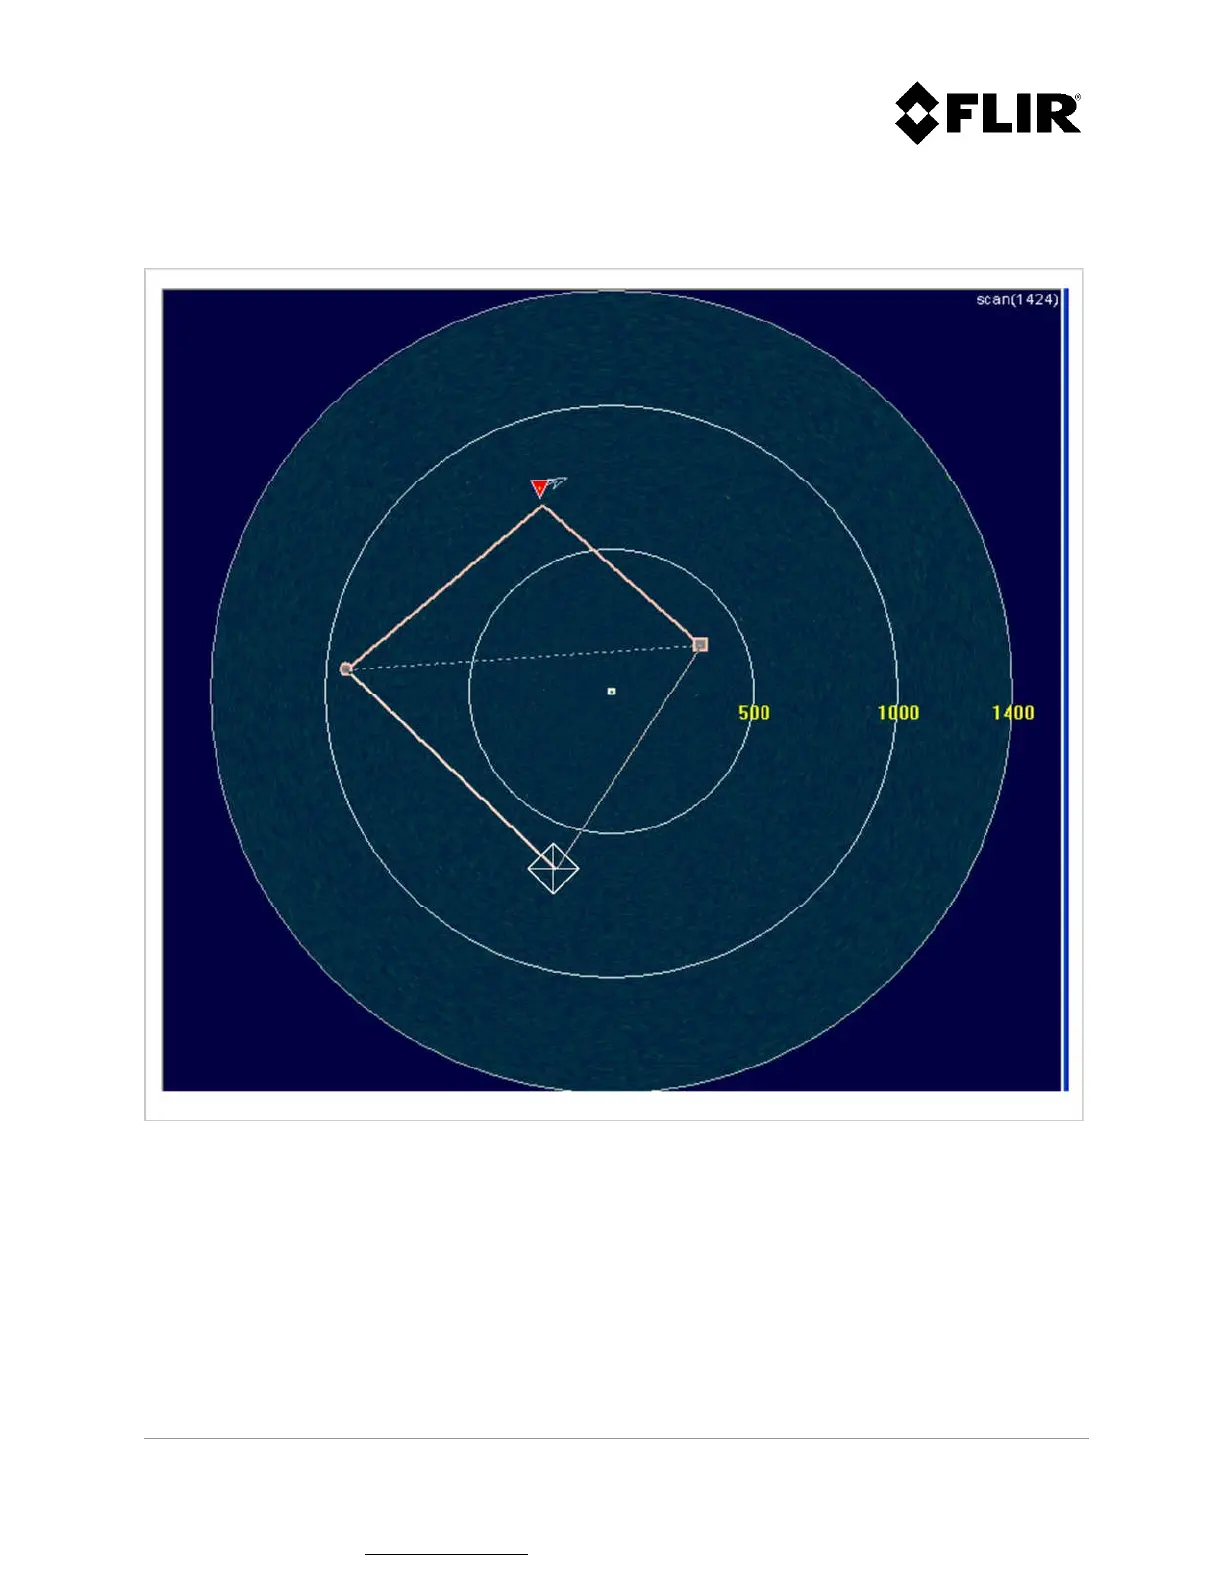
The user may press the space key to invert the order in which the zone segments are added, as shown
in Figure 21. The backspace keyboard key removes the last segment added.
Figure 21 - Changing Segment Adding Order
To complete the editing process, press the ESC key or left-click with the mouse on the start control
point. The zone will appear as a solid line polygon for a normal zone and as a dashed line polygon for
an exclusive zone. Refer to Figure 15 for an example of each zone type.
 Loading...
