3—Operating Your Scout Camera Scout Operator’s Manual
26 June 2011
3–12 2× Extender (19 mm only)
Note
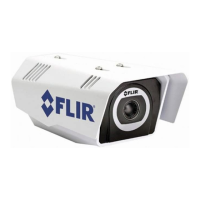
The 2× Optical Extender is compatible with all Scout camera models
and provides the user the ability to see farther and/or enhance the
resolution of objects in the field of view. The 2× Optical Extender is
mounted on the bayonet mount in front of the existing lens on the
camera.
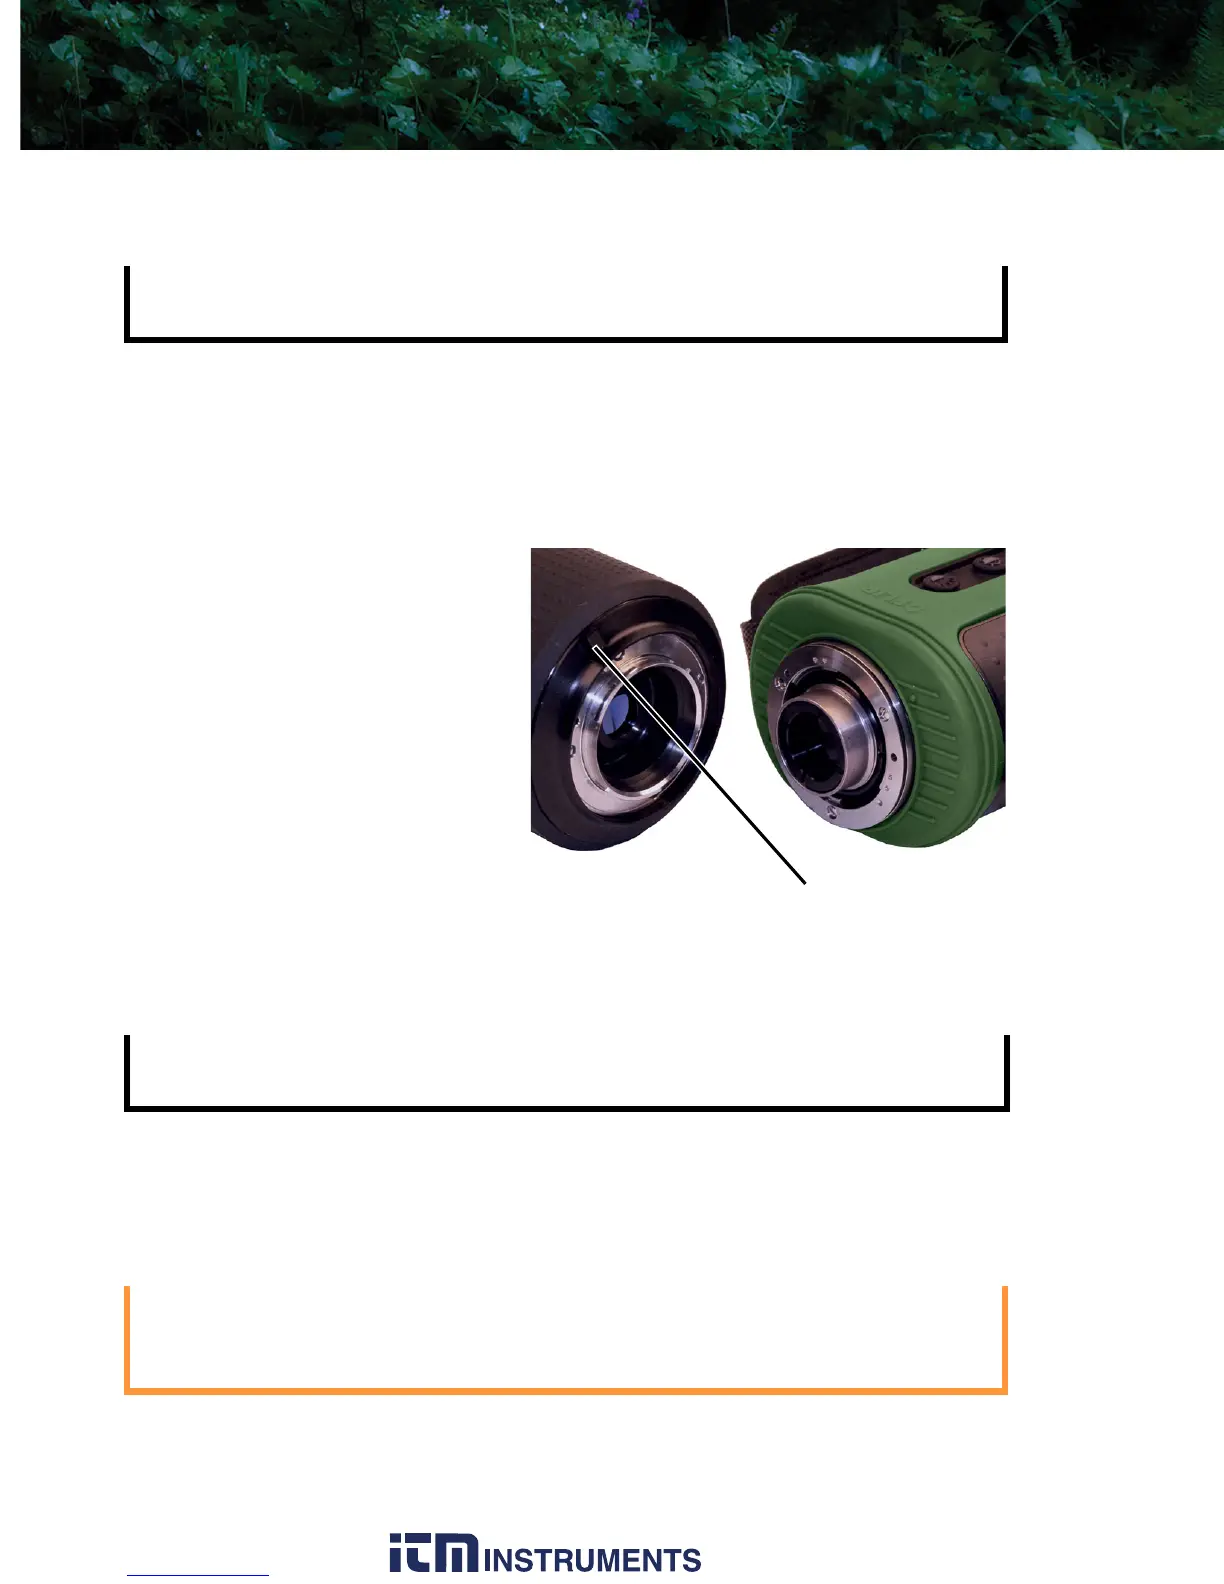
To mount the 2× extender,
first remove the lens cover
assembly. Then, position the
2× extender so that the
release lever on the 2×
extender is in the 5 o’clock
position on the bayonet
mount. Firmly push the
extender onto the bayonet
mount, then rotate the lens
counter-clockwise so that the
release lever reaches the 3
o’clock position where it will hit a hard stop.
Note
To remove the 2× extender, press the release lever and rotate the
extender clockwise until the release lever is roughly at the 5 o’clock
position and pull straight off.
Caution!
The 2× Optical Extender is not waterproof and should not be used
in wet environments.
The 2× extender is manually focused by rotating the outer rubber-
coated ring.
Be sure to replace the lens cover assembly when the 2× Extender
is not in use to avoid moisture, dust, or other contaminants
reaching the inner lens surface of the 2× Extender.
Release Lever
1.800.561.8187 w ww . . co m