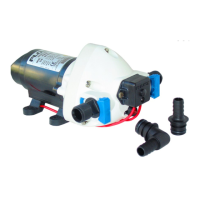
STEP 1
Remove shipping plugs from pump ports. Some water
from factory testing may spill out.
STEP 2
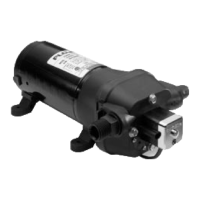
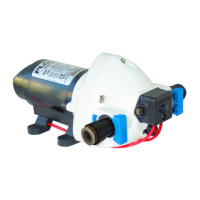
Install inlet A and discharge B port connectors.
STEP 3
Insert rubber mounting grommets onto base plate.
STEP 4
Mount pump vertically, with pump head down or
horizontally in an accessible location. Do not compress
grommets.
STEP 5
Use 1/2” or 3/8” I.D. flexible hose (preferably braided or
reinforced). Use hose clamps on the slip-on barb hose
connectors.
STEP 6
Install no less than 3/8” I.D. hose for feed lines to
fixtures. Use high pressure hose on all city water lines.
STEP 7
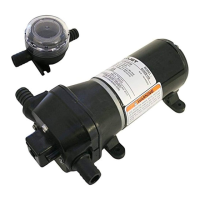
Install a Flojet strainer in an accessible location (for
inspection and cleaning) between the tank and pump
inlet. This strainer or equivalent is required for pump
warranty to be valid.
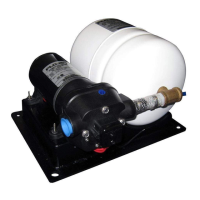
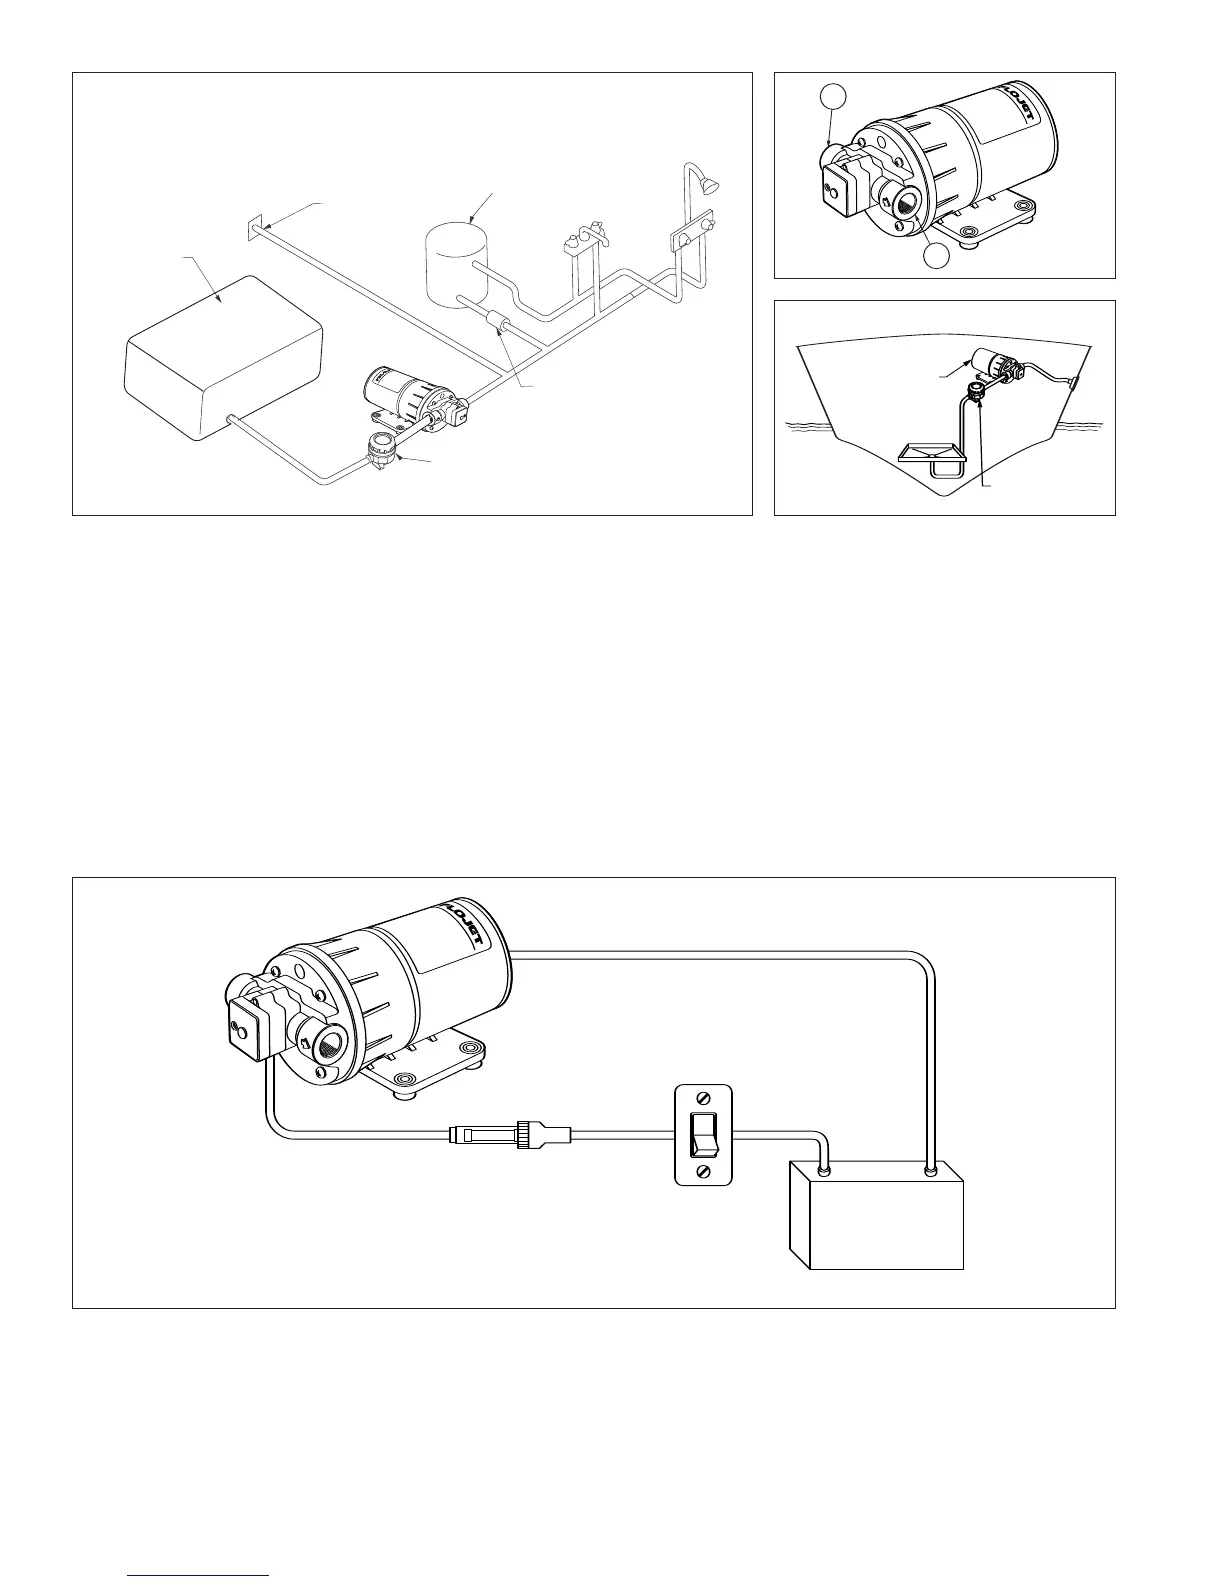
INSTALLATION
In an easily accessible location, install a switch to
control electricity to the pump. Turn the pump off when
not in use for extended periods, or when tank is out of
water.
A 7 amp. fuse should be installed in the positive line with
the pump being its only load. (24V model, use 5A fuse).
Wire size based on total wire length.
0 - 20 ft.
#16 AWG
20 - 50 ft.
#14 A
WG
50 - 80 ft. #12 AWG
WIRING
(+)Red (+)
Fuse
Switch
Battery
(–)
Black (–)
Pumpgard
Water
Tank
Jabsco
City Water
Entry
Water
Heater
Check
Valve
TM
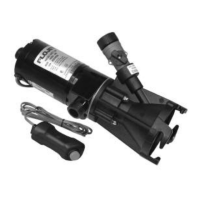
Flojet Shower
Drain Pump
Install Strainer
Inlet Side Only
AUTOMATIC WATER SYSTEM INSTALLATION
SHOWER DRAIN INSTALLATION
Model 2100-694
 Loading...