Installation 4
For parts or assistance, call Flotec Customer Service at 1-800-365-6832
8. Unbolt and remove the lid of the pump chamber.
9. Lift the pump by the ring handle, remove it from the
pump chamber, and set it in the bucket of bleach.
Make sure the bleach doesn’t overflow as you set the
pump in the bucket.
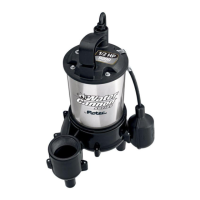
10. Set the new pump in the pump chamber with the dis-
charge pointing toward the right back corner as
viewed from the toilet opening (see Figure 1). Line up
the pump discharge with the 3" hole in the lid, then
swing the pump so that the vertical float switch is
shielded (from solids) as much as possible by the baffle
in the tank between the toilet mounting hole and the
pump chamber (see Figure 1). Shim the pump as re-
quired to make it steady in the pump chamber.
11. Make sure the foam gasket (see Figure 2) is in place on
the flange of the pump chamber. If not, or if it is worn
or damaged, replace the gasket. For best results, over-
lap the ends of the gasket approximately 1/2".
12. Pass the cords up through the 2-1/2" hole in the lid.
13. Pass the discharge pipe and adapter fitting through the
3" hole in the lid. Do not press the grommet into place
yet. Thread the discharge pipe into the pump discharge
until it is hand tight, then finish tightening it with the
strap wrench.
14. Reconnect the union in the discharge pipe.
15. Fill the tank with water to a depth of approximately 4"
(check this with a tape measure through the lid open-
ing in the top of the pump chamber). Plug in the
pump and continue filling the tank.