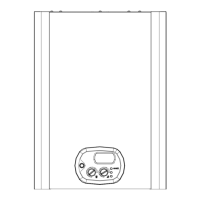
Primary heat exchanger (see fig. 1)
• Close the shut-off valves and drain the central
heating circuit of the water heater;
• Switch off the power and gas supply to the water
heater;
• Remove and dismantle the entire burner unit (see
“Cleaning the condensation module and burner
unit”);
• Remove the gas valve;
• Remove the spring and then the condensate
drainpipe;
• Remove the fixing springs and then the delivery
and return pipes;
• Remove the support brackets and pull out the heat
exchanger;
• Remove the regulation sensor from the old heat
exchanger and refit it together with the two
condensate drainpipes to the new one;
• Replace the heat exchanger and re-assemble the
components following the above procedure in
reverse order;
• Switch on the electricity, water and gas supplies
and fill the system with water. Check for any leaks
from the joints and bleed off any air from the
circuit. Restart the water heater, making sure that
there are no gas leaks;
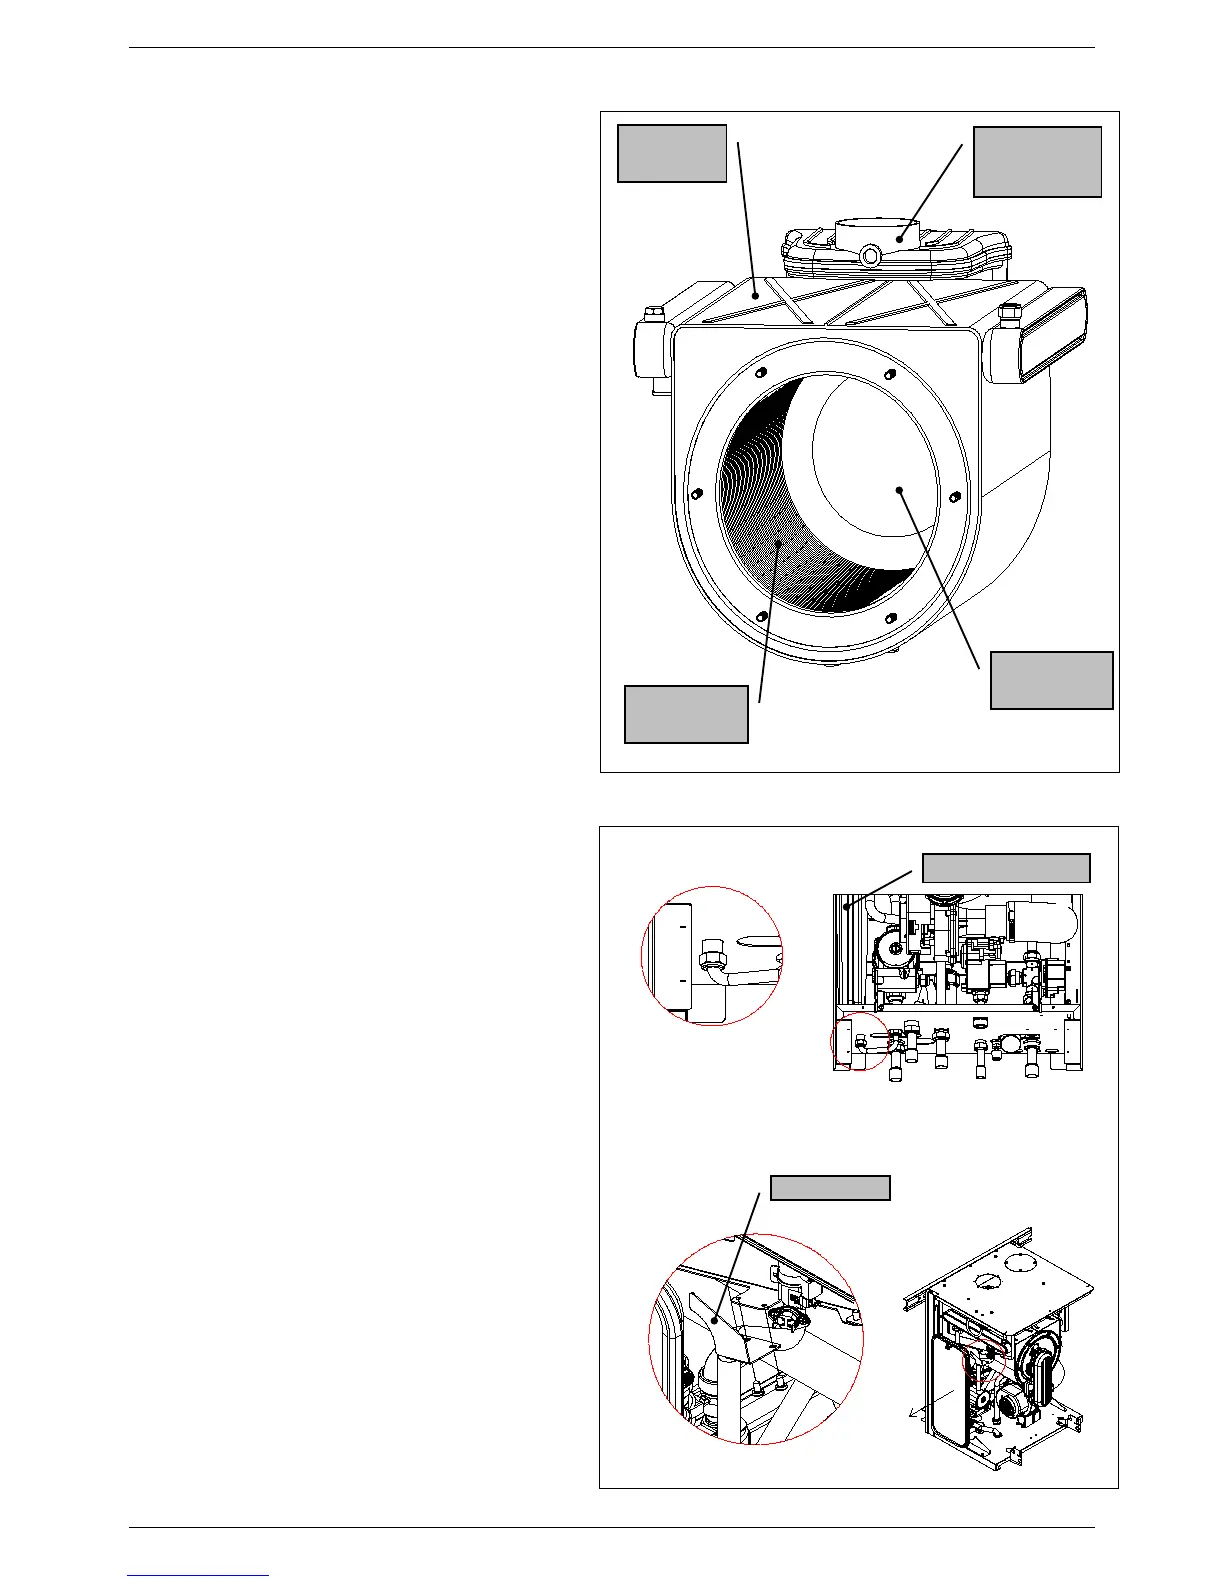
Expansion vessel
(see fig. 2)
• Close the shut-off valves and drain the central
heating circuit of the boiler.
• Use a 19 mm spanner to unscrew the pipe
coupling to the vessel.
• Unscrew the fixing screws and remove the upper
mounting bracket. Remove the expansion vessel
from the left side of the boiler.
• Replace the expansion vessel and re-assemble the
components following the above procedure in
reverse order.
• Switch on the electricity, water and gas supplies
and fill the system with water. Check for any leaks
from the joints and bleed off any air from the
circuit;