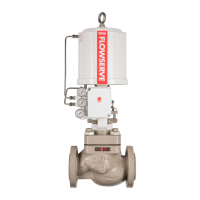
Valtek GS General Service Valve FCD VLENIM0300-00-A4 08/14
17
flowserve.com
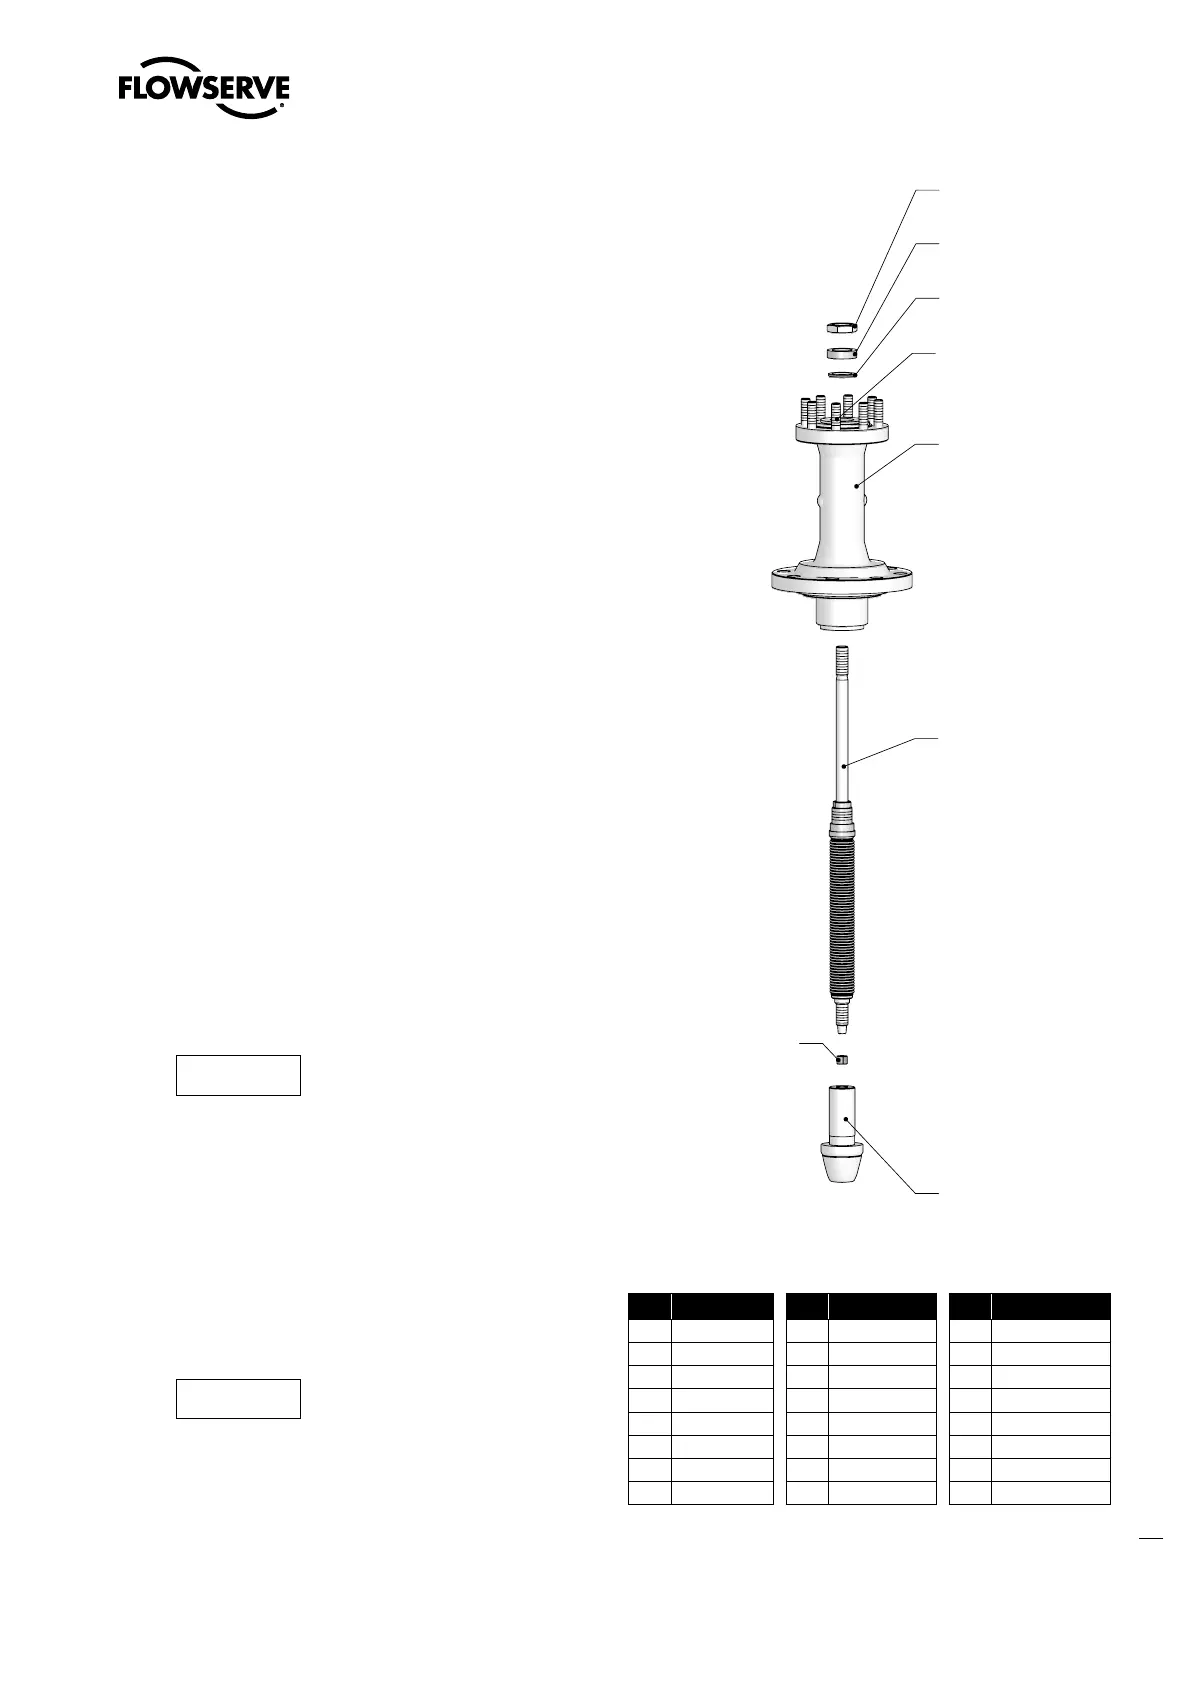
Reassembling Type A bellows:
Carefully lower the bonnet (40) onto the plug. Install
a new head gasket (59) and insert the bellows seal
assembly (6) from the top of the bonnet (40). Finger
tighten the stem (6) clockwise onto the plug (50).
Tighten the stem (6) using a suitable torque wrench.
Reassembling Type B bellows:
Install the bellows seal assembly (6) clockwise onto
the plug (50). Tighten the stem (6) using a suitable
torque wrench.
Insert the bellows seal assembly (6) type B through
the underside of the bonnet (40), install a new profile
ring (60) and seal carrier (91) on top. Turn hex nut (60)
clockwise and finger tighten.
(See Section 14: Required Torques, for plug and stem)
20. Install the new bonnet gasket (58).
21. Carefully lower the pre-assembled bonnet in the body
of the valve (See page 18 for pressure balanced and
MultiStream trim).
22. Install and finger tighten the bonnet nuts (114) to the
bonnet bolts (108).
23. Install the new flat gasket (59).
24. Carefully lower the head (7) onto the stem and bonnet.
25. Install and finger tighten the nuts (110) to the studs (106).
26. Install the packing box ring (93) and the new packing (88).
NOTICE
Install and push two packing rings
consecutively using the Tamping
Tool and pre-tighten it using the Compression Tool.
Repeat the procedure with remaining rings. Rotate
each ring 180° from the overlapping point. Make sure
each ring is clean. Dirty rings result in stem leakage.
(See Table 18, Page 23)
27. Install the upper stem guide (87), Belleville springs
(109), and the packing follower (80). Tighten the
packing follower with your fingers clockwise until
resistance can be felt.
NOTICE
The Belleville springs (109) must be
stacked in series.
28. Tighten the bonnet nuts (114) in four steps - 30%,
60%, 100%, and all around 100% - using a crosswise
pattern (See Section 14: Torque Requirements).
8
50
6
40
60
91
113
106
Figure 11: Disassemble / Reassemble the valve with bellows seal assembly for
type B design
Item Part Item Part Item Part
1 Body 50 Plug 91 Seal carrier
6 Stem 55 Profile ring 93 Packing box ring
7 Head 58 Bonnet gasket 106 Stud bolt
8 Lock bushing 59 Head gasket 108 Stud bolt
20 Seat ring 60 Profile ring 109
Belleville spring
40 Bonnet 80
Packing follower
110 Hex nut
42 Plug screw 87
Upper stem guide
113 Hex nut
48 Plug gasket 88 Packing 114 Hex nut
Table 13: Valve parts with bellows seal