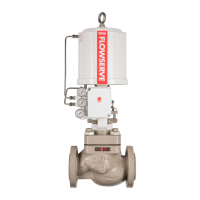
Valtek GS General Service Valve FCD VLENIM0300-00-A4 08/14
18
29. Tighten the nuts (110) in four steps - 30%, 60%, 100%,
and all around 100% - using a crosswise pattern (See
Section 14: Torque Requirements).
NOTICE
Check the plug’s freedom of movement
by pushing / lifting it approximately
~
10 mm (0.4 inch) between tightenings. Loosen the
bolted connection and start again if it proves difficult to
move the plug.
30. Finish packing follower tightening with a wrench (See
Table 7, Page 9).
NOTICE
Do not over tighten the packing.
Over tightened packing may produce
higher friction and reduce product service life.
31. Replace the pneumatic diaphragm or multi-turn actua-
tor and accessories (See page 19).
32. After reinstalling the control valve in the pipeline,
perform 3 full strokes and check the tightening of the
packing follower and bonnet bolting.
33. Log the maintenance interval and the work performed.
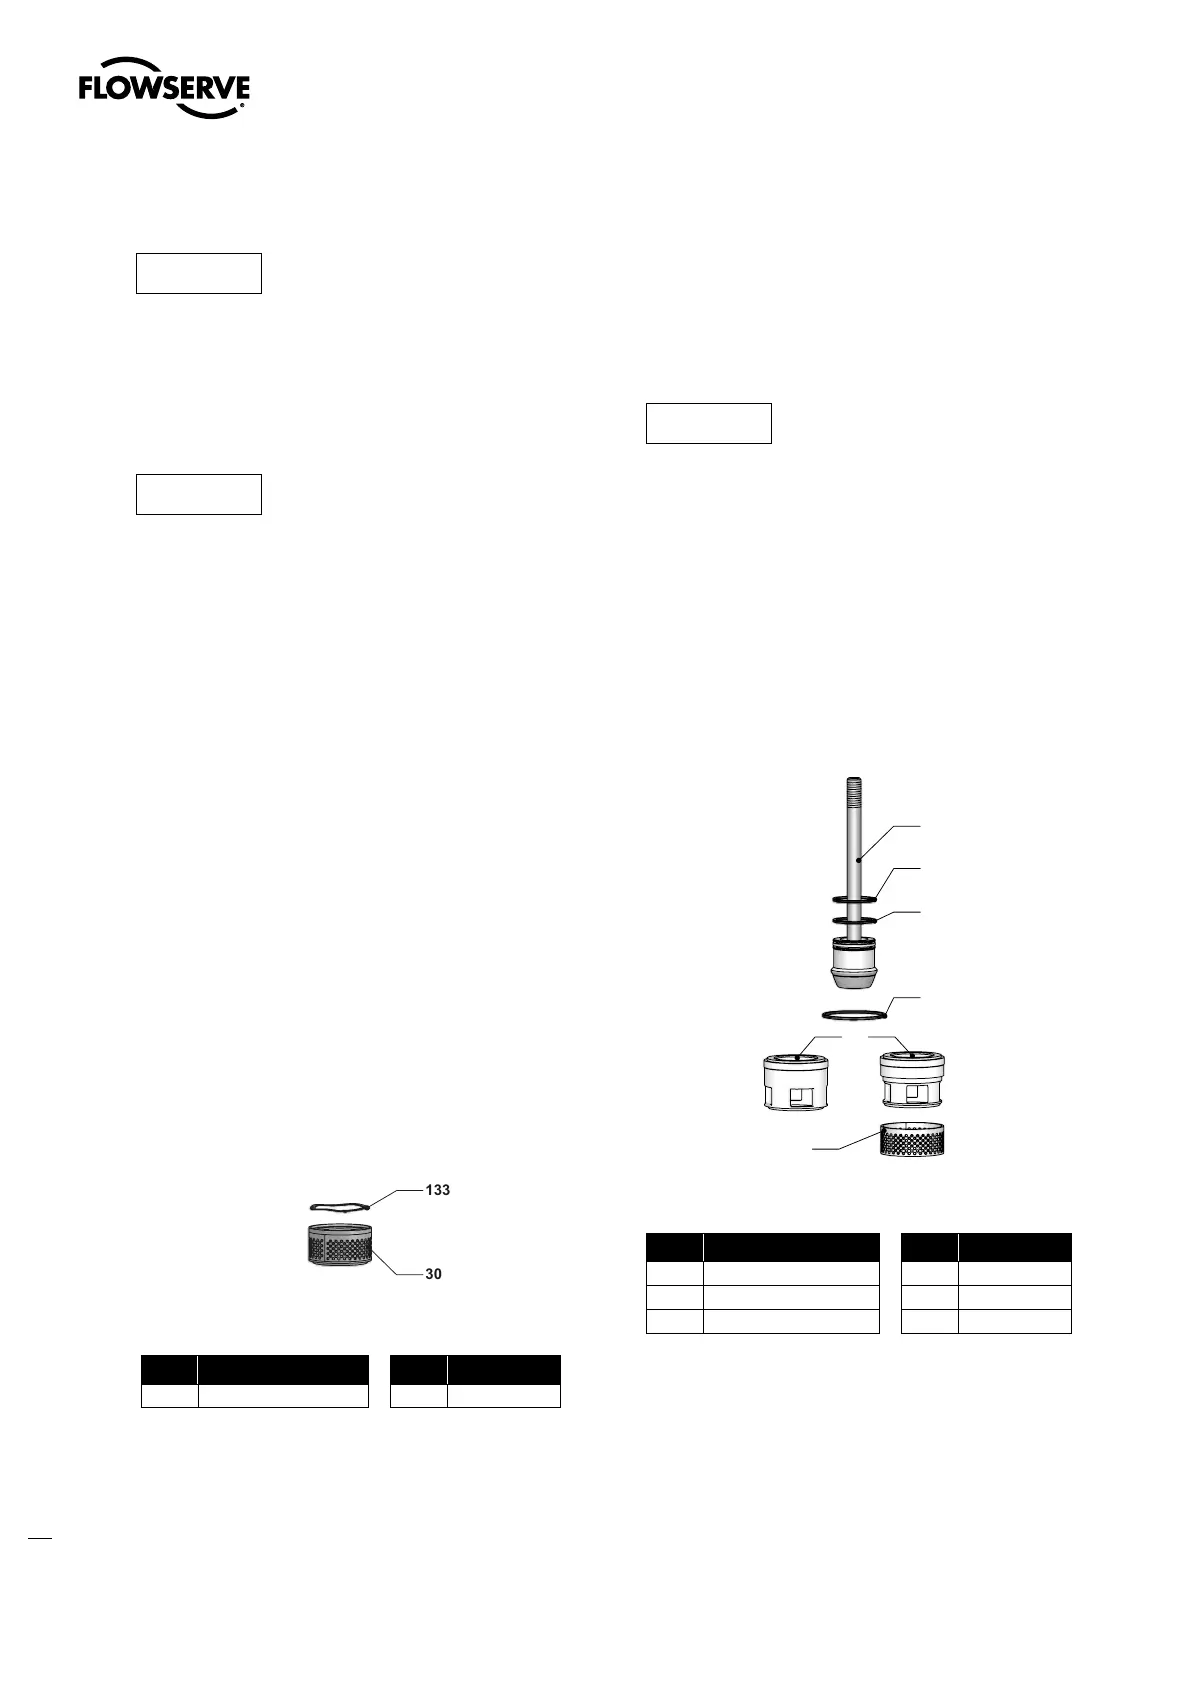
Extended plug version with MultiStream
noise reduction trim:
1. Lower the multiple orifice cylinder (30) and spring
(133) into the body and place it onto the seat.
2. Lower the plug (50) into the body and place it into the
seat.
3. Continue with the standard prozedure in the corre-
sponding chapter.
Figure 12: Extended bonnet trim for MultiStream
Item Part Item Part
30 Multiple orifice cylinder 133 Spring
Table 14: Valve parts extended bonnet trim with MultiStream
Extended bonnet version with a pressure
balanced or MultiStream trim:
1. Reassembling for the pressure balanced V-ring, a new
driving band (66) and a new sealing ring (65).
Reassembling for the pressure balanced Piston-ring,
two new sealing rings (65).
NOTICE
Install rings consecutively.
2. Lower the multiple orifice cylinder (30) and cage (31)
into the body and place it onto the seat.
3. Install the new cage gasket (56).
4. Lower the plug (50) into the body and place it into the
seat.
5. Continue with the standard prozedure in the corre-
sponding chapter.
30
50
65
65
66*
56
31
Figure 13: Extended bonnet trim for pressure balanced designs
Item Part Item Part
30 Multiple orifice cylinder 56 Cage gasket
31 Cage 65 Sealing ring
50 Plug 66 Driving band
Table 14: Valve parts extended bonnet trim equipment - balancing and MultiStream
* Type V-ring pressure balanced design with one driving
band (65) and one sealing ring (66).
Type Piston-ring pressure balanced design with two
sealing rings (65).