CERTIFIBER ENGLISH - 16
Getting Started
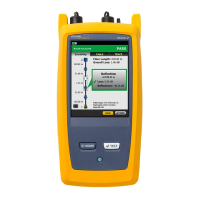
CERTIFIBER certifies a fiber link in seconds using
the one-button Autotest.
To run an Autotest proceed as follows:
1. Set the reference value. (See Chapter 3 -
Automatic Measurements: Setting the
Reference for detailed information.)
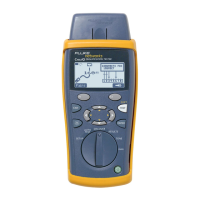
2. Attach the cable to be tested to CERTIFIBER
and CERTIFIBER REMOTE s connectors.
Note
One fiber needs to be connected from RX2 to
TX2, the second fiber needs to be connected
from TX1 to RX1
3. Select a fiber standard. TIA 568B and ISO
11801 are the most widely used fiber stan-
dards.
4. Press the Autotest button.
5. Enter the number of splices and connec-
tors.
6. Press F1 (Run).
CERTIFIBER will now run the length, propaga-
tion delay, and dual fiber loss measurements
for 850nm and 1300nm and provide a PASS/
FAIL analysis based on the fiber standards.
7. Press F1 (Save) to name and store the test
result for each fiber. (See Chapter 3 - Auto-
matic Measurements: Autotest for detailed
information.)
8. Press F2 (View) to display test results and
move between fibers.
All manuals and user guides at all-guides.com