24 Reflow Temperature Profiles REFLOW TRACKER
Installing the Logger in the Thermal Barrier
WARNING
It is essential to use the correct Datapaq thermal barrier for your individual process;
see p. 11. Ensure that all dimensions of your logger/barrier/accessory assembly
are such that it will fit comfortably within the oven through all stages of the process.
Pay particular attention to handles, catches, etc., and to trailing thermocouples.
Failure to do this can cause the assembly to jam in the oven with consequent
overheating and potentially-severe damage to the equipment. Resultant battery-
leakage, and the act of recovering the equipment, may cause skin burns and
respiratory irritation.
Ensure the thermal barrier has cooled sufficiently since its last use.
1. Plug the thermocouples into the logger’s numbered sockets. If you are
using a process file, ensure that the probe/socket numbers on the logger
correspond to those used to define probe numbers and locations in that file
(see the Insight software for an introduction to process files: press function
key F1, or select Help > Contents from the menu bar, and click the section
‘Process Files: Oven, Recipe, Product’).
2. If the trigger mode is start button, press and hold the logger’s start button
for about 0.5 second until the green LED starts to flash at the sample
interval.
Data-recording cannot start until the
logger has cooled sufficiently from
the previous run. If it is still too hot,
pressing the start button will cause
the logger-status red LED to give two
quick flashes every second.
If the battery has less than 20% of
full charge, data-recording cannot
start until the battery is charged.
3. Ensure the barrier’s sealing
surfaces are clean and
undamaged. A good seal between
barrier and thermocouple cables is essential if the logger is to be protected.
Put the logger in place in the barrier, laying the thermocouple cables
across the sealing material to exit the barrier at the cutout, ensuring they
are side by side and not crossing each other.
4. Fit the lid, ensuring a good seal around the thermocouple cables. Secure
the lid’s catches with the locking pins, if fitted.
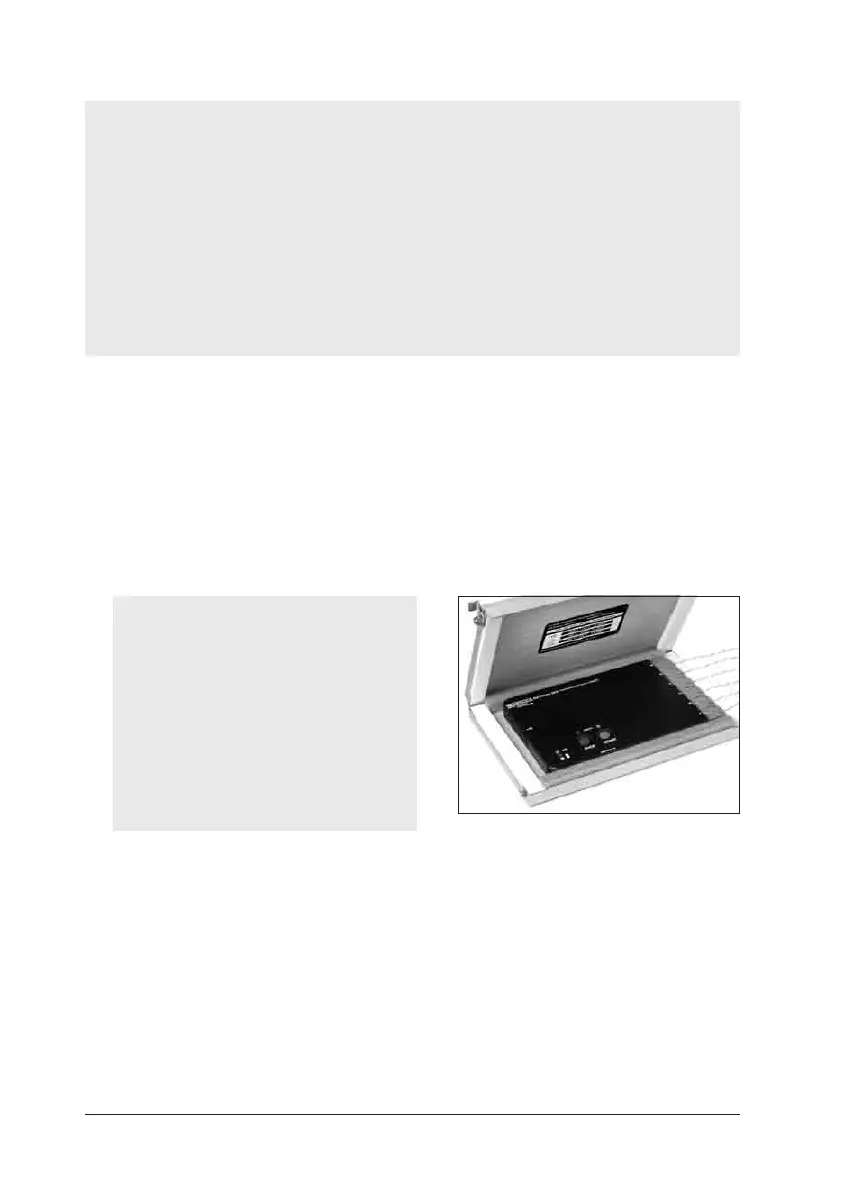
The logger in place in its
thermal barrier.