23
Remove the protective cover and the O-ring.
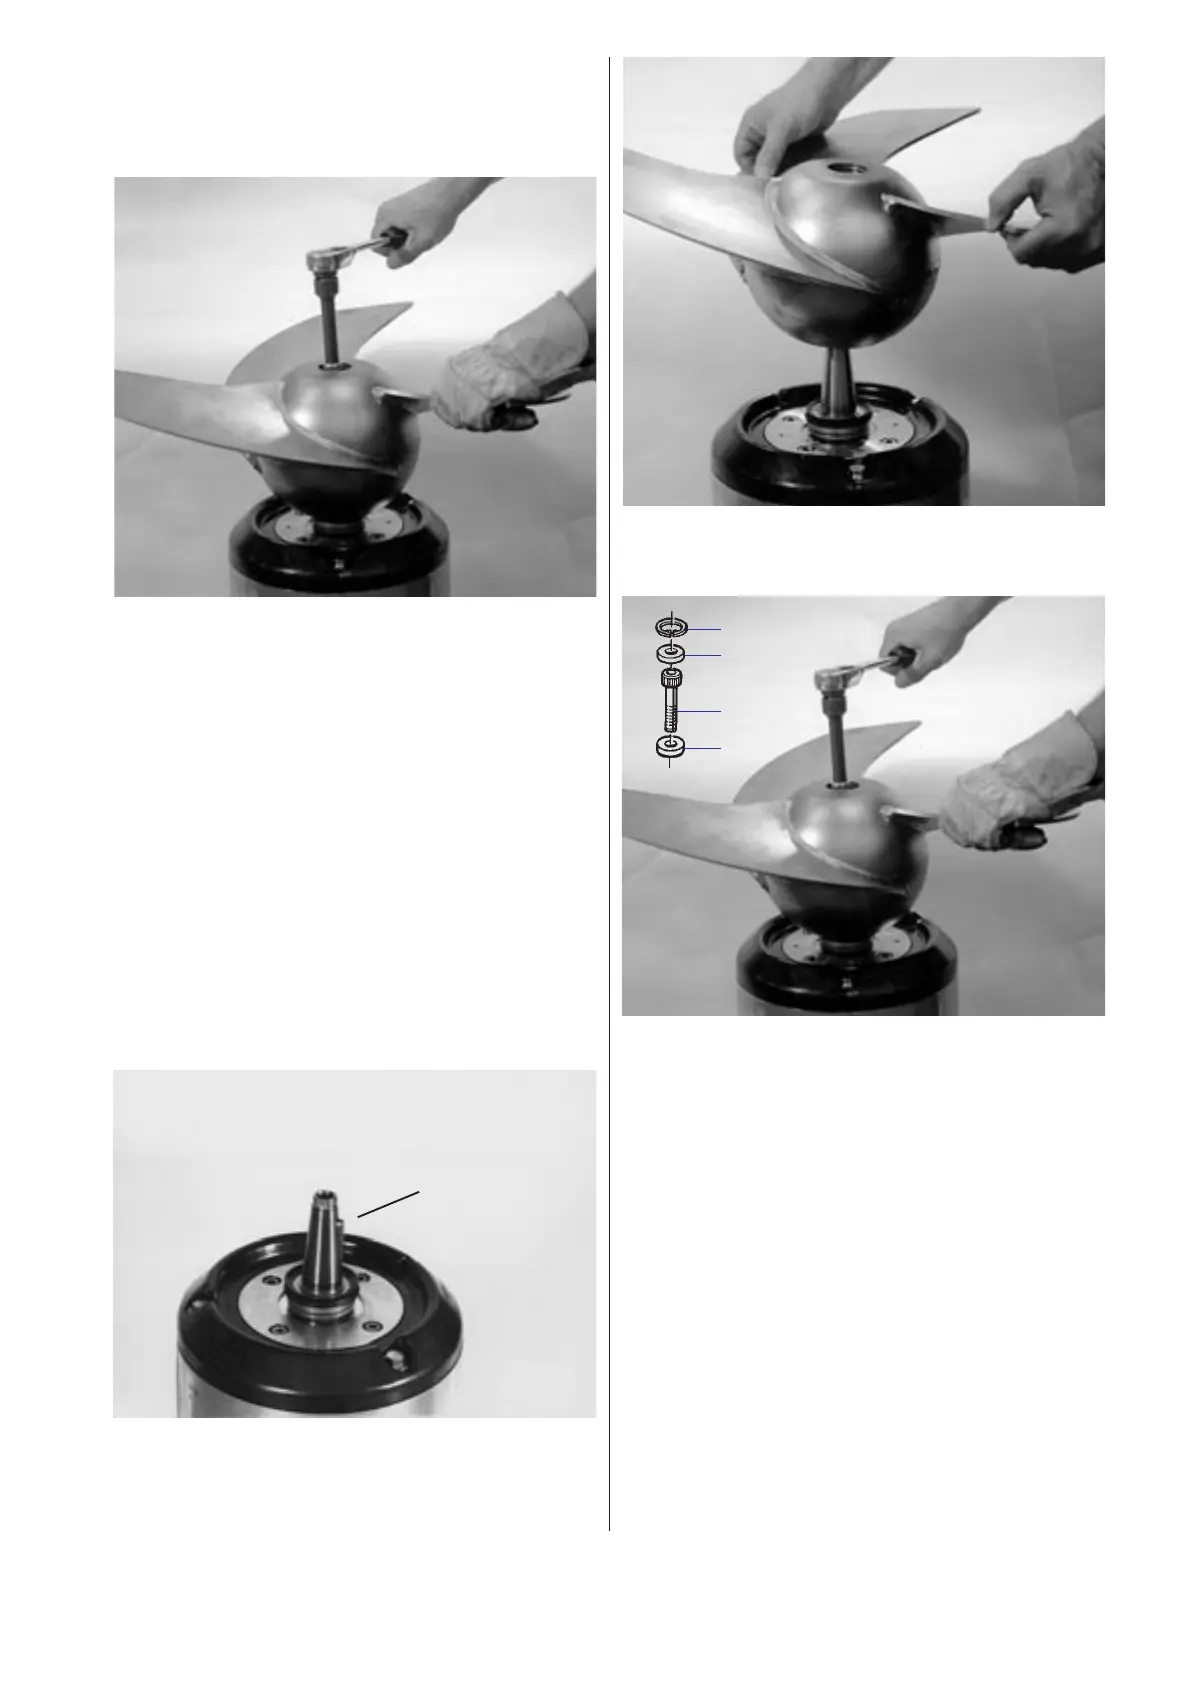
Insert an M8 Allen key into the hub screw and loosen
the propeller screw.
When the screw has been unthreaded, puller opera-
tion is obtained through the head of the screw press-
ing the propeller outwards.
Lift off the propeller.
Installing the propeller
NOTE! If the machine will be equipped with flush
protection and/or cutting rings, this must be installed
before the propeller.
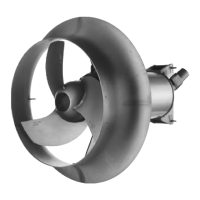
Make sure that the end of the shaft is clean and free
of burrs. Polish off any flaws with fine emery cloth.
Grease the end of the shaft and the propeller hub.
Lift the propeller onto the shaft.
▲▲
▲▲
▲
Replacing the propeller
Removing the propeller
WARNING! A worn propeller often has very sharp
edges.
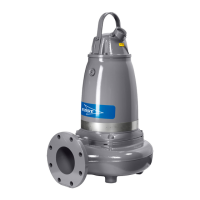
If the washers and propeller screw already are assem-
bled, all you need to do is tighten the propeller screw.
If not, place the washer (a) onto the propeller screw
(b). Fit the propeller screw. Mount the other washer (c)
and secured it by a circlip (d).
Tightening torque for:
4630, 4640 40 Nm (30 ft lb)
4650, 4660 136 Nm (100 ft lb)
4670, 4680 197 Nm (145 ft lb)
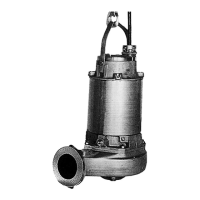
Fit the O-ring and mount the protect cover.
Check that the propeller can be rotated by hand.
Check:
— that the parallel key is seated in the key way on the
shaft.
— that the seal ring is correctly positioned.
d
c
b
a