5
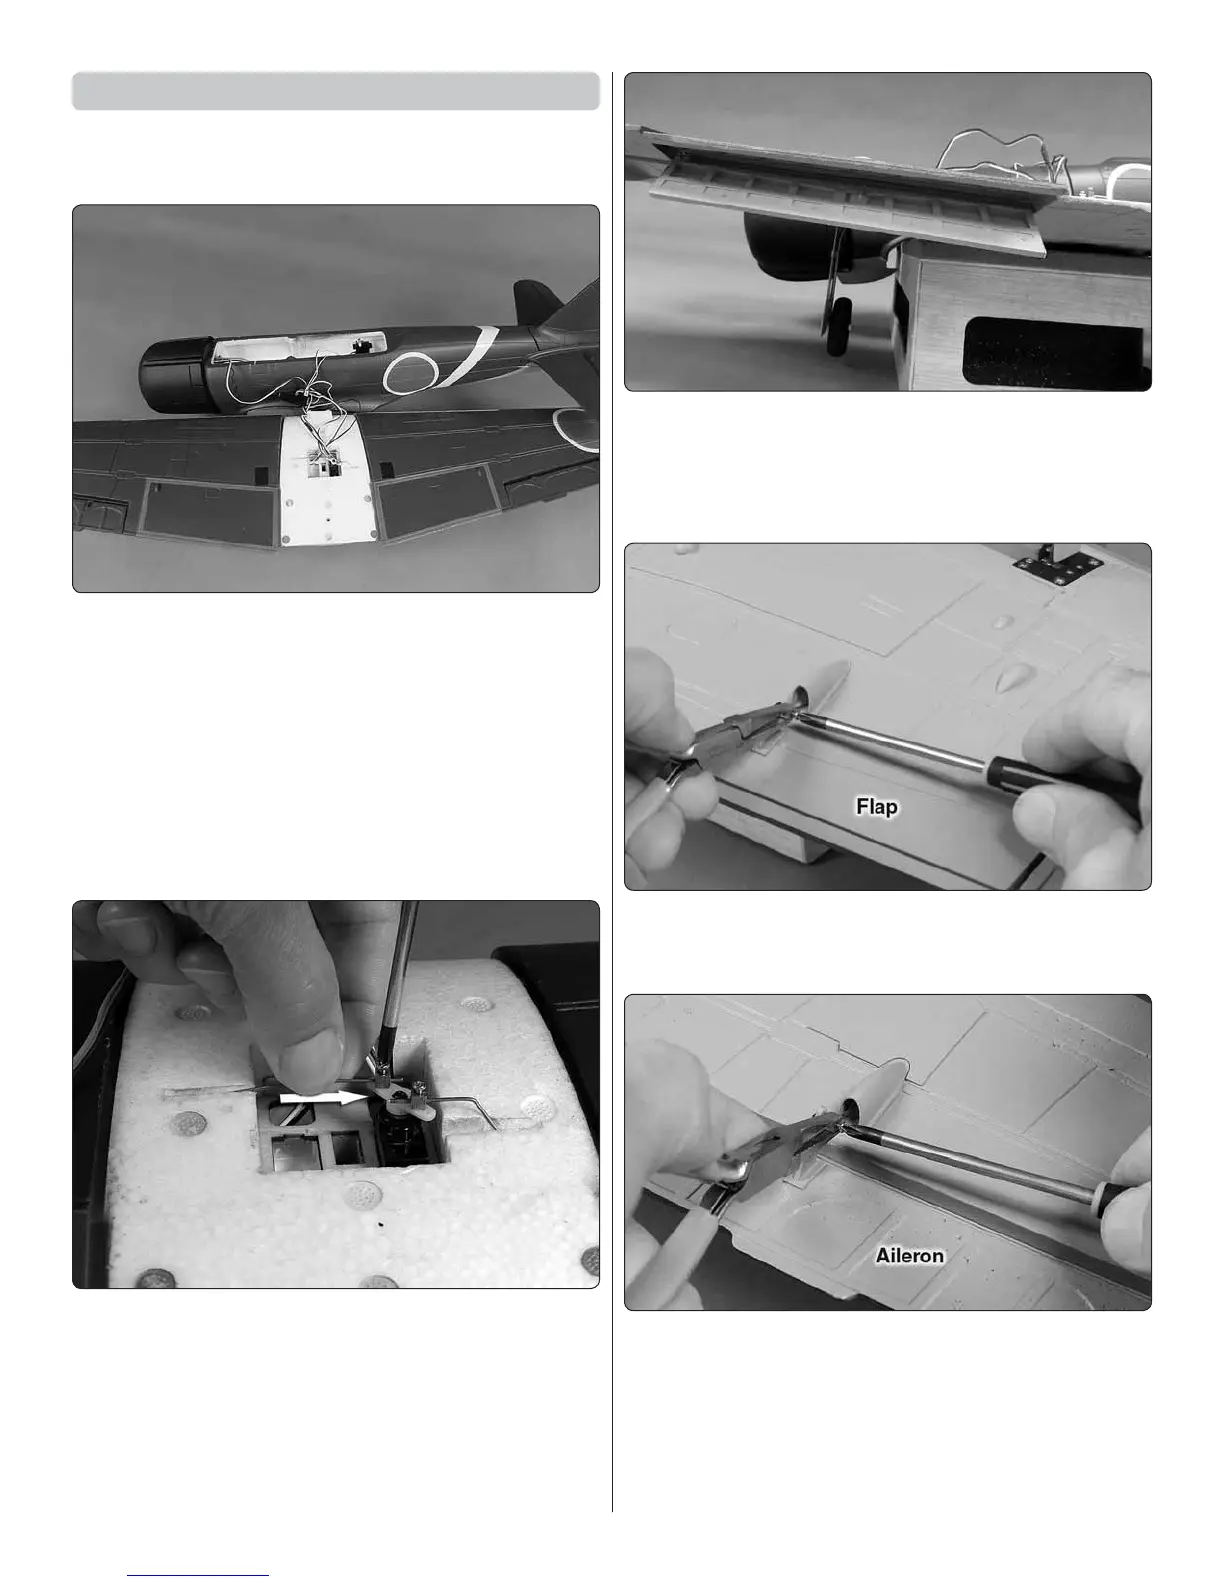
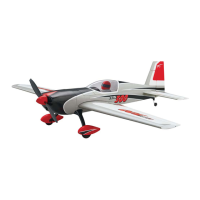
Set Up the Flaps and Ailerons
Please disregard the missing bomb release servo in the
upcoming images. The decision to include the servo was
a last minute decision.
The ailerons and fl aps are factory connected, but may
require a little fi ne tuning:
❏
1. Place the wing and fuselage close together so you can
connect the wing servos to the receiver while it’s connected
to the ESC in the fuselage.
❏
2. Connect the aileron servo wire to channel 1 in the
receiver, the retract servo wire to channel 5 and the fl ap servo
to channel 6. (If assembling the RTF edition that comes with
the receiver installed, it may be easier to unhook the receiver
from the hook & loop and take it out of the fuselage.)
❏
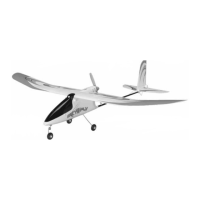
3. Turn the fl ap dial on the transmitter to retract the fl aps.
If necessary, adjust the fl ap pushrods in the screw-lock
connectors on the fl ap servo so both fl aps are fully retracted,
but the servo is not over-driving the fl aps trying to pull them
up any farther than they can mechanically travel. Shorten or
lengthen the fl ap pushrods in the connectors as necessary
and retighten the screws.
❏
4. Use the fl ap dial to extend the fl aps to make sure they
extend evenly. If necessary, adjust the pushrods again to
make sure the fl aps extend together. Note that the servo
may be able to push the fl aps farther down than they can
mechanically travel, so be certain not to turn the dial too far.
❏
5. While working on the fl aps, turn the wing over and make
certain the screws in the screw-lock connectors on the fl ap
horns are tight and secure.
❏
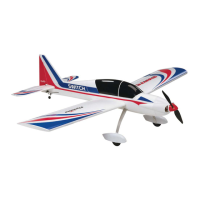
6. Still with the system powered up, also make sure the
ailerons are centered and if necessary, adjust the pushrods
in the screw-locks on the aileron horns to center the ailerons.
❏
7. With the wing servos still connected to the receiver and
the system powered up, extend and retract the landing gear
to make sure everything aligns and is operating correctly.
Make any adjustments necessary.