Page 6 of 15
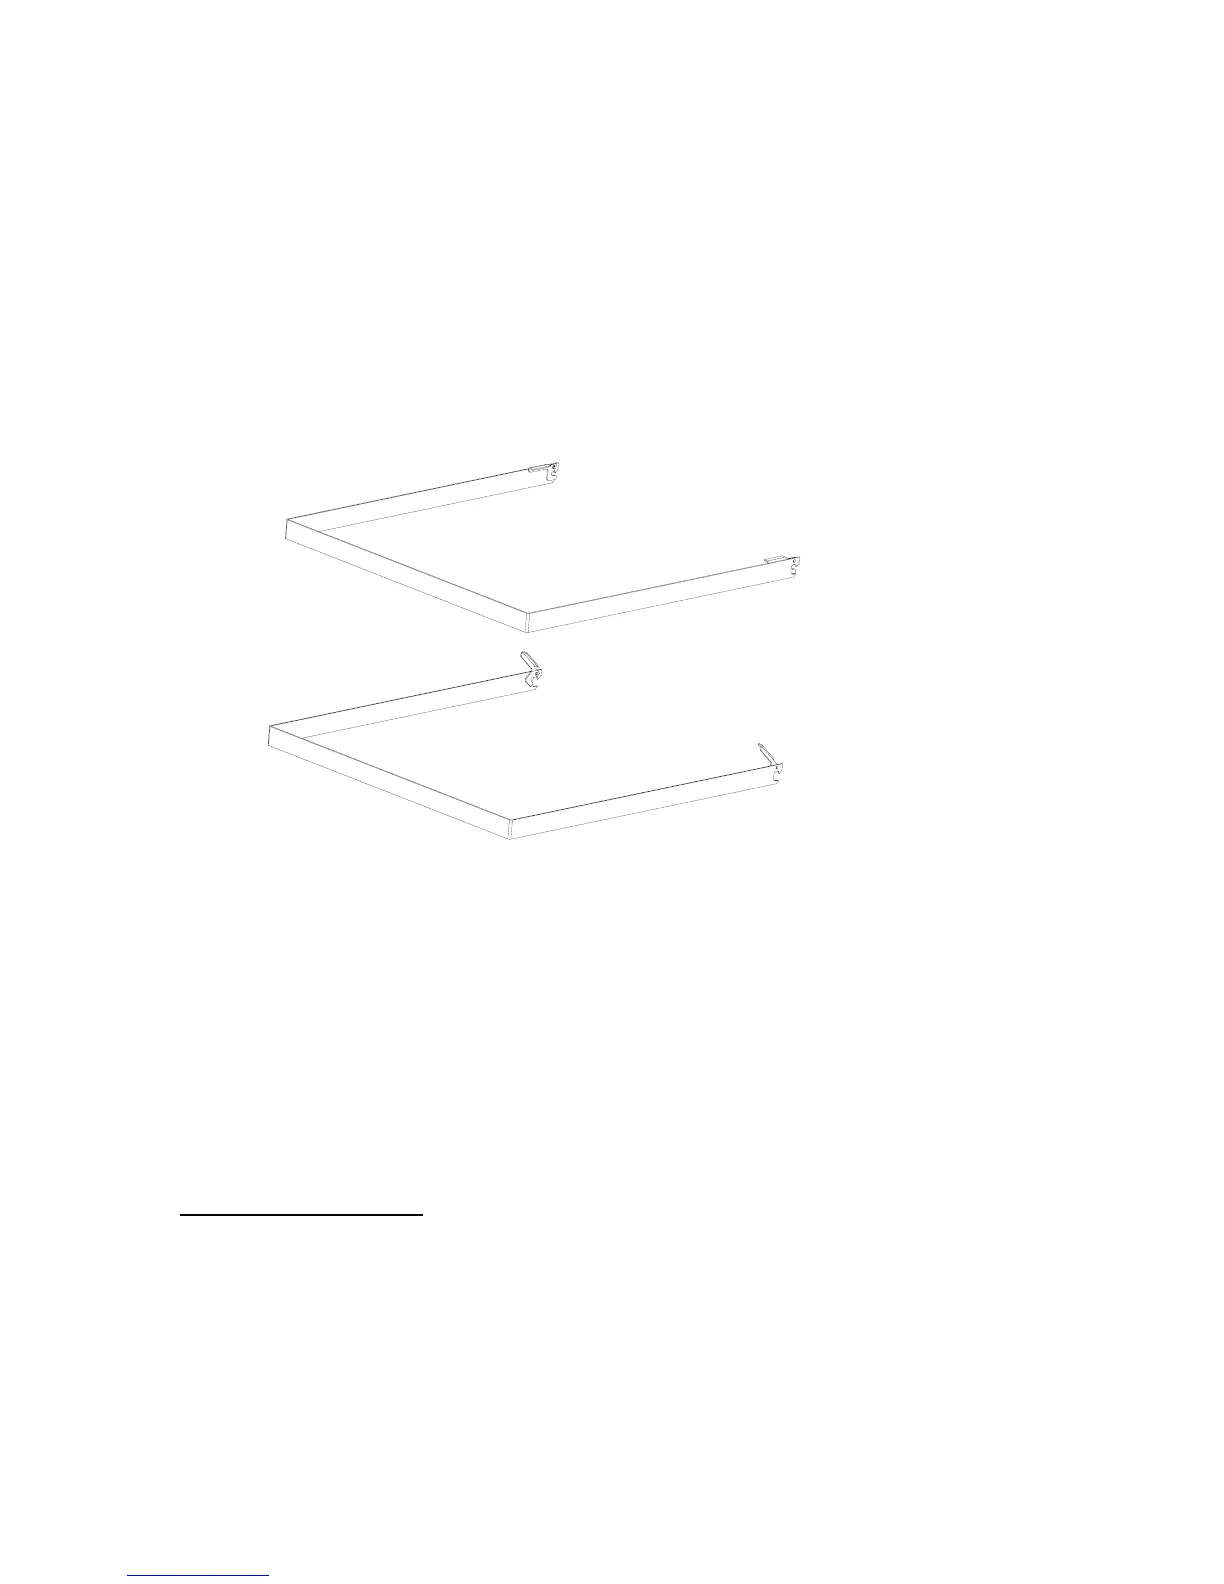
in the center slot of the round spool that is attach to the stove) Once the clasps are
disengaged lift the rear of the grill and at the same time pull it towards the front of the
stove. This motion will allow the small hook sections of the grill frame to ride over the
top of the spool. The grill frame will now be free of the stove.
To install:
To replace the grill simply reverse the procedure. Make sure that the clasps are open, then
while holding the rear of the grill up slide the frame hooks over the top of the spools.
Push down the clasps so that they engage the spool center groove. Check the alignment of
the grill with the stove body, it should be square and feel secure and be able to rotate
freely upward.
Oven door - Your Force 10 Range is equipped with a slide away space saving door. To
open the door, lift up on the handle and pull towards you. The door will fold underneath
the oven.
The door has two positions; fully closed and broiler position. The broiler position uses
the set of notches on the end of the handle arms. There is also a door lock that should be
used when the oven is not in operation.
To lock the handle, lift up the brass knob located on the right side of the handle and slide
it towards the door. To unlock the handle lift up the knob and slide it towards the handle.
Top Burners Operation
Before lighting, ensure the Burner Caps are on the burners.
All the burners are equipped with a flame failure device (thermocouple). If the flame
goes out for any reason, the solenoid inside the control valve cuts off the supply of gas to
the burner.
CLASP
OPEN
CLASP CLOSED
(MUST ENGAGE SPOOL)