Page 7 of 15
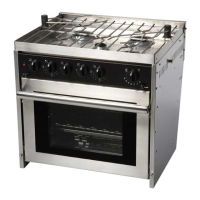
To light the top burners:
• Push in the control knob that corresponds to the burner you are lighting, and turn
counter-clockwise 90º.
• Continue pushing the control knob in, while pushing the ignition button located on
the left side of the control panel. (There will be a spark at all the burners)
• Once the burner is lit, continue to hold the control knob in for (20) seconds to allow
the thermocouple to heat up and energize the solenoid inside the valve.
• Turn the control knob counter-clockwise to adjust the output down.
• To turn the burner off, turn the control knob clockwise to the off position.
Oven/Broiler Operation
The oven and broiler are controlled by the same valve. The oven and broiler can not be
operated at the same time. The oven temperature is controlled by a mechanical
thermostat. The oven burner will provide full output until it reaches the set point at
which timer it will go into a maintenance mode.
For best results it is important to pre-heat the oven. The oven should be pre-heated for 8-
10 minutes to achieve a stable temperature.
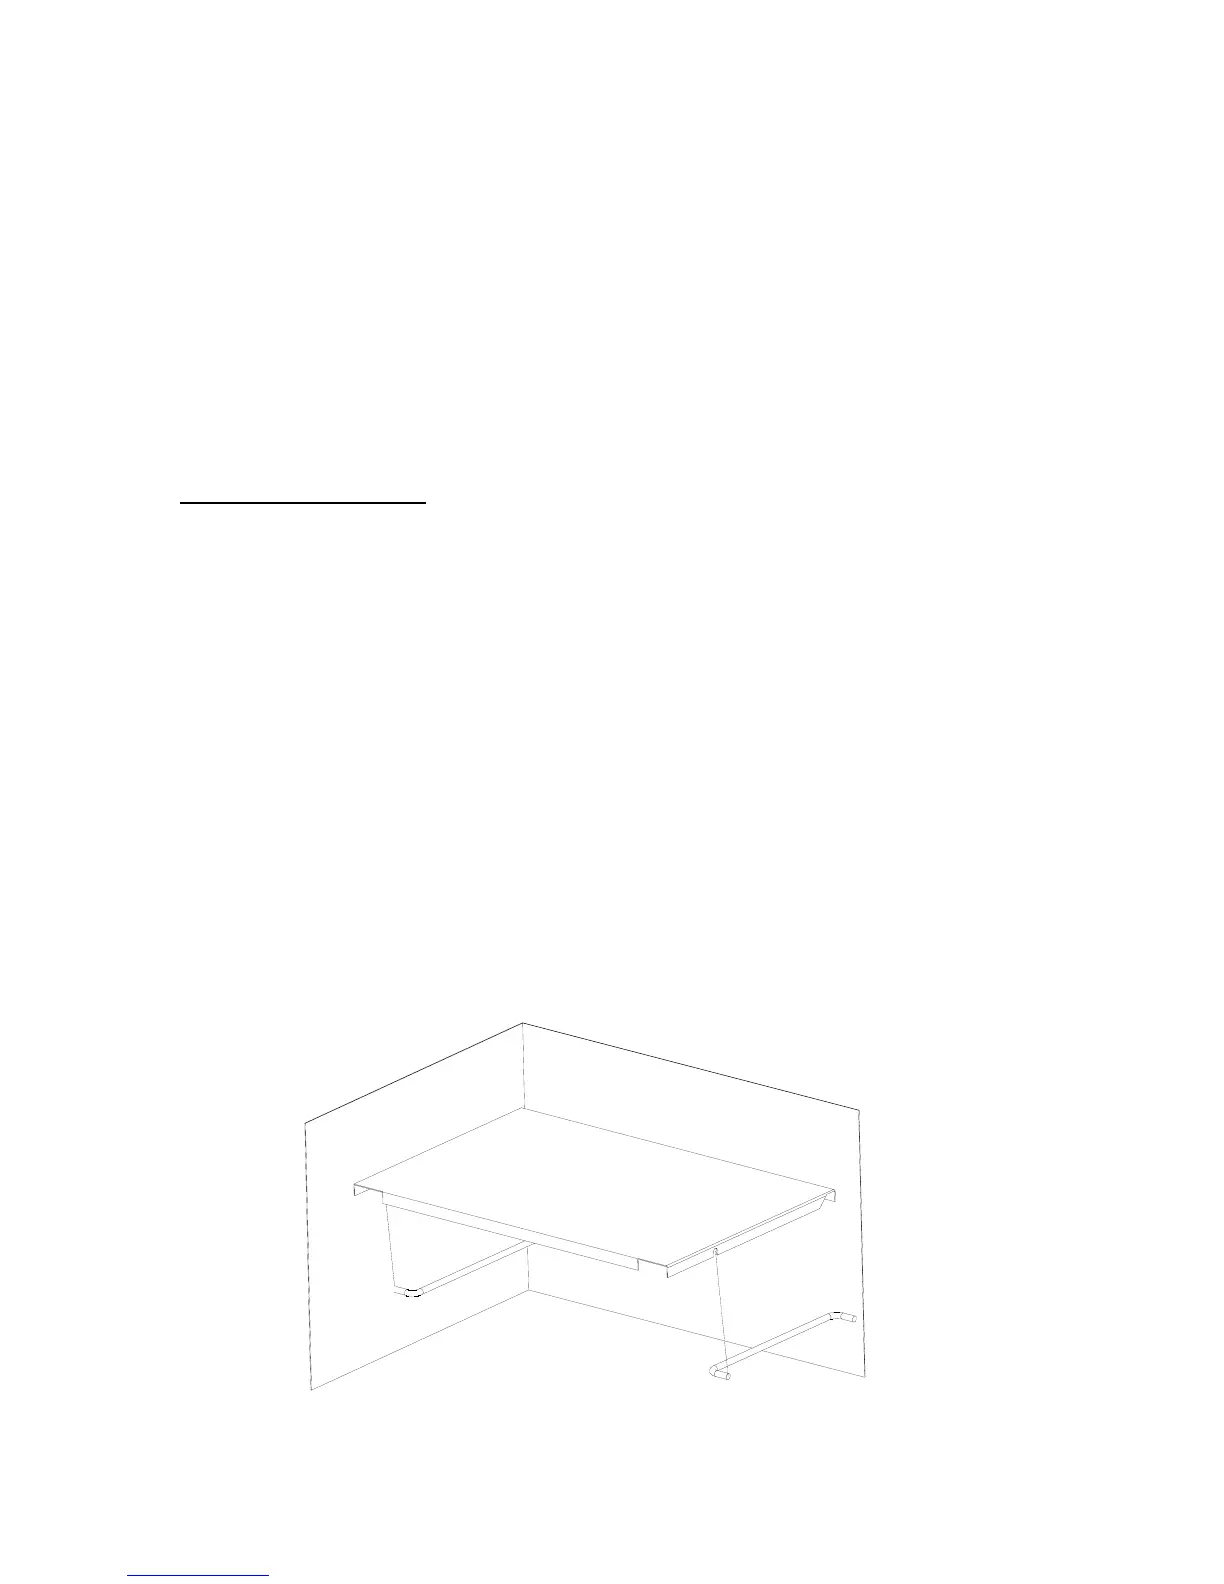
It is essential for proper operation of your oven that the heat disbursement plate be
installed.
Heat Disbursement Plate installation:
Install the Heat Plate on the side rails located towards the bottom of each oven side, with
the circular notches towards the front.
Rail