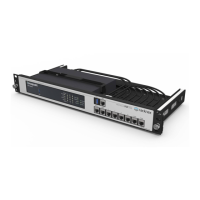
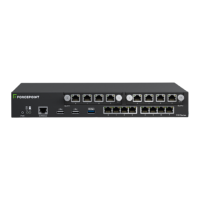
Next Generation Firewall Hardware Guide | Models N120W, N120WL,and N120L
■
LTE antennas — 4 pieces, flat whip (only for models N120WL and N120L)
CAUTION
To avoid damaging the antennas or the appliance, makes sure to attach the correct antennas to
the correct connectors. Wireless LAN antennas have recessed connectors. LTE antennas have
protruding connectors.
Steps
1) Locate the antennas included in the appliance delivery.
2) Attach the wireless LAN antennas to the connectors on the back panel of the appliance.
3) Attach the LTE antennas to the connectors on the side panels of the appliance (only for models N120WL and
N120L).
4) Tighten the knurled nuts at the base of the antennas to secure them firmly to the appliance.
5) While holding the base of the antennas, position the antennas.
Mount the N120, N120W, N120WL, or N120L
appliance on a wall
You can optionally mount the N120, N120W, N120W, or N120L appliance on a wall.
Important
There are vents on the sides of the appliance. Keep other objects at least 100mm (4 inches) away
from the appliance to ensure good air flow. Do not stack appliances.
Mounting the appliance on a wall has the following requirements:
■
You can mount the appliance in a horizontal orientation only with the connectors for the cables facing down.
■
The distance between the holes that you drill for the appliance in the wall must be 120mm (4.7 inches).
■
Depending on the wall material, you might need to insert nylon plugs into the mounting holes that you drill for
the appliance. No nylon plugs are supplied with the appliance.
■
Two flat undercut screws are required. No screws are supplied with the appliance.
The diameter of the screw heads must be 5.5mm (7/32 inch) and the thickness of the screw heads must be
2mm (5/64 inch).
Select screws that are suitable for the wall material and long enough to provide a firm mounting point for the
appliance. If you have attached the four provided rubber feet to the bottom of the appliance, make sure that
the screws are long enough to provide a firm mounting point for the appliance with the feet attached.
Make sure that the heads of the screws fit into the mounting holes on the bottom of the appliance before you
drill the mounting holes in the wall.
18