Getting Started
OPENING THE GC2
Deploy the foot stand by rotating it 180 degrees until it is directly
below the base of the GC2. Be sure to rotate stand until it comes
to a stop. Open the top of the device by rotating top cover back
until it comes to a stop.
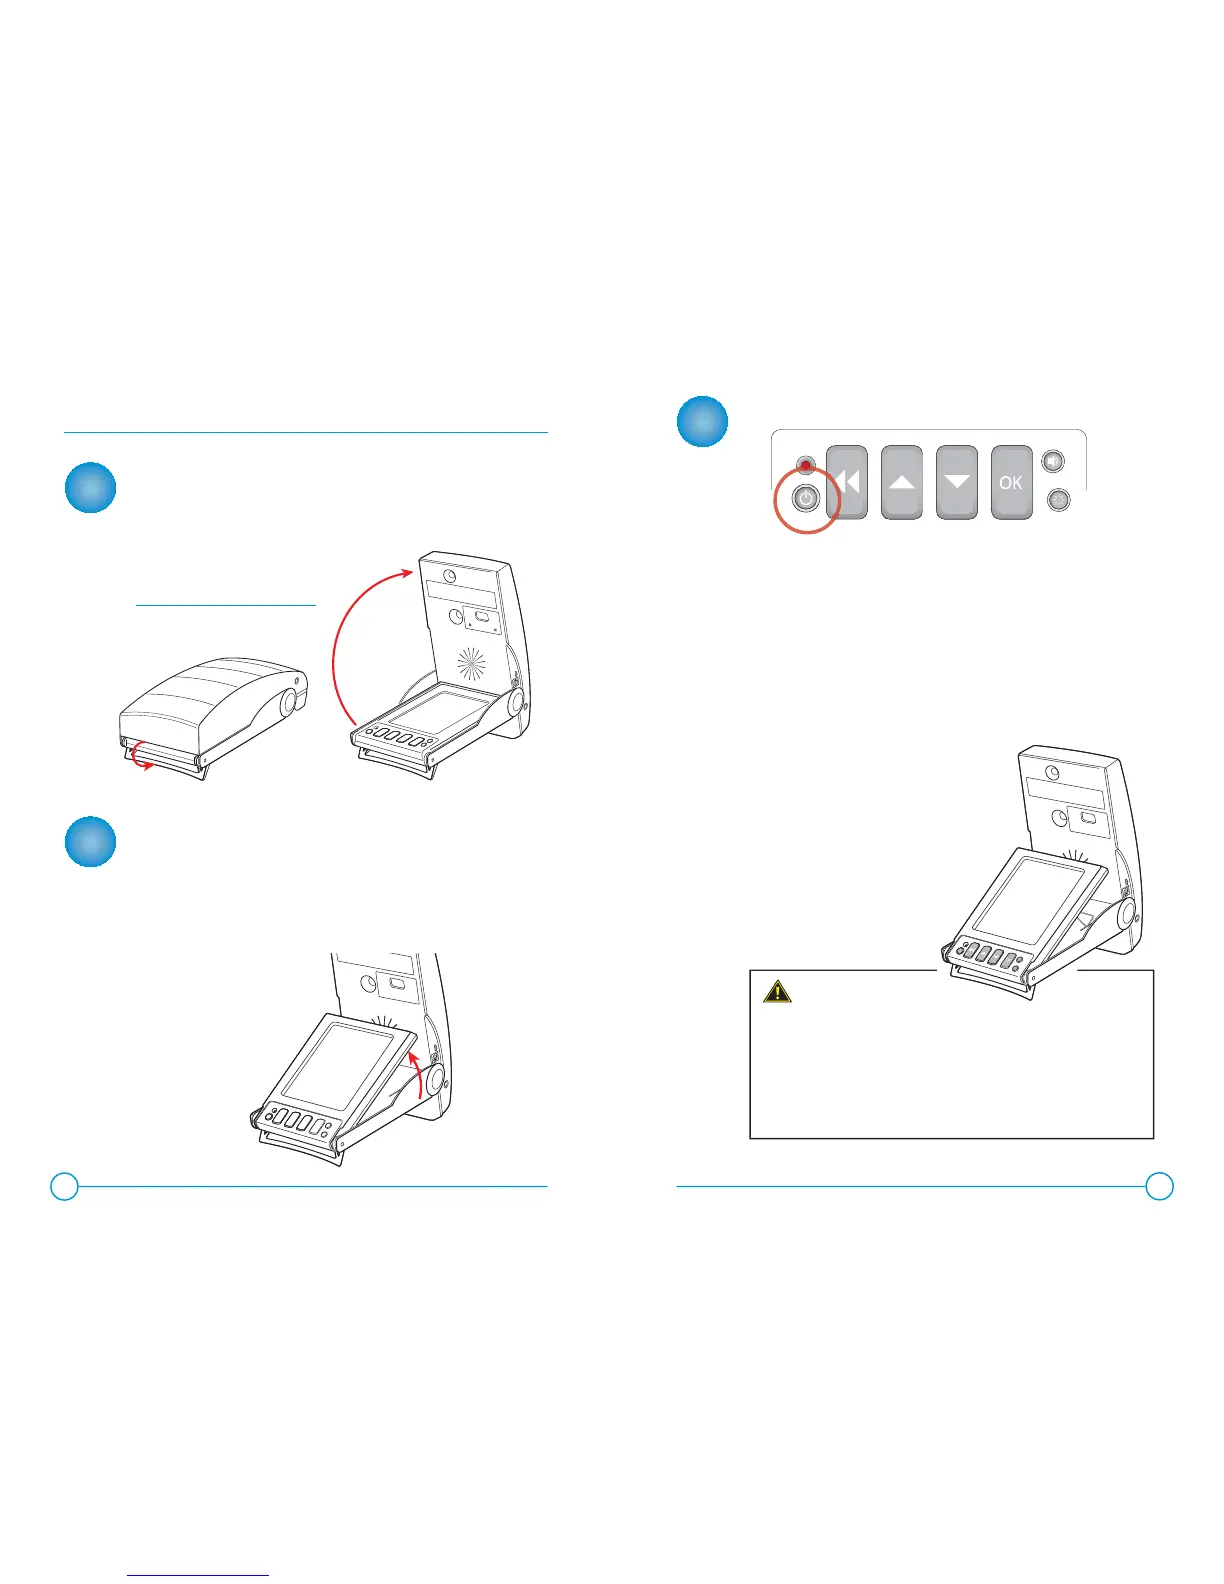
ELEVATING THE DISPLAY SCREEN (OPTIONAL)
The Display Screen may be raised by pushing it upward and
deploying the wire stand behind it. Press the screen upward by
extending your index fi nger through the opening in the bottom
of the device to raise the screen. Release the wire stand from
the top of the Display Screen and rotate it downward, placing the
wire elbows in one of the three sets of indents in the bottom of
the device.
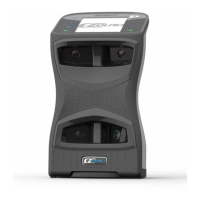
TURNING POWER ON / OFF
To turn power on, press and release the Power Button key.
When the power button is pressed to turn the GC2 ON,
the LED near the keypad will turn green. Software and
hardware versions of the GC2 will be momentarily displayed.
The LED indicator will blink red and display the ball
placement graphic to indicate the GC2 is ready to track
a shot as soon as a golf ball is placed within the fi eld of view.
To turn power off, press and release the Power Button key again.
The device will initiate its shutdown sequence, and the display
screen will read “GC2 Now Shutting Down.”
Your new GC2 Smart Camera System was provided
FULLY CHARGED and ready for use.
PLEASE FULLY USE THE FIRST CHARGE ON THE DEVICE
PRIOR TO CHARGING WITH THE PROVIDED POWER CORD
AND ADAPTER.
1
2
3
4
5
PLEASE NOTE:
Raising the Display Screen
improves the viewing angle and
reduces glare outdoors.
NOTE:
Make sure the top is completely
rotated to insure proper operation.