24
STOWING ARMS
When you are done with your workout, we recommend the arms be stowed
behind the Studio. The stowed position is the safest placement to prevent
unintended use of the quick release and cables. Before stowing the arms,
make sure that you remove any attachments connected to the quick release.
Next, pull out and place the quick release onto the dock for safe storage (see
image below). In order for the arms to properly stow, the quick release needs
to be docked. This also prevents the cables from unintended use.
Next, lower the arms to the lowest height position. We call this the Stow
position. Remember to always use two hands when adjusting the arms.
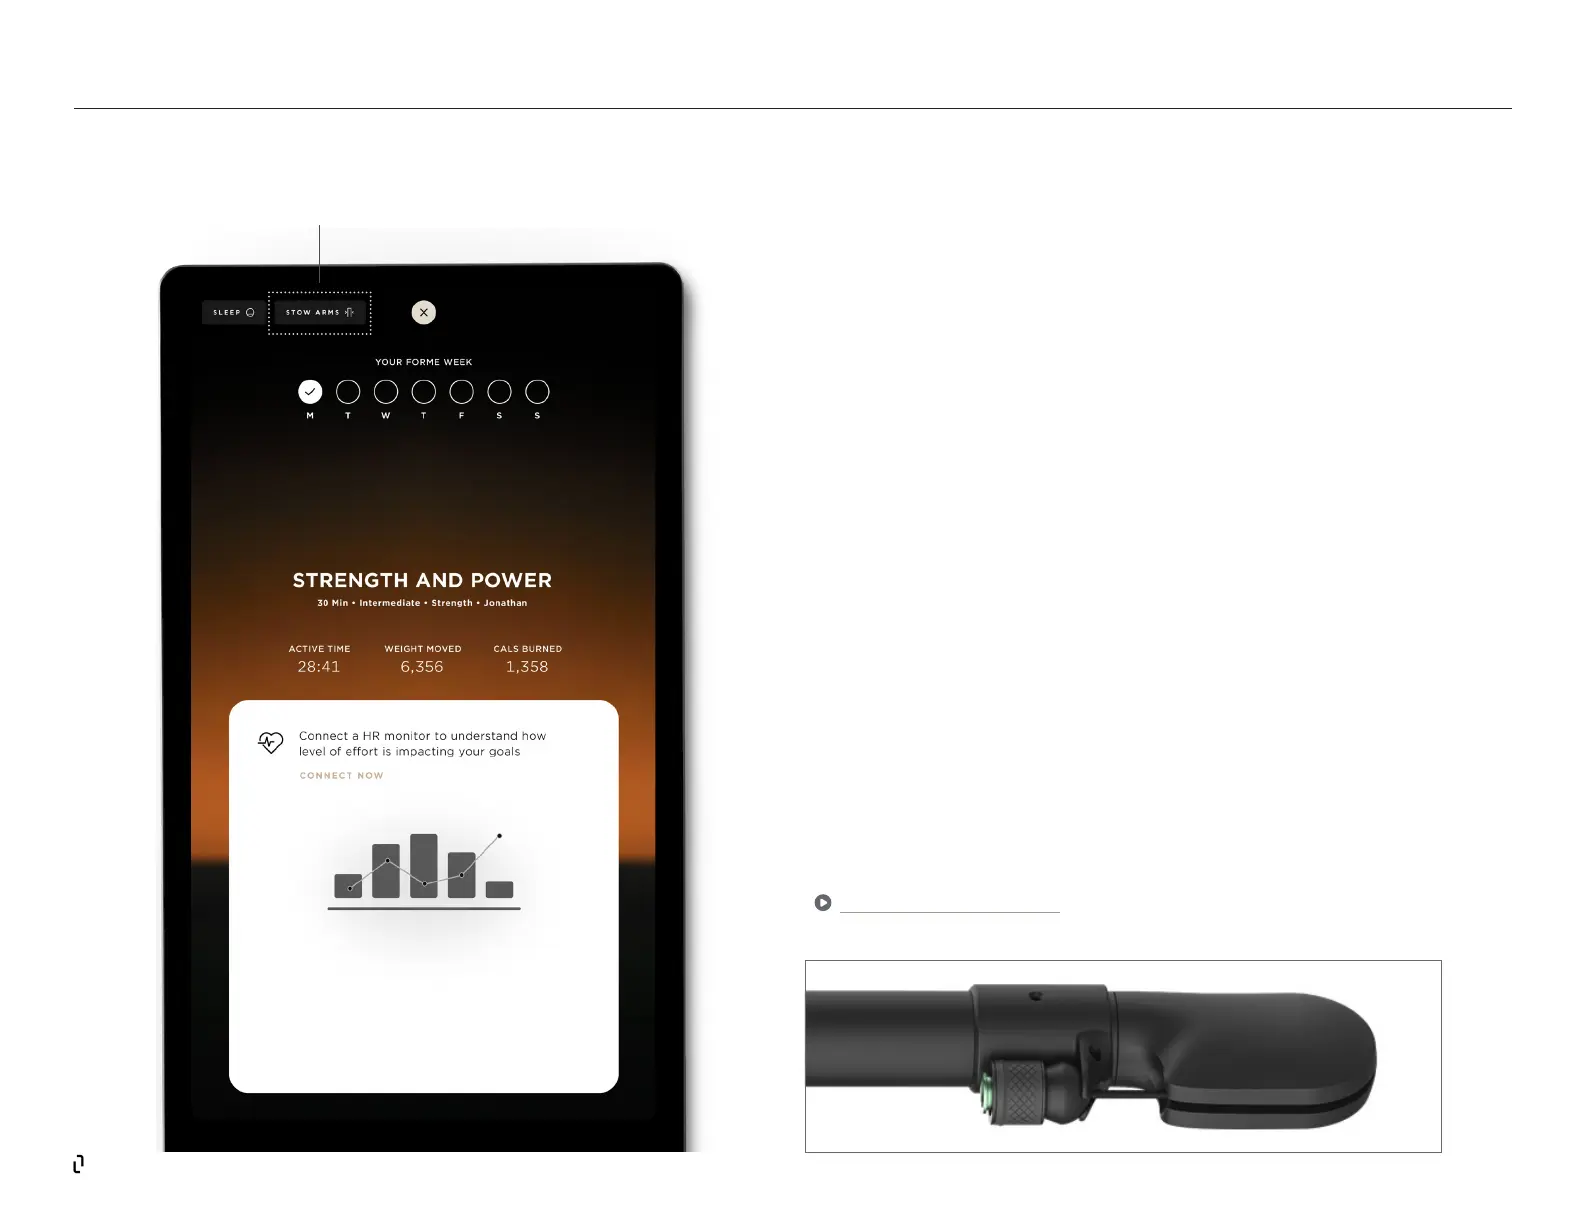
Then, tap the Stow Arms button. If you’re at the end of a workout, you’ll
nd that button on the workout summary screen. The Stow Arms button is
also available in the Control Center. To stow the arms, make sure they’re at
the lowest height setting. The arm hug will unlock automatically, allowing
you to rotate the arm out of sight, behind the mirror. As with any tness
equipment, it’s important to be aware of the places where moving parts
could pinch your ngers. Using your ngers, press gently on the front of
the shoulder, until it locks in place, behind the Studio mirror. When you
hear the arm lock into place, you’ll see conrmation on screen that the arm
has been stowed. Repeat these steps for the other arm.
Video: Stowing Lift Arms
Stow Arms
Button
STUDIO | Using the Studio Lift