15
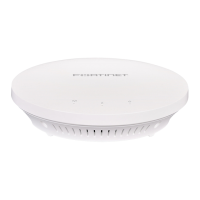
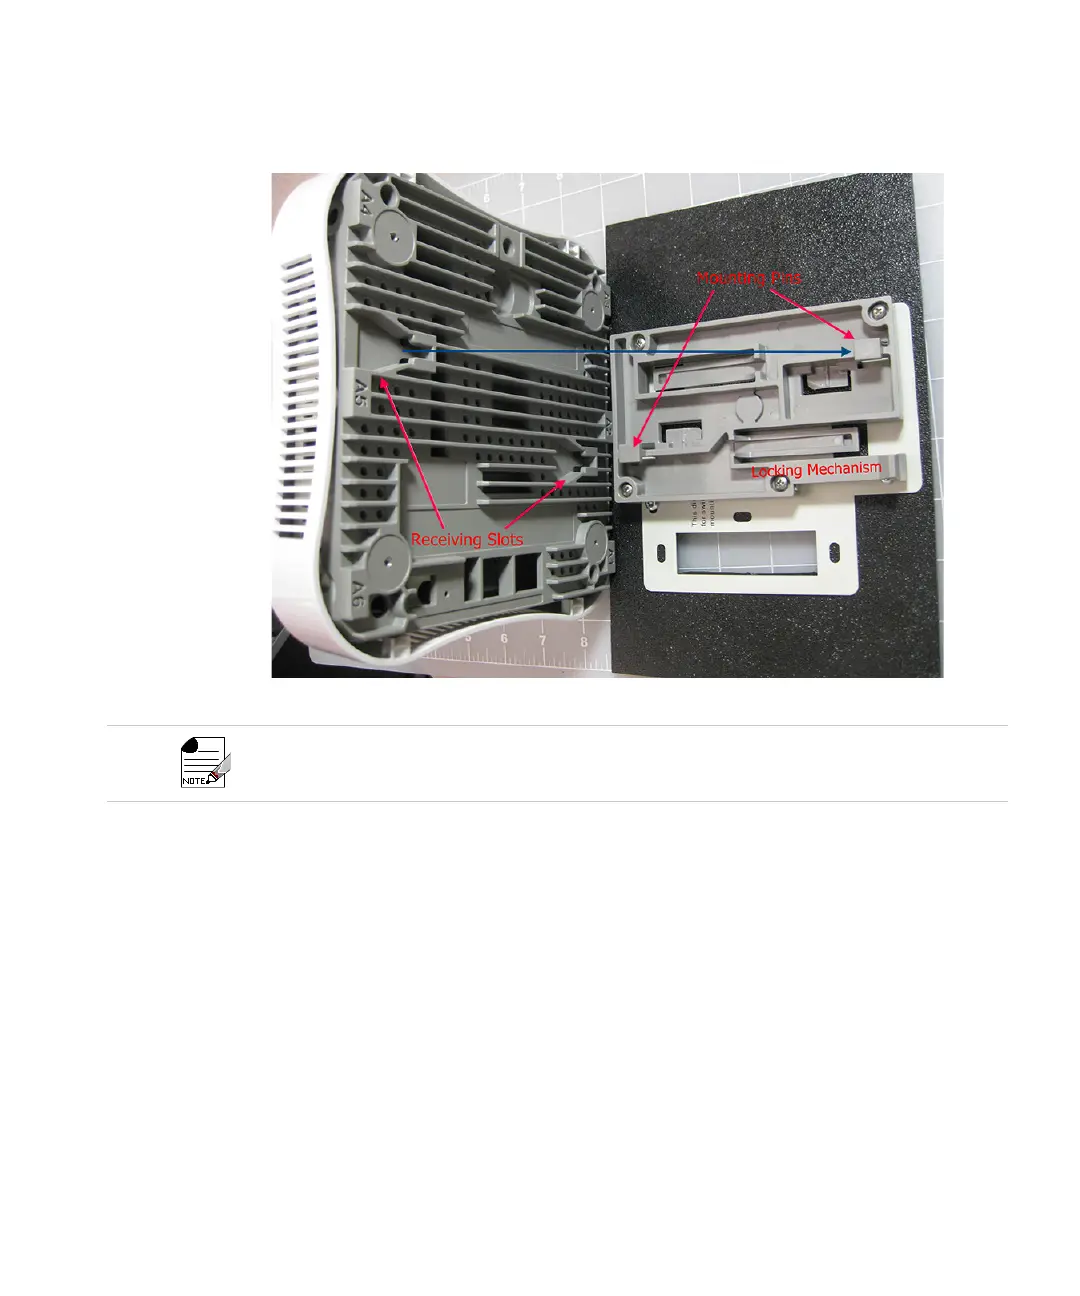
Figure 7: Attaching the AP to the Wall Mount
11. The Fortinet logo on the front of the AP should face up and be readable. The ports on the
AP should be in line with the cable cutout on the wall mount bracket.
12. Make any necessary cable connections at this time (Ethernet, power, locking cable).
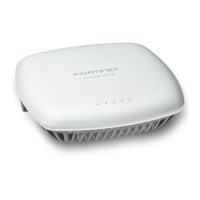
13. Carefully position the AP over the adapter bracket pins and slide the AP gently from left to
right until the locking mechanism “clicks” into place. Verify that the locking mechanism is
securely locked into place to prevent accidental disengagement and potential damage, if
dropped.
14. Verify that the AP comes online.
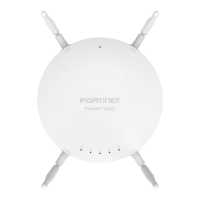
Figure 5 shows an AP832i model being attached to the bracket, but the process is identical for either
AP.