14
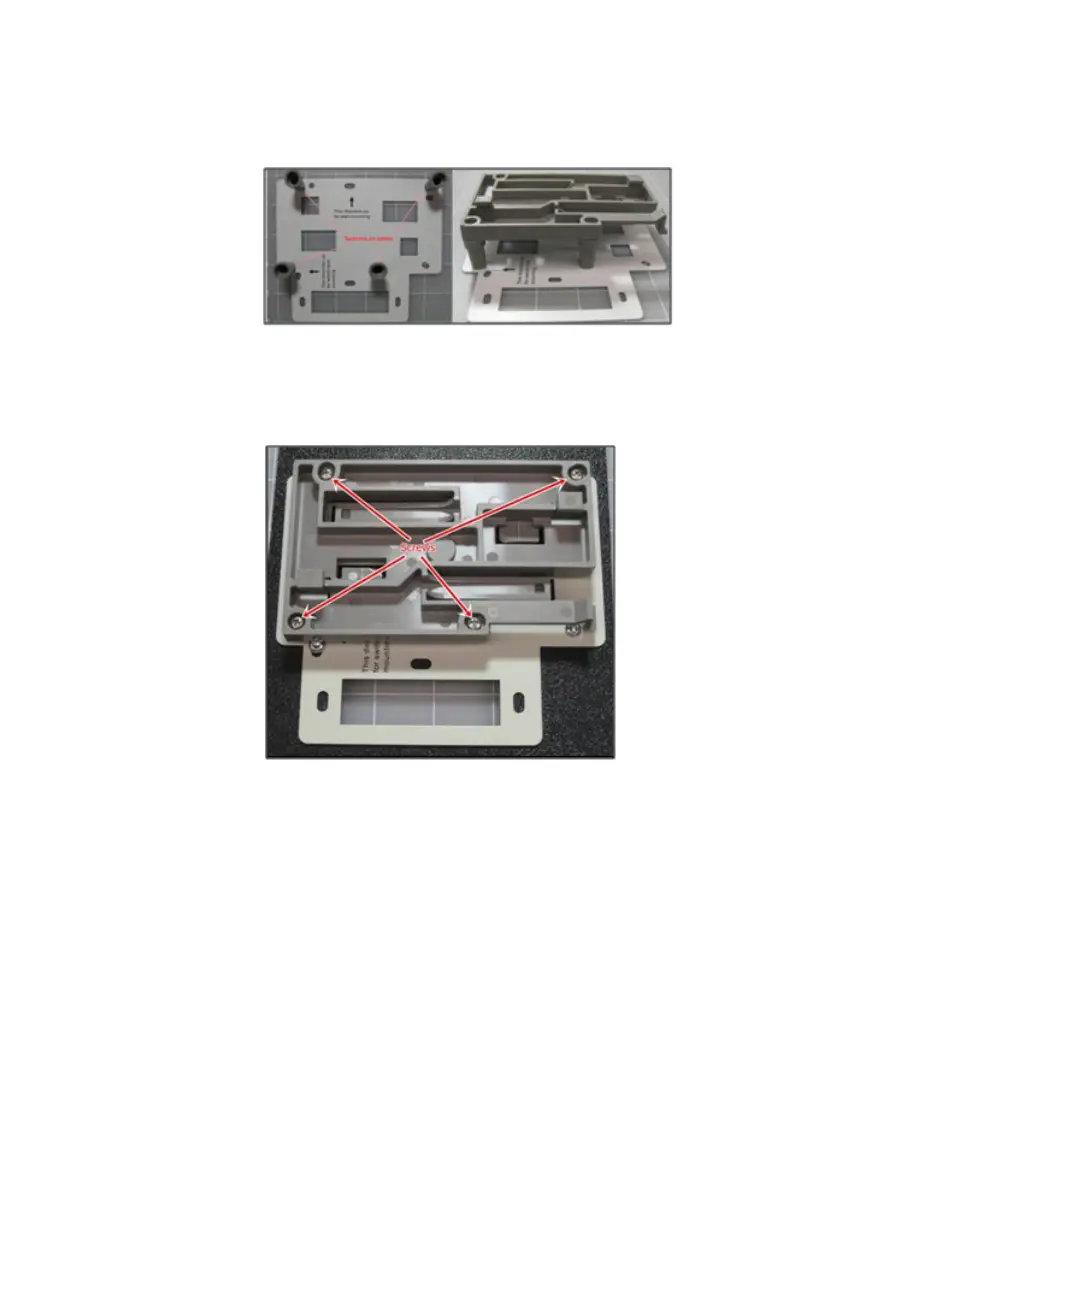
Figure 5: AP832 Wall Bracket with spacers
9. Secure the adapter to the wall mount bracket with the screws provided:
• Use the 4 short screws for installation without spacers
• Use the 4 long screws for installation with spacers
Figure 6: AP832 adapter to the wall mount bracket
10. Orient the AP so that the 2 mounting pins align with the receiving slots.