10
AutoMaster Pro Manual_English_V3.0
4. Switch the ignition key to the ON position.
5. The scanner automatically boots up.
Never try to provide power for the scan tool from USB connection when the scan tool is
communicating with a vehicle.
3.1.2 Connecting to Personal Computer with USB Cable
The scan tool also receives power through the USB port when it is connected to a PC for updating
software and transferring saved files.
1. Insert the small end of the USB cable to the USB port at the right side of the scanner and the
2. Press the power switch of the scan tool to power it on.
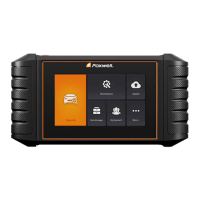
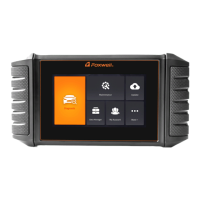
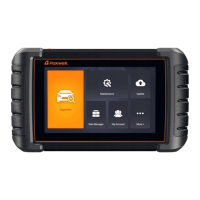
When the scan tool boots up, the Home screen opens. This screen shows all applications loaded
Following applications are preloaded into the scanner:
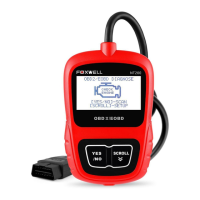
● OBDII/EOBD – leads to OBDII screens for all 10 generic OBD system tests.
● Scan – leads to screens for diagnostic trouble code information, live datastream, ECU
● Setup – leads to screens for adjusting default settings to meet your own preference and view
information about the scanner.
● Playback – leads to screens for access saved data files
This section illustrates how to use the scan tool to input letters and numbers, such as VIN number,
channel number, test values and DTC number. Typically, you may be required to input letters or
numbers when you are doing any of the following operations.
The scan tool provides 4 different types of keyboard to meet your specific needs. Depending on
the needs of text entry, it automatically shows the most suitable keypad.
● classic QWERTY keyboad for input of texts that contain both letters and numbers
● numeric keyboard for input of numbers
● alphabet keyboard for input of letters
● hexadecimal keyboard for special functions, such as key matching, UDS coding
To input text with the scan tool:
1. When you are requested to input text, press the function key Keyboard, and the keyboard