Assembly
Fig. 3
Fig. 3
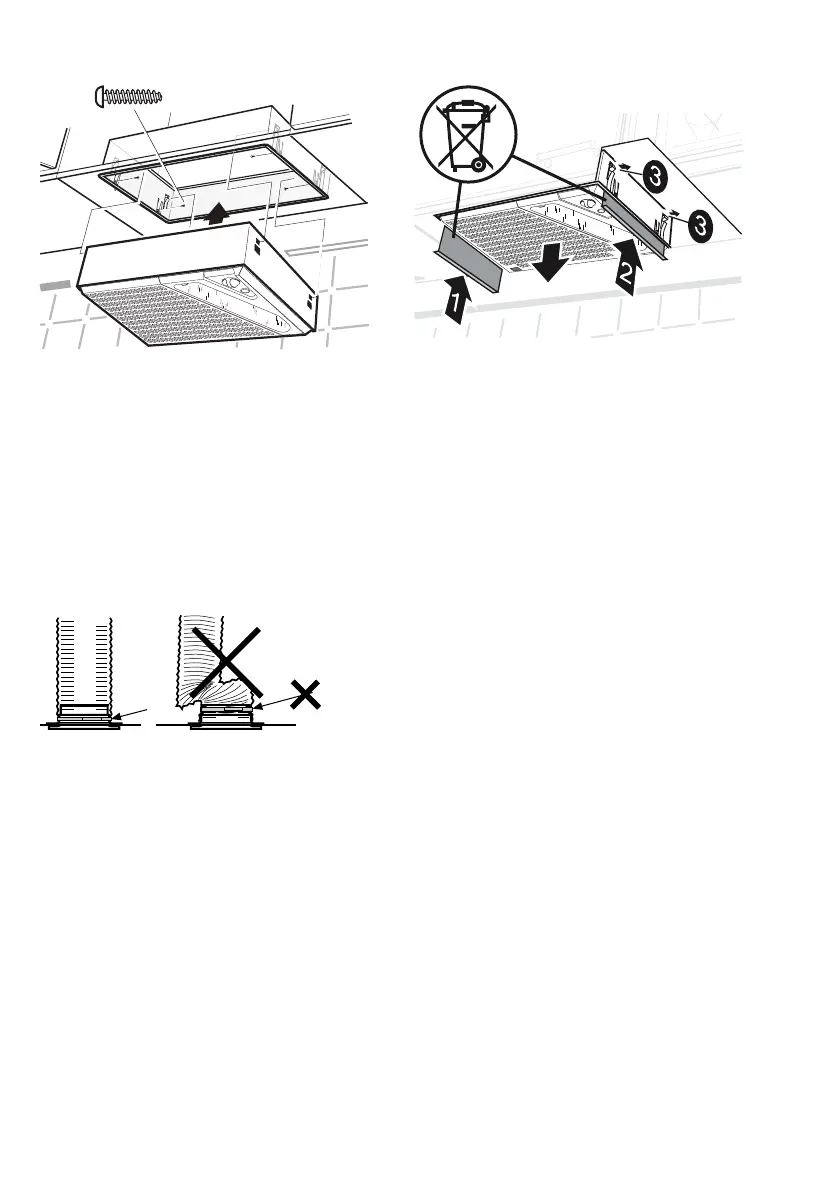
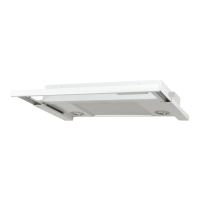
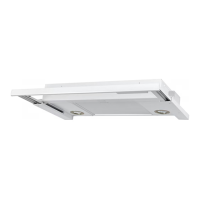
Make an opening of 453 x 298 mm. Screw
the suspension frame into the opening with
4 screws.
Then press the cooker hood into the frame
until it snaps in place.
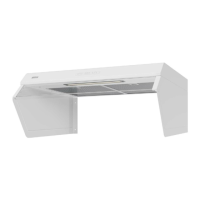
Connection to exhaust flue
Connect the cooker fan with a pipe or tub-
ing Ø 125 mm.
Fig. 4
Attention!
When using a connecting tubing, the
tubing must be stretched and assembled
to fit directly next to the connection, Fig.
4.
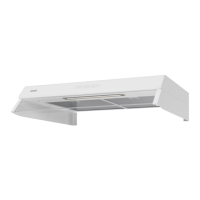
Disassembling instruction
Fig. 5
Press up the disassembling (1 and 2) be-
tween the cooker hood and the suspension
frame to disengage the springs (3). Pull
down the cooker hood from the suspension
frame, Fig. 5.
12
991.0694.921/D000000009064/1802644/2023-01-29