T
Tyrone HawkinsSep 13, 2025
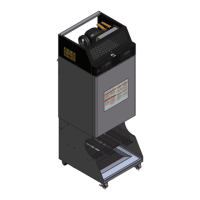
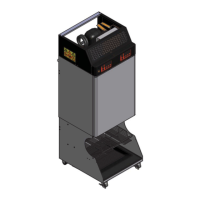
What to do if the load chute is not installed properly in Franke Dispenser?
- MMario StokesSep 13, 2025
Re-align the chute so it drops into the cutout in the load plate. When correctly installed, there is minimum front to back or side to side movement and the top of the chute is parallel to the surface of the bottom.