HCMF Service Manual
For Technical Support, Call 800-537-2653. Page 16 Doc. No. 19005309 - Copyright 2012 Franke, Inc.
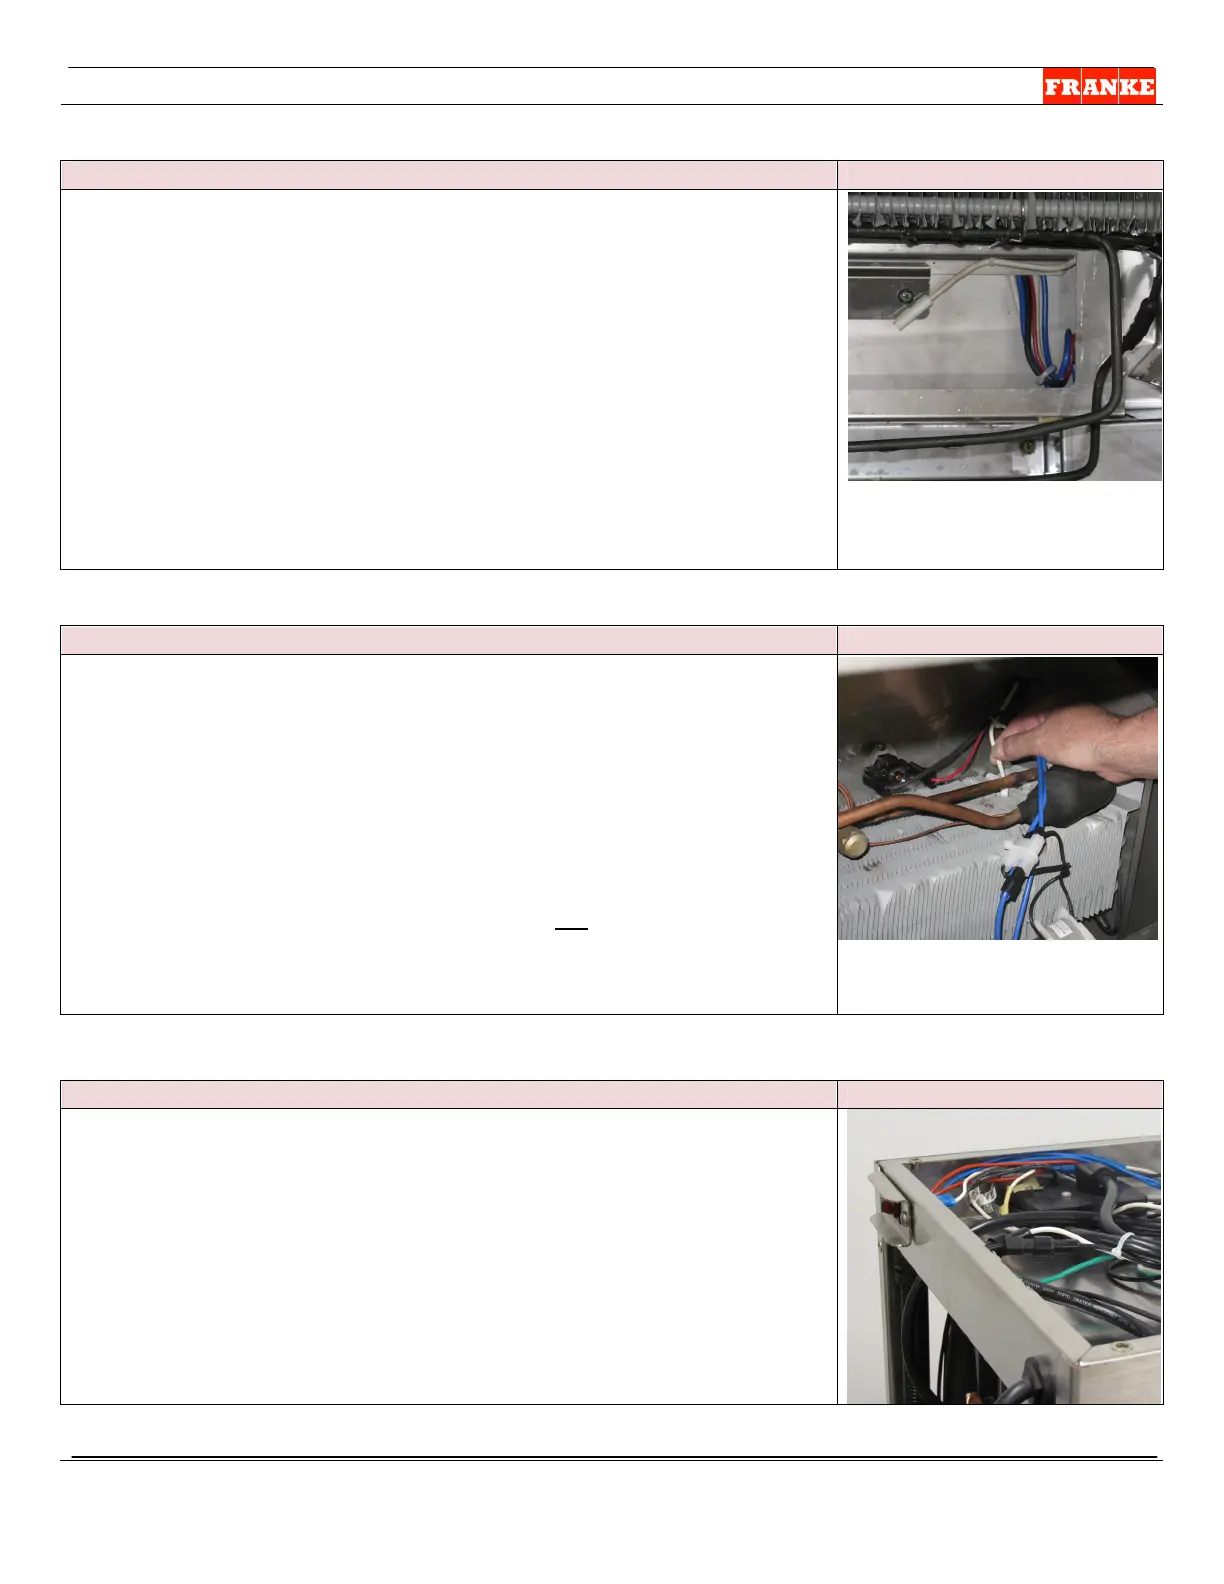
Temperature Sensor/Cable Replacement Tips:
P/N: 19004769
1. Follow grey sensor cable up to compartment penetration/chase
leading up to Evaporator. Cut any wire ties that bind sensor cable
to other harness wires.
2. Obtain new Air Temperature Sensor & Cable [P/N: 19004769],
remove any protective packaging and uncoil the cable.
3. From inside freezer compartment – use electric tape to secure
connector-end of new sensor cable to the old sensor.
4. Through the right access panel – carefully pull the old sensor cable
down through electric chase until new sensor cable connector will
reach the Controller.
5. Remove tape and discard old sensor & cable.
6. Use plastic tie to secure sensor cable to top of wire chase.
NOTE: Ensure sensor doesn’t touch evaporator coils.
Remove drip pan cover
mounting screws, maneuver
cover over heater coil and out.
Defrost Sensor/Cable Replacement Tips:
P/N: 19004832
1. From inside freezer compartment – gently pull defrost coil sensor
out of top of Evaporator Coil. NOTE: Be careful not to bend delicate
coil fins.
2. Follow yellow sensor cable up to compartment penetration/chase
leading up to Evaporator. Cut any wire ties that bind sensor cable
to harness wires.
3. Obtain new Air Temperature Sensor & Cable [P/N: 19004832],
remove any protective packaging and uncoil the cable.
4. From inside freezer compartment – use electric tape to secure
connector-end of new sensor cable to the old sensor.
5. Through the right access panel – carefully pull the old sensor cable
down through electric chase until new sensor cable connector will
reach the Controller.
T-5 Power ON/OFF Switch Replacement Tips: P/N: 3126151
1. To access power switch, remove the six screws that secure to top
Grill Tool Shelf to condenser enclosure. Lift off.
2. Remove the terminal connectors to the three switch terminals
marked: 1-2-3.
3. Remove the two screws from the switch mounting plate that
doubles as a protective bezel.
4. Position new switch through bezel and attached to condenser
housing frame.
5. Attach wires marked 1-2-3 to corresponding switch terminals.
6. Replace Tool Shelf, test the new switch and unit operation.
 Loading...