HCMF Service Manual
For Technical Support, Call 800-537-2653. Page 17 Doc. No. 19005309 - Copyright 2012 Franke, Inc.
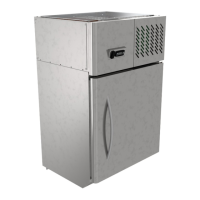
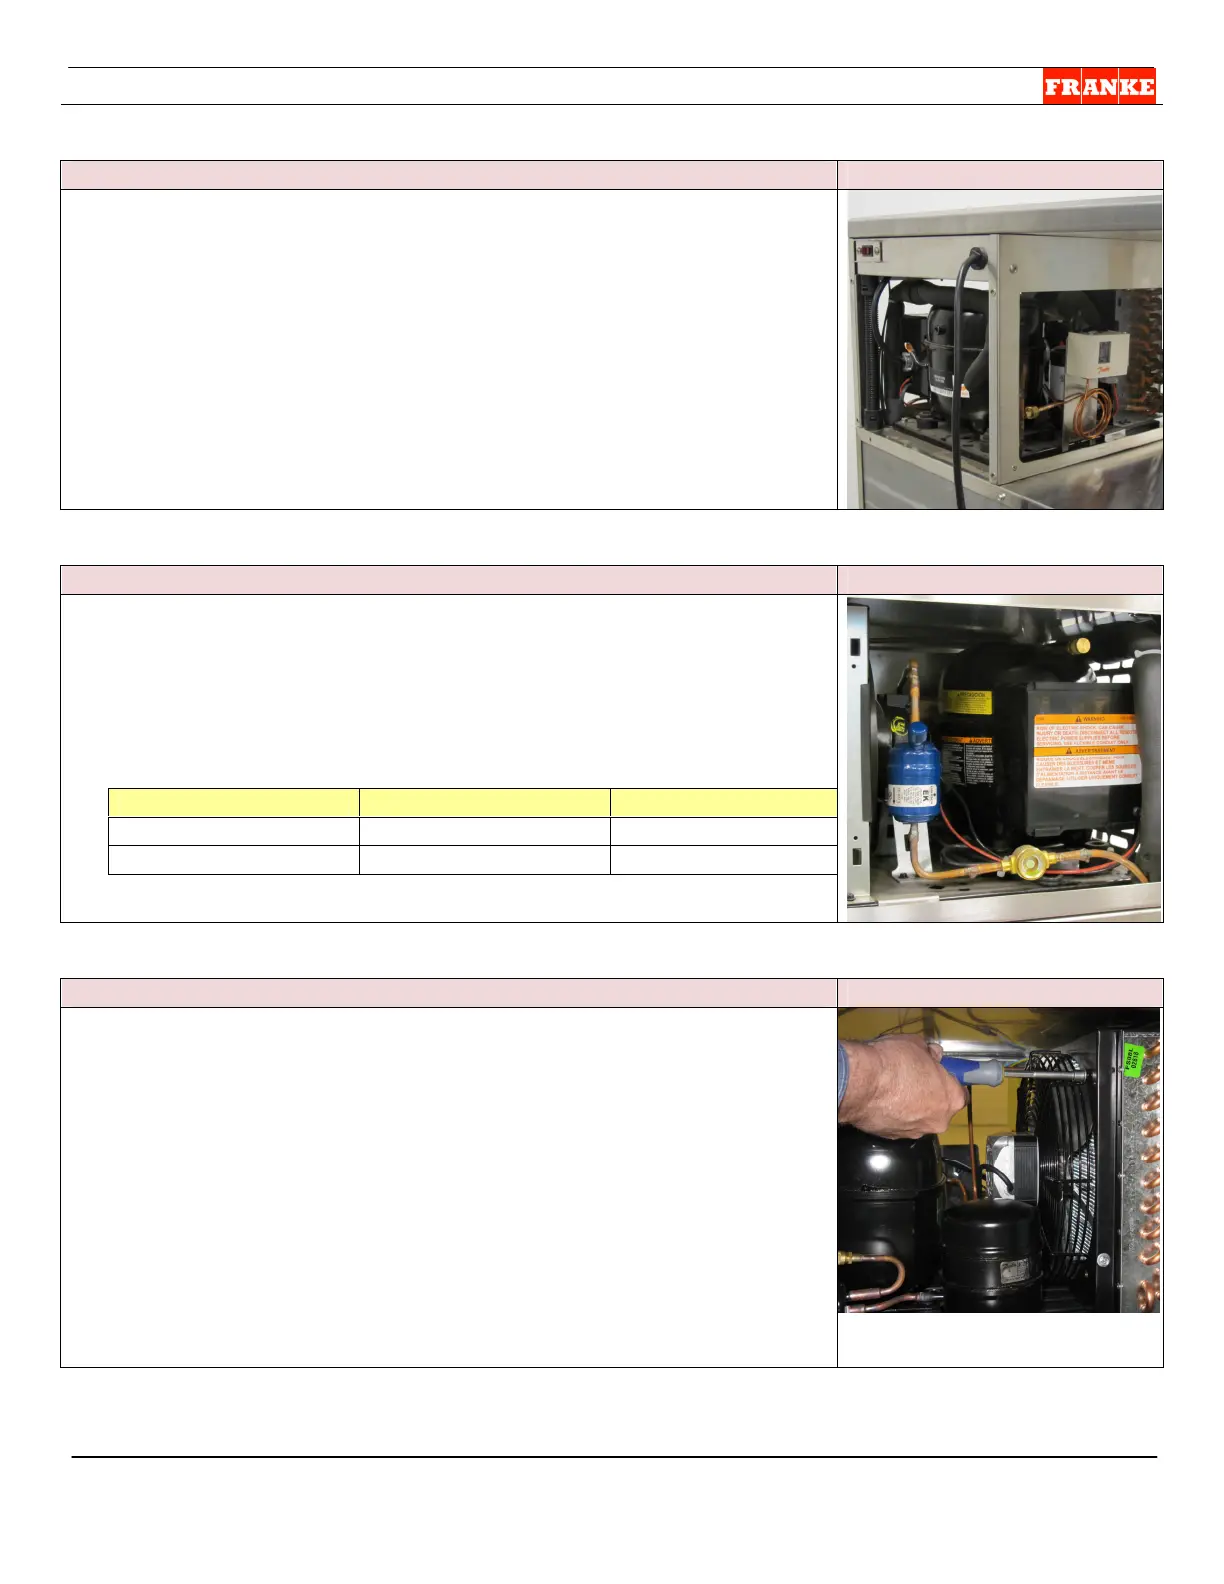
Condenser Package Replacement Tips:
P/N: 19004507 or 19004310
1. Rear, left side and right side access panels can be removed to
provide easy access to the condenser package.
2. Slit insulation on refrigeration lines 6” [15-18 cm] above enclosure
bottom. Push back or remove enough insulation to expose sweat
joints. Sweat those joints to separate compressor from evaporator.
3. IMPORTANT: Recover any residual refrigerant and ensure line
pressure is equalized to zero, before opening the refrigeration
system.
4. NOTE: When resealing the system, use a continuous Nitrogen
charge to assure no contaminants enter the system, especially
when brazing.
Start Relay & Start Capacitor Replacement
See Part No. Guide below
1. Access relay and capacitor through right side access panel.
2. The start relay and capacitor are mounted in a plastic box just right
of the compressor. (See page 6 for relay terminal connections.)
3. WARNING - Use caution when working around capacitor. There is
a danger of electrical shock, which can cause injury or even death!
4. Top of box opens to provide access to both components.
Part No. Guide Model HCMF-18 Model HCMF-30
Start Relay: 19005290 19005291
Start Capacitor: 19005292 19005292
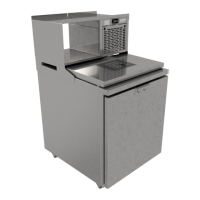
8 Condenser Fan Motor Replace
P/N: 19005293
1. Disconnect fan motor wires from start relay terminals.
2. Remove four screws securing wire condenser fan guard to
condenser.
3. Slowly move fan assembly between rear of compressor and
condenser coil housing. NOTE: It is a tight fit; remove the Grill Tool
Shelf to gain access from above.
4. Separate condenser motor from the wire fan guard & a 1/8” Allen
Wrench to loosen setscrew and remove motor fan blade.
5. Take new motor [P/N 19005293] and mount to wire fan guard.
6. IMPORTANT: When reinstalling fan, make sure fan blades are
facing the proper direction.
7. NOTE: Make sure motor wires are clear of refrigeration lines. Use
wire ties as needed.
 Loading...