EasyManua.ls Logo

Freestyle Flash User Manual

Freestyle Flash
2 pages
To Next Page IconTo Next Page
Page #1 background imageLoading...
Page #1 background image
CODE 27
Top
Insert only the Top
end of test strip into
the meter.
Bottom
2
Prepare Your FreeStyle
Flash Meter
1 Insert a new test strip into the
meter every time you test. The
meter will turn on.
2 As soon as you see the code
number on the meter display,
use the c button to scroll
up or the m button to scroll
down to the number that
matches the number on your
test strip vial. The picture to the
left is an example. Your meter
may have a different number.
IMPORTANT: The code number
on the meter display should match
the code number on the test strip
vial. They must always match, or your
results will be inaccurate.
Be ready to adjust the code on the
meter display to match the code on
the test strip vial.
3 Wait until you see the blood
drop and test strip symbols
appear on the meter display
screen before lancing your
test site. Set meter aside and
proceed to the next step.
We’re here to help. Please call Customer Care toll free at 1-888-522-5226 or visit us at www.AbbottDiabetesCare.com.
© 2005 Abbott. Printed in U.S.A.
1
Set-up the FreeStyle
Lancing Device
2 Insert a new FreeStyle Lancet firmly
into the white lancet-holder cup.
3 Replace the cap until it snaps or clicks
into place. Be careful not to touch the
exposed needle on the lancet.
4 Look in the window of the lancing
device and turn the settings dial to
set the depth level. Start at 2.
5 Cock device, by pulling out dark
grey handle. You may have already
cocked the device when you inserted
the lancet. Set lancing device aside,
proceed to the next step.
1 Snap off the cap on the lancing
device at an angle.
Hold lancet firmly in place
with one hand. Use your
other hand to twist off
rounded top of lancet.
Cocking Handle
Depth Settings Dial
Release Button
Clear Cap (for alternate site testing)
Depth Indicator Window
Continue to Step 3
IMPORTANT: To ensure accurate results, wash your hands and test site (for example, your forearm) with
soap and water. Make sure there is no cream or lotion on the test site. Thoroughly dry your
hands and test site.
Read Me First
Getting Started Guide
Question and Answer IconNeed help?

Do you have a question about the Freestyle Flash and is the answer not in the manual?

Freestyle Flash Specifications

General IconGeneral
Sample Size0.3 µL
Test Time5 seconds
Memory Capacity400 tests
Battery Type1 x CR2032
Operating Temperature10°C to 40°C (50°F to 104°F)
Operating Humidity10% to 90% RH (non-condensing)
Storage Humidity10% to 90% RH (non-condensing)

Summary

Set Up Lancing Device

Prepare Lancing Device

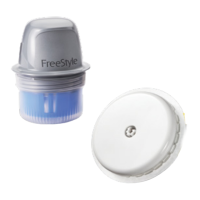
Snap off the cap, insert a new lancet firmly, and twist off the rounded top.

Set Depth and Cock Device

Set the depth level using the dial and cock the device by pulling out the handle.

Prepare Glucose Meter

Match Meter and Vial Codes

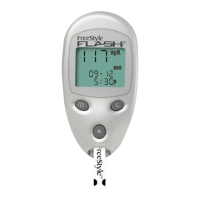
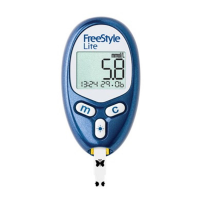
Ensure the code number on the meter display matches the test strip vial code for accuracy.

Insert Test Strip and Adjust Code

Insert a test strip, then adjust meter code to match the vial using 'c'/'m' buttons.

Wait for Meter Symbols

Wait for blood drop and test strip symbols to appear on the meter display before proceeding.

Obtain Blood Sample

Warm and Position for Lancing

Rub test site to warm it, hold clear cap down, and depress the release button.

Collect and Lift Blood Sample

Collect blood sample about pinhead size, then lift device straight up carefully.

Avoid Lancing Areas

Avoid lancing areas with veins, moles, tendons, or bones to prevent excess bleeding.

Fill and Read Test Strip

Prepare Meter and Strip

Ensure meter is on and test strip inserted; prepare to apply blood sample.

Apply Blood to Test Strip

Bring test strip to blood sample at slight angle; strip pulls blood through the edge.

Test Strip Usage Guidelines

Use one edge, do not scrape, apply to flat side, or apply when strip is out of meter.

Wait for Result Display

Wait for one beep/moving line; two beeps indicate the result is shown on screen.

Related product manuals