10
C. INSTALLATION OF THE UNIT
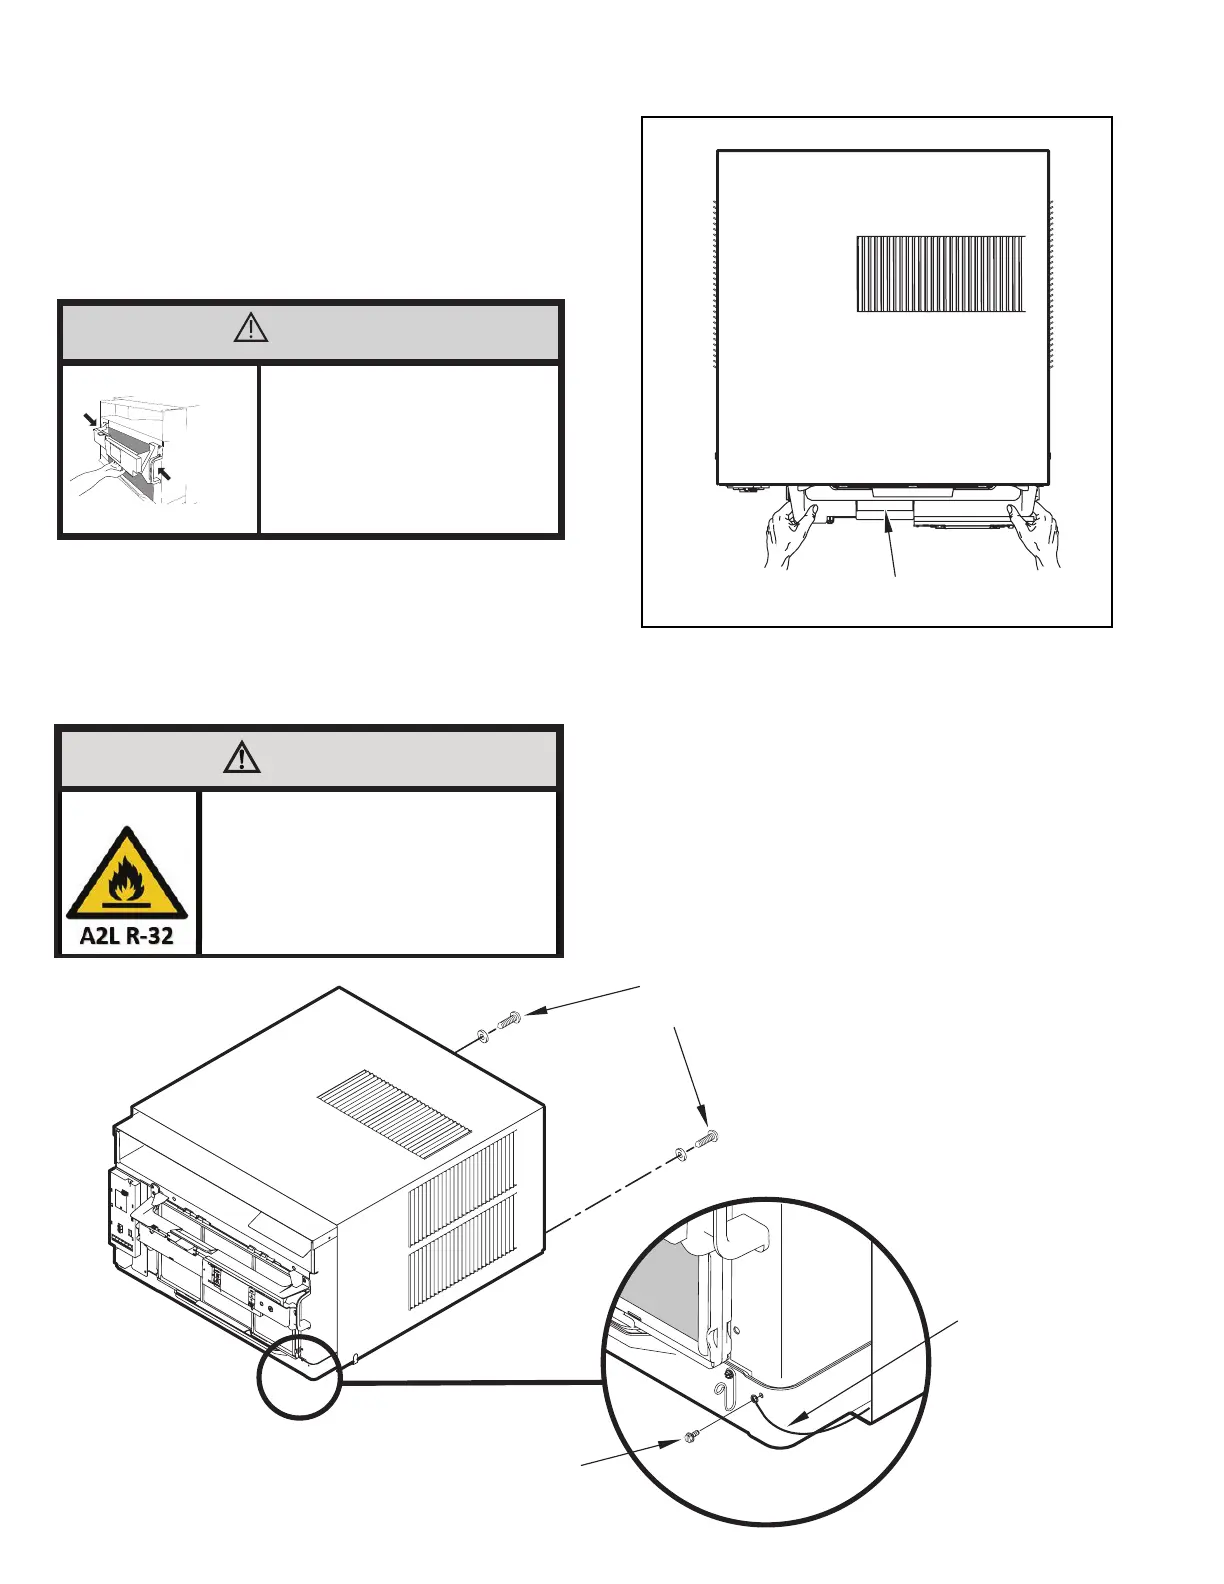
WARNING
Fire Hazard
A2L refrigerant is classified as mildly
flammable. Do not install unit next open flame
sources, or surfaces that will exceed
1200 degrees fahrenheit.
C.4 Window Installation
NOTE: Hardware used during the installation is illustrated in section A. 6
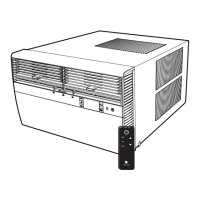
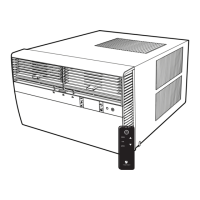
STEP 1. Remove the chassis EntryGard
™
retainer by removing the far right
screw (see Figure C.4.1). Save this screw to reattach the chassis
retainer after installation (Step 12). Also, remove and discard the two
retainer screws and washer located at the rear of the unit (see Figure
C.4.1).
CAUTION
Handle Use
Use handle on both sides to
pull unit from sleeve.
Do not push, pull, or lift from
center of support.
Use Handle
Locations
(both sides)
STEP 2. Hold the cabinet stationary. Then, use the hand grips on both ends of
the control unit support bracket to pull the chassis out of the cabinet
(see Figure C.4.2).
.
AND WASHERS
FAR RIGHT
SCREW
ENTR
RETAINER
WIRE
Figure C.4.1
STEP 3. Anchor the brackets (Item 6) by engaging the tabs of the lower sill plate
(C.4.4 Detail 1) with the loops of the side angle. Engage the tabs of the
top angle (Item 5) with the top loops of the side angle (C.4.4 Detail 2).
Install two (2) screws (Item 7) to secure the top angle tabs and the side
angle to cabinet (see Figure C.4.4 Detail 2).
NOTE: It may be helpful to start the screw before fully engaging the tabs so that
the taper hole aligns with the screw.
Figure C.4.2
CONTROL UNIT
SUPPORT BRACKET
RETAINER SCREWS
AND WASHERS