28
C. INSTALLATION OF THE UNIT
C.7 Install Filter
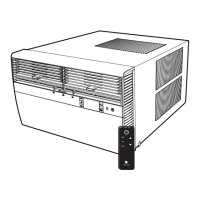
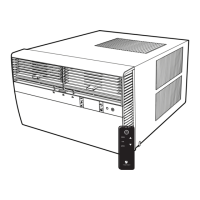
HANDLE
FILTER GRIP
FILTER GRIP
FILTER
Figure C.7.1
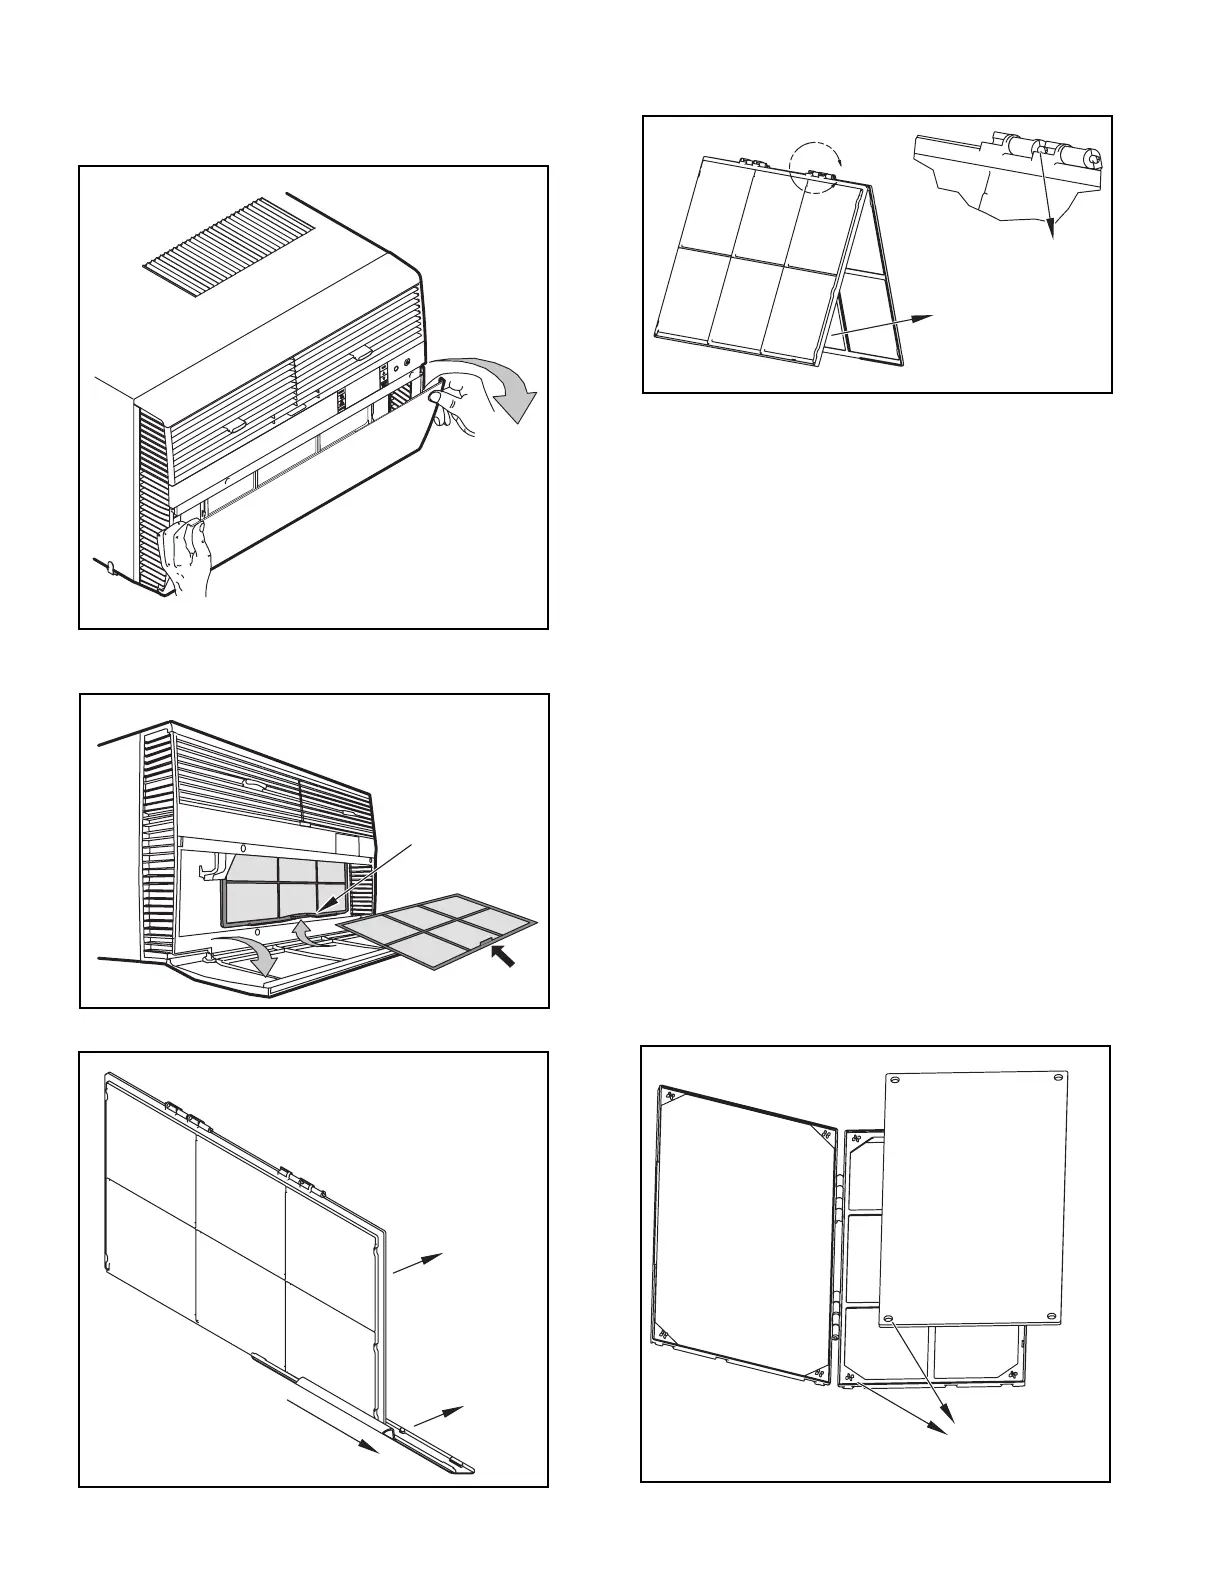
STEP 1. Swing the door open and remove the lter by grasping the lter grip
and pushing the lter holder upward and outward. (See Figure C.7.2)
STEP 2. Slide the lter grip out from the lter as shown in Figure C.7.3.
NOTE: Make sure the front frame with the mesh lter is facing you.
STEP 3. If you already have a carbon lter installed remove the dirty lter by
laying the lter down and swinging open the front frame as shown in
Figure C.7.4. Clean the front frame by washing the dirt from the lter.
Use a mild soap solution if necessary. Allow lter to dry.
STEP 4. (Optional) Place the new carbon lter on the top of the back lter
frame. The carbon lter has been cut to the correct dimension and
should t within the frame as shown in Figure C.7.5.
NOTE: The carbon lter is not a reusable lter, and needs to be replaced every
three months for optimum efciency.
STEP 5. Slide the lter handle back on to hold the frames together
and slide the assembly into the unit as per the instructions
on the door.
NOTE: The lter handle slides into the frame in only one direction. If the tab
in the frame stops the handle from sliding in, slide the handle from the
other direction. DO NOT FORCE THE HANDLE INTO THE FRAME.
Figure C.7.2
A
FRONT
FRAME WITH
STANDARD
MESH FILTER
TOP TAB
Figure C.7.4
ALIGN HOLES WITH
PROTRUSION
Figure C.7.5
Figure C.7.3