10
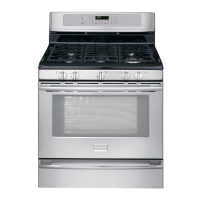
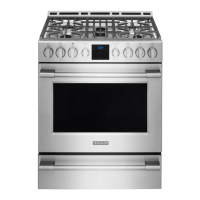
INSTALLATION INSTRUCTIONS - FREESTANDING GAS RANGE
5.6 CAPACITY
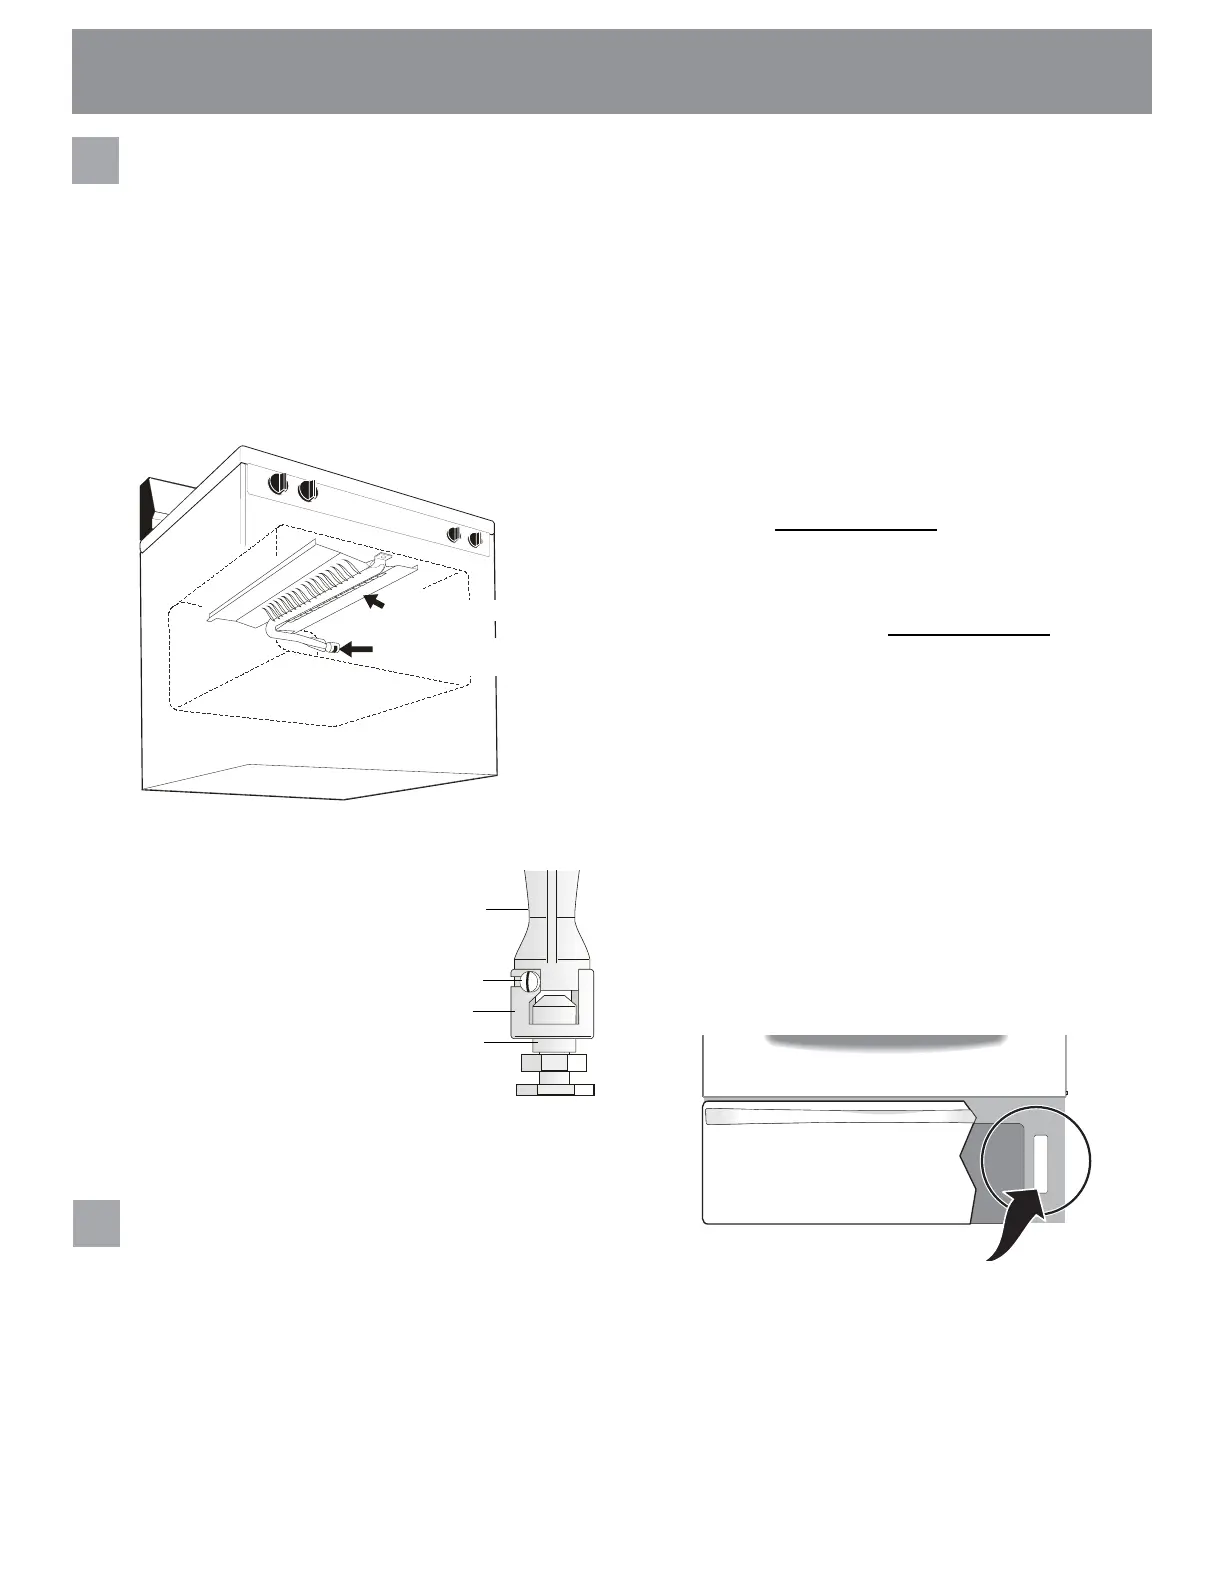
Make sure range is level.
Leveltherangebyplacingalevelhorizontallyonanoven
rack. Check diagonally from front to back, then level the
range by either adjusting the leveling legs or by placing
shims under the corners of the range as needed.
Note: After installation is complete, make sure all controls
are left in the off position.
To adjust lower oven air
shutter loosen lock screw
(SeeFig.20),reposition
air shutter, and tighten
lockscrew.Whennished
adjusting replace burner
bafeandovenbottom
panel.
Air shutter
Lockscrew
Oven burner
Oricehood
Fig. 20 - typical oven
burner air shutter
10
Adjust air shutter - upper oven.
(somemodels).
Theapproximateamelengthoftheupper(broil)burner
shouldbe1inchhavingadistinctinner,blueame.To
determineiftheupperbroilburnerameisproper,setthe
oven to Broil.Iftheameisyellow,increaseupperoven
airshutteropeningsize.Iftheameisadistinctblue,
reducetheairshutteropeningsize.
Toadjusttheupperairshutterloosenlockscrew(SeeFig.
20),repositionairshutter,andtightenlockscrew.
Fig. 21
Fig. 19 - oven burner locations
Upper oven burner
Upper oven burner
air shutter
Fig. 19 - oven burner locations
Upper oven burner
Upper oven burner
air shutter
Care,cleaningandmaintenance
RefertotheUser’smanualfordetailedcleaning
instructions. If removing the range is necessary for
cleaning or maintenance, shut off gas supply. Disconnect
the gas and electrical supply. If the gas or electrical supply
is inaccessible, lift the range slightly at the front and pull
out away from the wall. Pull out only as far as necessary to
disconnect the gas and electrical supply. Finish removing
therangeforservicingandcleaning.Reinstallinreverse
order making sure to level the range and check gas
connectionsforleaks.Besuretoreadandfollowstep1for
properAnti-tipinstallation.
Before you call for service
Readthe“BeforeYouCall”andoperatinginstruction
sections in your Use & Care Guide. It may save you time
andexpense.Thelistincludescommonoccurrencesthat
are not the result of defective workmanship or materials in
this appliance.
RefertothewarrantyinyourUse & Care Guide for our
toll-free service number and address. Please call or write
ifyouhaveinquiriesaboutyourrangeproductand/orneed
to order parts.
Model and serial number location
Theidenticationplateislocatedontheright-handsurface
of the oven front frame. To access this plate, open the
storagedrawer(somemodels),warmerdrawer(some
models)orbroilerdrawer(somemodels)(SeeFig.21).
Whenorderingpartsforormakinginquiresaboutyour
range, always be sure to include the model and serial
numbersandalotnumberorletterfromtheidentication
plateonyourrange.Youridenticationplatealsotellsyou
the rating of the burners, the type of fuel and the pressure
the range was adjusted for when it left the factory.
11