Installation Instructions (continued)
I
......................- I
I
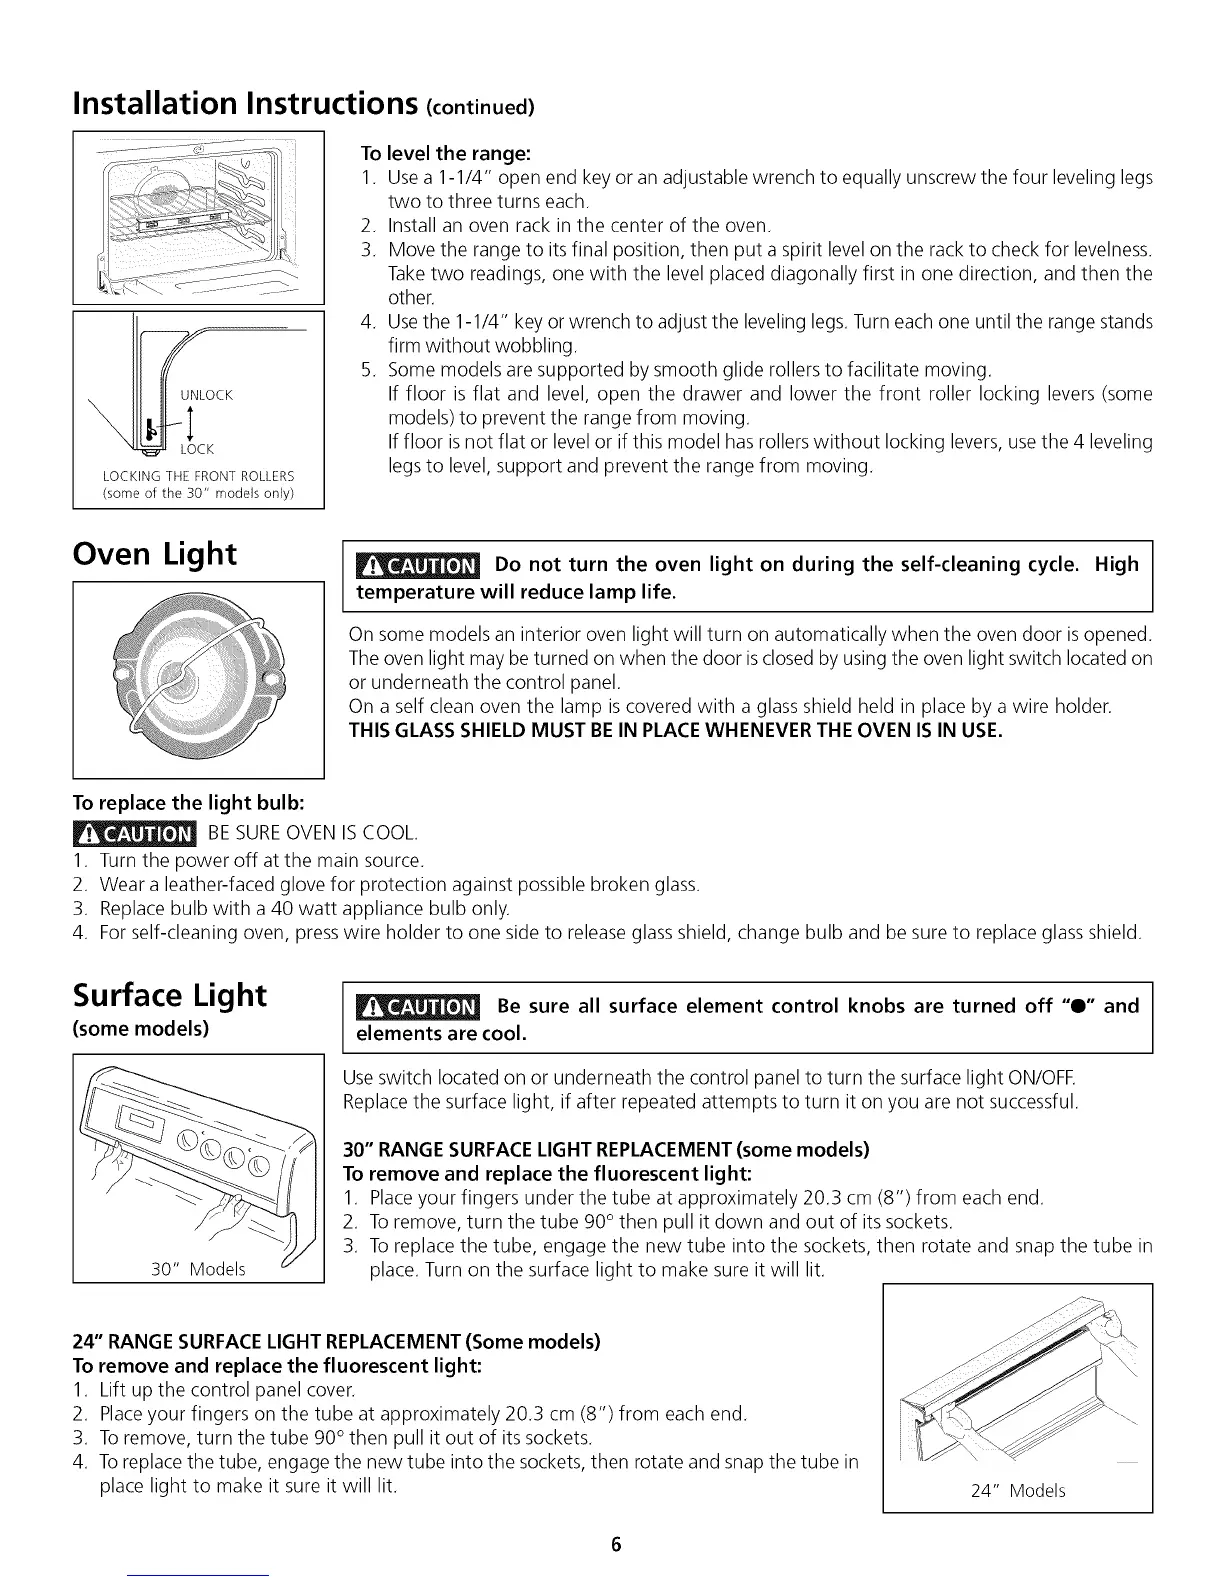
OCK
K
LOCKING THE FRONT ROLLERS
(some of the 30" models only)
To level the range:
1. Usea 1-1/4" open end key or an adjustable wrench to equally unscrew the four leveling legs
two to three turns each.
2. Install an oven rack in the center of the oven.
3. Move the range to its final position, then put a spirit level on the rack to check for levelness.
Take two readings, one with the level placed diagonally first in one direction, and then the
other.
4. Usethe 1-1/4" key or wrench to adjust the leveling legs. Turn each one until the range stands
firm without wobbling.
5. Some models are supported by smooth glide rollers to facilitate moving.
If floor is flat and level, open the drawer and lower the front roller locking levers (some
models) to prevent the range from moving.
If floor isnot flat or level or if this model has rollers without locking levers, use the 4 leveling
legsto level, support and prevent the range from moving.
Oven Light
Do not turn the oven light on during the self-cleaning cycle. High
temperature will reduce lamp life.
On some models an interior oven light will turn on automatically when the oven door is opened.
The oven light may be turned on when the door isclosed by using the oven light switch located on
or underneath the control panel.
On a self clean oven the lamp is covered with a glass shield held in place by a wire holder.
THIS GLASS SHIELD MUST BE IN PLACEWHENEVER THE OVEN ISIN USE.
To replace the light bulb:
BE SUREOVEN ISCOOL.
1. Turn the power off at the main source.
2. Wear a leather-faced glove for protection against possible broken glass.
3. Replace bulb with a 40 watt appliance bulb only.
4. For self-cleaning oven, presswire holder to one side to release glass shield, change bulb and be sure to replace glass shield.
Surface Light
(some models)
30" Models
Be sure all surface element control knobs are turned off "0" and
elements are cool.
Use switch located on or underneath the control panel to turn the surface light ON/OFE
Replacethe surface light, if after repeated attempts to turn it on you are not successful.
30" RANGE SURFACELIGHT REPLACEMENT (some models)
To remove and replace the fluorescent light:
1. Placeyour fingers under the tube at approximately 20.3 cm (8") from each end.
2. To remove, turn the tube 90° then pull it down and out of its sockets.
3. To replace the tube, engage the new tube into the sockets, then rotate and snap the tube in
place. Turn on the surface light to make sure it will lit.
24" RANGE SURFACELIGHT REPLACEMENT(Some models)
To remove and replace the fluorescent light:
1. Lift up the control panel cover.
2. Placeyour fingers on the tube at approximately 20.3 cm (8") from each end.
3. To remove, turn the tube 90° then pull it out of its sockets.
4. Toreplace the tube, engage the new tube into the sockets, then rotate and snap the tube in
place light to make it sure it will lit.
24" Models