G. Changing Components or Adding Accessories
There are many components and accessories available to enhance the comfort,
performance and appearance of your bike. However, if you change components or
add accessories you do so at your own risk. We may not have tested that component
or accessory for compatibility, reliability or safety on your bike. Before installing any
component or accessory, including a dierent size tyre, make sure it is compatible
with your bike by checking with your stockist. Be sure to read, understand and follow
the instructions that accompany the products you purchase for your bike. See also
Appendix A, and B,
WARNING : Failure to conrm compatibility, properly install, operate and maintain
any component or accessory can result in serious injury or death.
WARNING : Changing the components on your bike with other than genuine
replacement parts may compromise the safety of your bicycle and may void the
warranty. For example, replacement forks must have the same rake and steerer
tube inner diameter as those originally tted with the bicycle. Check with your
stockist before changing the components on your bike.
NOTE: Correct t is an essential element of cycling safety, performance and
comfort. Making the adjustments to your bike which result in correct t for your
body and riding conditions requires experience, skill and special tools.
Always ask your stockist to make the adjustments or, if you have the experience,
skill and tools, ask your stockist to check your work before riding.
WARNING : Make sure that the seat position is adjustable so that the feet of
a seated rider can touch the ground. This warning is particularly important for
children. If your bike does not t properly you may lose control and fall. If your new
bike doesn’t t, ask your stockist to exchange it before you ride it.
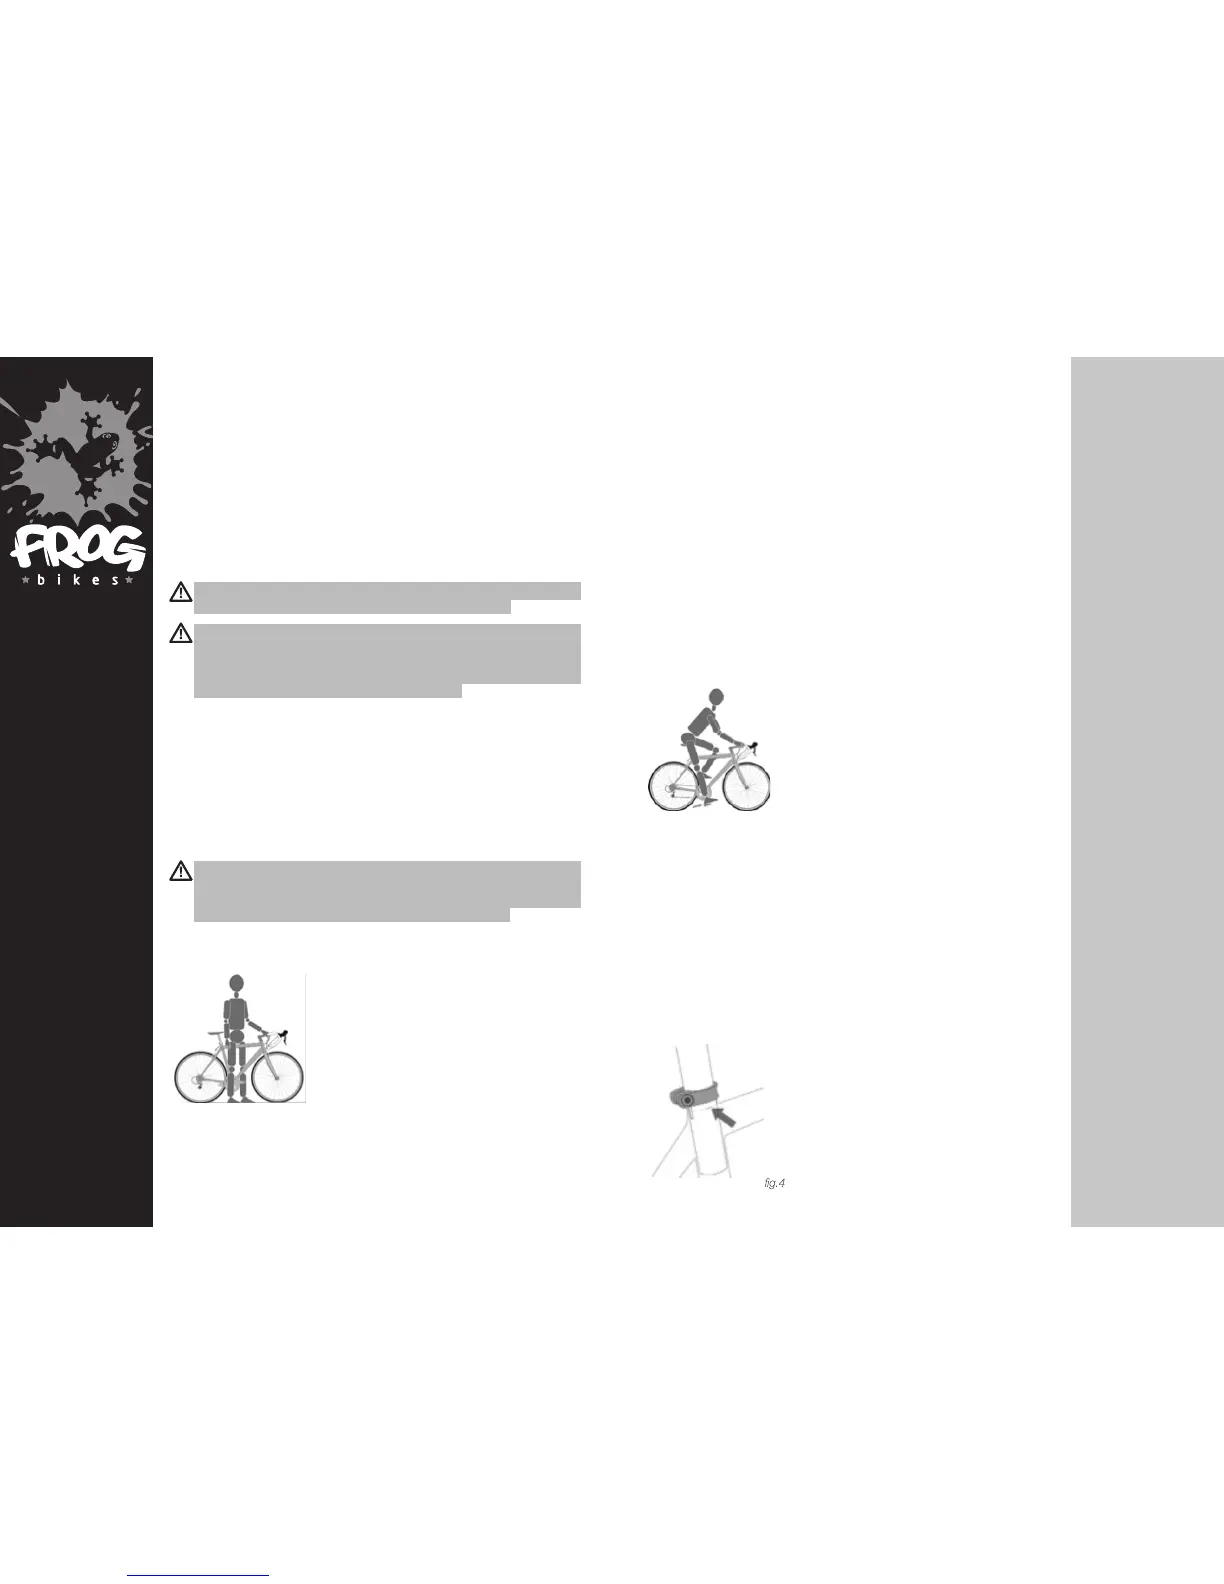
A. Standover Height
1. Diamond frame bikes
g.2
Standover height is the basic element of bike t (see
above). It is the distance from the ground to the top
of the bike’s frame at that point where your crotch is
when straddling the bike.
To check for correct standover height, straddle the bike while wearing the kind of
shoes in which you’ll be riding, and bounce on your heels. If your crotch touches
the frame, the bike is too big for you. A bike which you ride on roads and don’t take
o-road should give you a minimum standover height clearance of two inches (5
cm). A bike you’ll ride on unpaved surfaces should give you a minimum of three
inches (7.5 cm) of standover height clearance. A bike you’ll use o road should
give you four inches (10 cm) or more of clearance.
2. Step-through frame bikes
Standover height does not apply to bikes with step-through frames. Instead, the
limiting dimension is determined by saddle height range. You must be able to
adjust your saddle position as described in B without exceeding the limits set by
the height of the top of the seat tube and the ”Minimum Insertion” or “Maximum
Extension” mark on the seat post.
B. Saddle Position
Correct saddle adjustment is an important factor in
getting the most performance and comfort from your
bike. If the saddle position is not comfortable for you,
see your stockist. The saddle can be adjusted in three
directions:
1. Up and down adjustment. To check for correct
saddle height (g. 3):
• sit on the saddle;
• place one heel on a pedal;
• rotate the crank until the pedal with your heel on
it is in the down position and the crank arm is
parallel to the seat tube.
If your leg is not completely straight, your saddle height needs to be adjusted. If you
need to rock your hips for the heel to reach the pedal, the saddle is too high. If your
leg is bent at the knee with your heel on the pedal, the saddle is too low.
Ask your stockist to set the saddle for your optimal riding position and to show
you how to make this adjustment. If you choose to make your own saddle height
adjustment :
• loosen the seat post clamp
• raise or lower the seat post in the seat tube
• make sure the saddle is straight
• re-tighten the seat post clamp to the recommended torque (see Appendix D).
Once the saddle is at the correct height, make sure that the seat post does not
project from the frame beyond its “Minimum Insertion” or “Maximum Extension” mark
(g. 4).
2/ SAFETY
3/ FIT