09/2018 1/7
Datum: 19.09.2018
Zeichen:
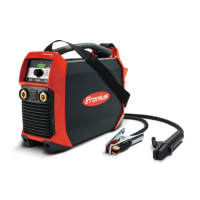
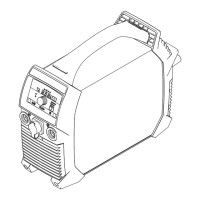
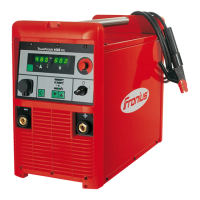
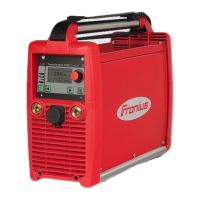
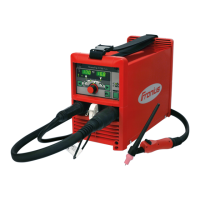
Update procedure TransPocket 150/180 + PN´s
TransPocket 150/EF (4,075,210), TransPocket 150/np (4,075,210,008), TransPocket 150 RC/EF (4,075,211),
TransPocket 150 TIG/EF (4,075,212), Transpocket 150/CH (4,075,210,003), TransPocket 150/G
(4,075,210,002), TransPocket 180/EF (4,075,213), TransPocket 180/np (4,075,213,008), TransPocket 180
MV/np (4,075,213,638), TransPocket 180/CH (4,075,213,003), TransPocket 180 MV/G (4,075,213,632),
TransPocket 180 RC/EF (4,075,214), TransPocket 180 TIG/EF (4,075,215), TransPocket 180 TIG/MV/B
(4,075,215,631), TransPocket 180 TIG/MV/np (4,075,215,638)
1) You have to open the control board, unscrew this 2 screw to open
it.
Screwdriver Torx - T25 VDE (42,0435,0041)
2) On the inside of the control board you can see the port for the
USB 2.0 Micro B cable
3) Connect the USB 2.0 Micro B cable with the control board







 Loading...