Setup menu - Level 2
General The following functions are located in a second menu level:
- PPU (push-pull unit)
- C-C (cooling unit cut-out)
- Stc (wire-stick - only where there is a
robot interface)
- Ito (ignition time-out)
- Arc (arc break watchdog)
- S4t (gun trigger option)
- Gun (option for changing between
modes with the JobMaster welding
torch)
- r (welding circuit resistance measure-
ment)
- L (welding circuit inductivity display)
- Eln (characteristic selection - not on
standard control panel)
- ASt (Anti-stick - not on standard con-
trol panel)
- COr (gas correction for digital gas
control option)
- EnE (Real Energy Input)
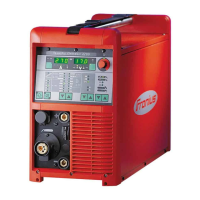
Setup menu
level 2 for the
Standard control
panel
Changing to the second menu level (2nd)
1
Access the Setup menu for the Standard control panel
2
Select "2nd" welding parameter
3
Press and hold the Store button
4
Press the Mode button
5
Release the Store button
The power source is now in the second menu level (2nd) of the Setup menu. The
function “PPU” (push-pull unit) is displayed.
Selecting the function
6
Use the Material button to select the desired function
7
Make the settings for this function with the Mode button
Exiting from the second menu level (2nd)
8
Press the Store button
The power source is now in the Setup menu for the Standard control panel.
9
To exit from the Setup menu for the Standard control panel
press the Store button again
152
Toowoomba Welding Supplies : tweld.com.au : Ph +61 7 4659 0044