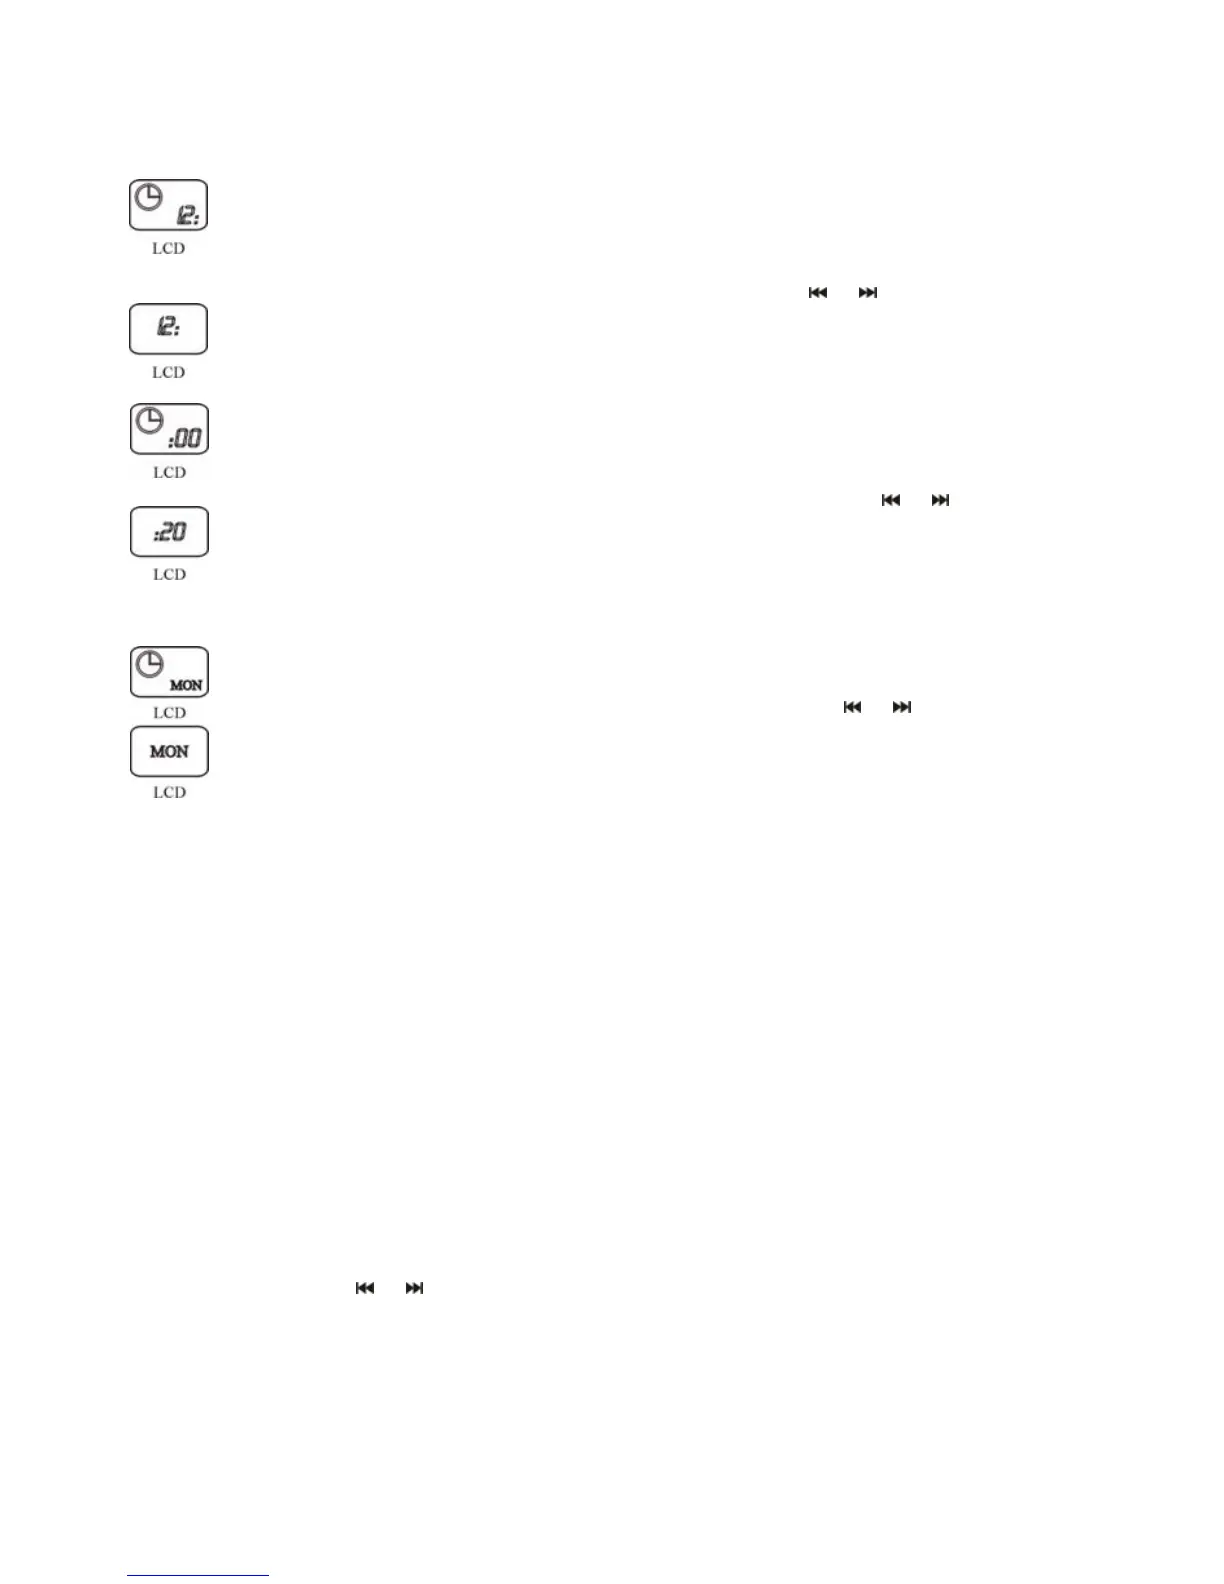
10. Setting The Time & Clock Settings
1. Touch SET button on the touch screen of the unit or press the ALARM
SET button on the remote control, until the CLOCK icon and the hour
figures in the LCD to enter CLOCK setting mode.
2. Touch +/- on the touch screen of the unit or press
/ button on remote
control to adjust the hour figures.
3. Touch SET button on the touch screen of the unit or press ENTER button
on the remote control to confirm the hour figures, then the unit will enter the
minute setting, and the minute figures flicker.
4. Touch +/- on the touch screen of the unit or press the
/ on remote
control to adjust the minute figures.
5. Touch SET button on the touch screen of the unit or press ENTER button
on remote control to confirm the minute figures, then the unit will enter into
week day setting and the week day icons will flicker.
6. Touch +/- button on the touch screen of or press the
/ on the remote
control to adjust the week day.
7. Touch SET button on the touch screen of the unit or press ENTER button
on the remote control to confirm the week day setting, then the whole
CLOCK setting will be finished.
During the operation, if the operation interval exceeds 8 seconds, the
adjustment will be cancelled automatically.
Clock Setting:
12/24hour format switching setting
Press the ALARM SET button on the remote control for at least 2 seconds or
longer to enter 12/24 hour format setting, and then the 12 and 24 hour format
icons will flicker.
Press the
/ on remote control to choose 12 or 24 format and then press
the ENTER on the remote control to confirm.
17