ASSEMBLY & SET UP
Assembly & Set Up 15
• Installing PTO Shaft Shields and
Manual Holder
Note: There
are two PTO
shaft shields
to install.
(Ref #17)
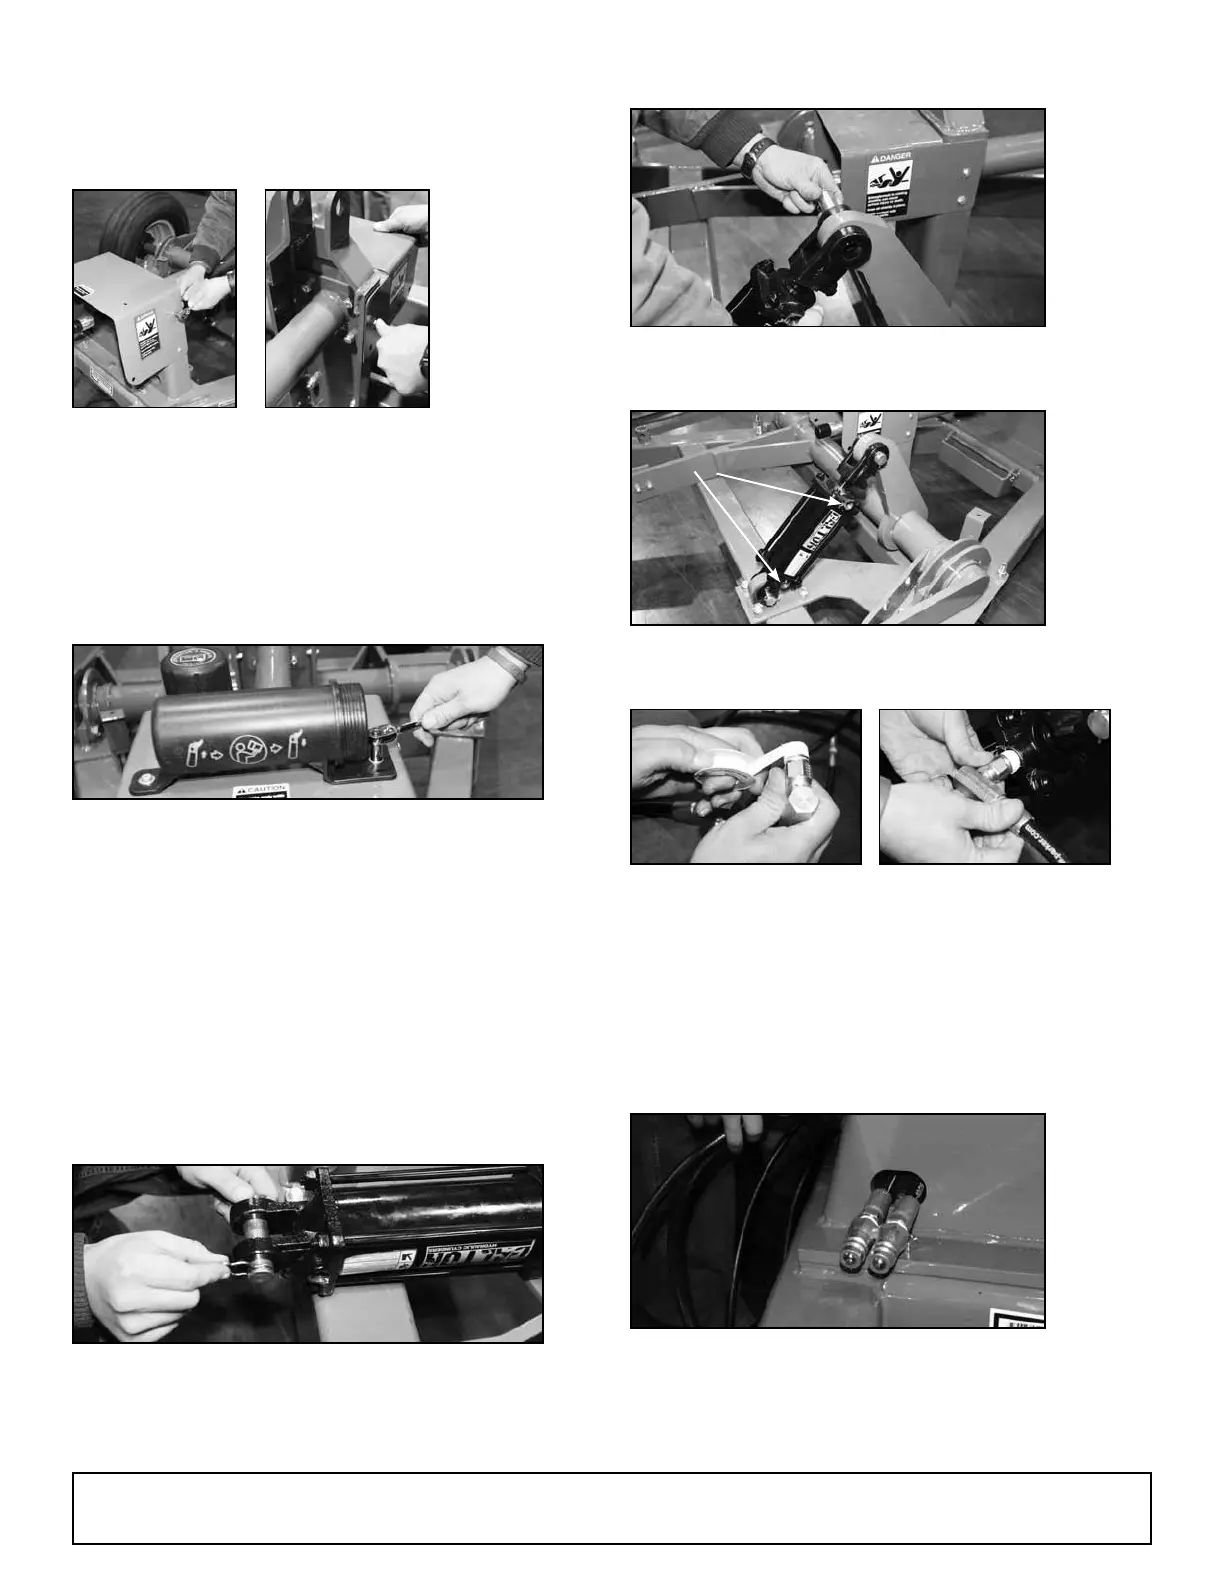
16. Install the smaller PTO guard on the rear
bearing tower and the larger on the front
bearing tower using four (4) 1/4” x 1” hex
bolts, eight (8) 1/4” at washers, four (4) 1/4”
lock washers, and four (4) 1/4” hex nuts from
hardware box. (Ref #8) Use a 7/16” wrench to
secure all nuts and bolts.
17. Install manual holder on front PTO shield
using 1/4” x 1” bolts and nuts. (Ref #3)
Note: Manual Holder contains manual and a red
reector for installation on the rear of disc
mower, IF the mower obscures the view of the
red reector on the back, right-hand side of the
caddy cart. Install this red reector on the back
of the disc mower as close to the right-hand
outermost portion as practical.
• Installing Hydraulic Cylinder Assembly
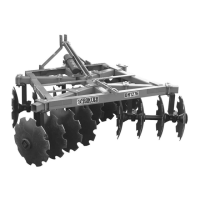
18. Remove pin clips from hydraulic cylinder
pins and remove pins on both ends of
cylinder. (Ref #12)
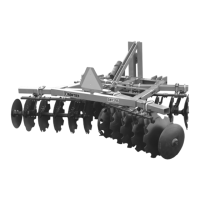
19. Install hydraulic cylinder to frame and
crossbar lift assembly.
Note: Be sure that hose hookup ports on
hydraulic cylinder face outside of caddy.
Port
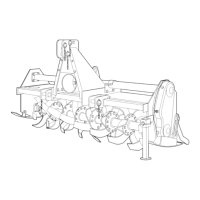
20. Install two hydraulic hoses with elbows to the
hydraulic cylinder. Be sure to use Teon tape
or pipe compound on these ttings. (Ref #15)
Note: The third hydraulic hose with straight
connector in the hardware box is extension
hose that will be used later on the disc mower
cylinder. (Ref #16)
21. Thread hydraulic lines through hole in base of
front bearing mount tower.
(continued on next page)