16 Assembly & Set Up
ASSEMBLY & SET UP
(continued from previous page)
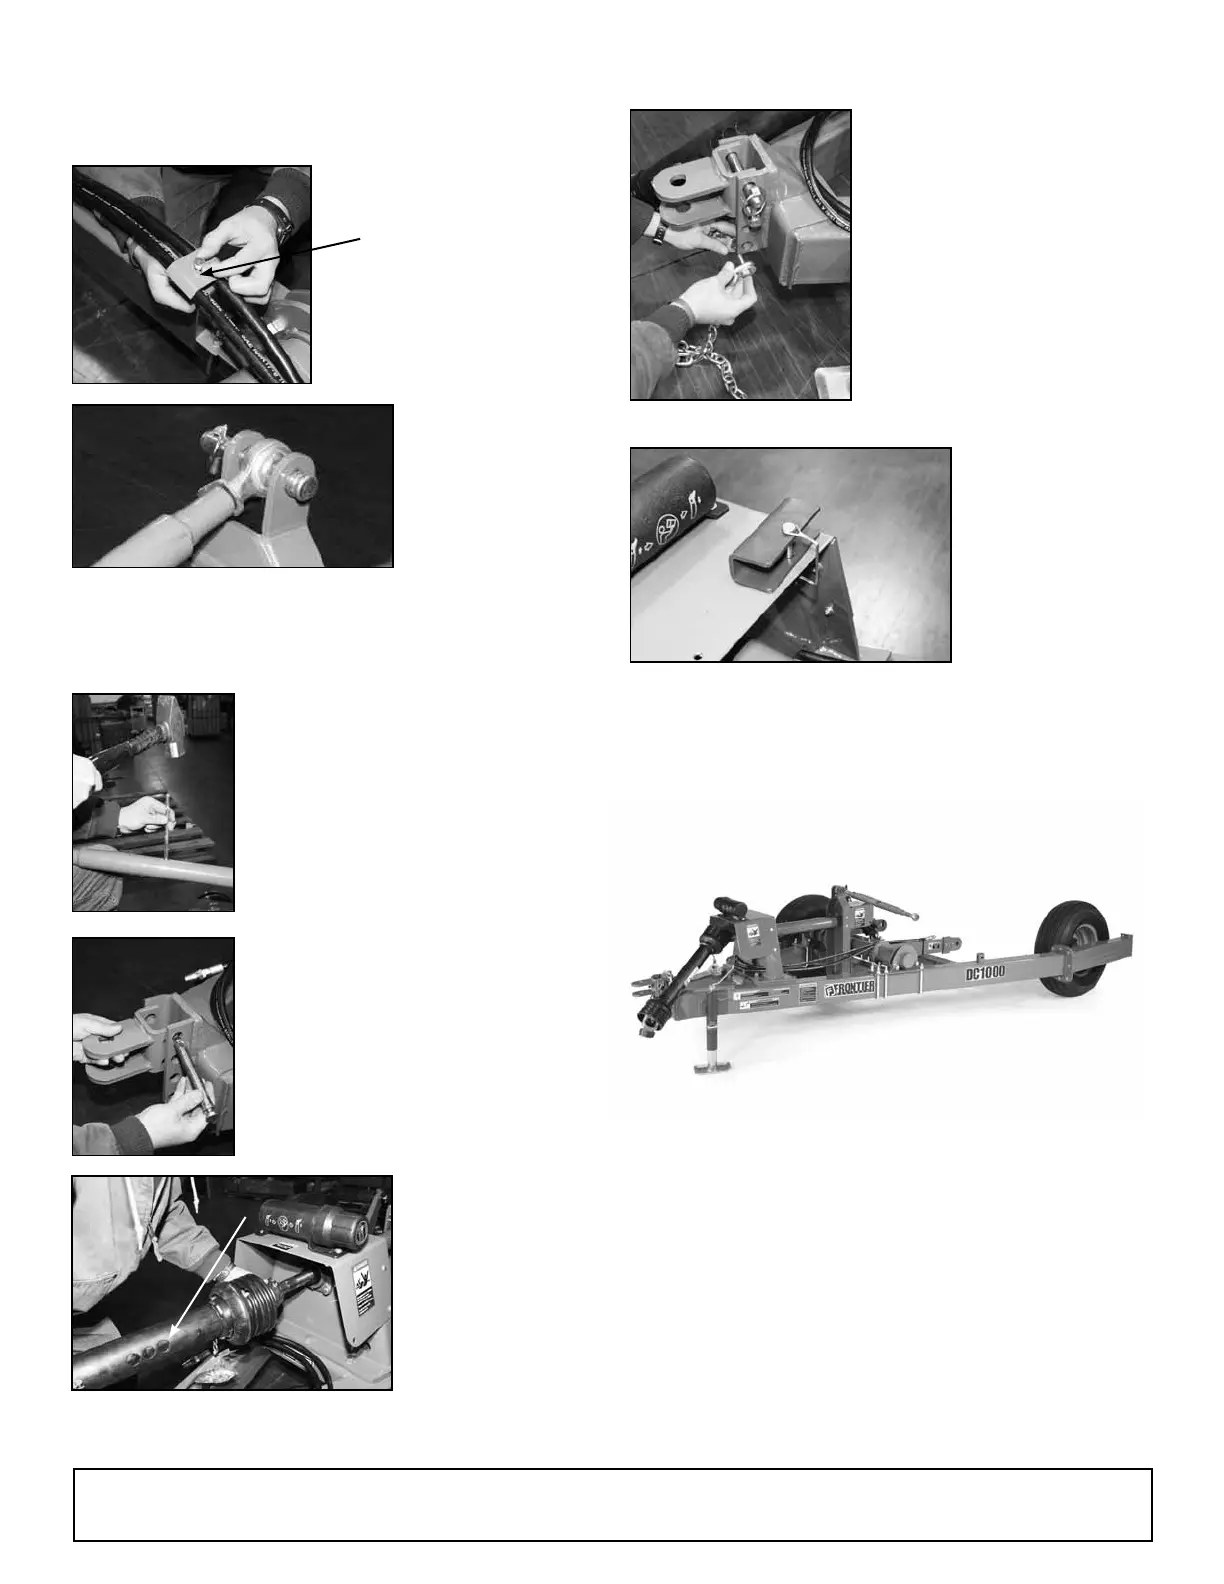
22. Place hydraulic
lines into
hydraulic hose
clamp and
tighten.
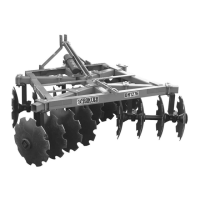
23. Using Category 2 pin, install top link
adjustment arm on top of rear bearing
mount tower. (Ref #5)
24. Install top link adjustment
handle (Ref #9) into shaft
body on top link. Line
the handle up directly
over hole in top link. Use
hammer to drive handle
through top link.
26. Install PTO shaft on front bearing
mount tower.
PTO Shaft
25. Using two pins and clevis
tongue, install tongue
assembly on front of
A-frame. (Ref #4 & Ref
#10)
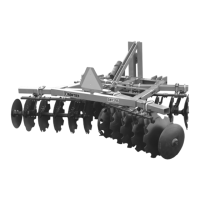
27. Install safety chain on
tongue in bottom hole
of hitch. If tractor hitch
height requires hitch to
be in bottom hole, attach
safety chain to top hole.
(Ref #11)
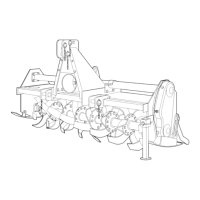
28. Remove red Hydraulic Cylinder Safety Stop with
Locking Pin and install through hole on rear of
PTO shield. (Ref #14)
29. Your caddy is now ready for your disc
mower.