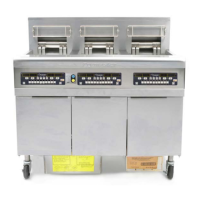
3-2
ACCESSING THE PILOT
In full-vat units, the pilot is mounted on the left side of the burner manifold and is accessed
through an opening in the front frypot insulation. In dual-vat units, there is a pilot on both the
left and the right halves of the burner manifold.
LIGHTING THE PILOT ON FRYERS WITH STANDARD HONEYWELL GAS VALVES
1. Ensure power to the unit is OFF, then turn the gas valve knob to the OFF position. Wait at
least 5 minutes, then rotate the gas valve knob to the PILOT position (see Figure 1).
Lighting the Pilot
OFF
ON
PILOT
OFF
ON
PILOT
Figure 1 Figure 2
2. While depressing the gas valve, push the ignitor knob in until the pilot lights. Continue to
hold the knob in for about 60 seconds after the flame appears on the pilot. Release the knob.
The pilot should remain lit.
CAUTION
If the pilot fails to remain lit, turn the gas valve knob to the OFF position and wait at least
five minutes before attempting to re-light.
3. With the pilot lit, push down and slowly turn the knob to the ON position (see Figure 2
above). Once the pilot has been lit, the burner will automatically light whenever the
thermostat is set above its lowest setting or the controller calls for heat.
LIGHTING THE PILOT ON FRYERS EQUIPPED WITH CE-APPROVED GAS VALVES
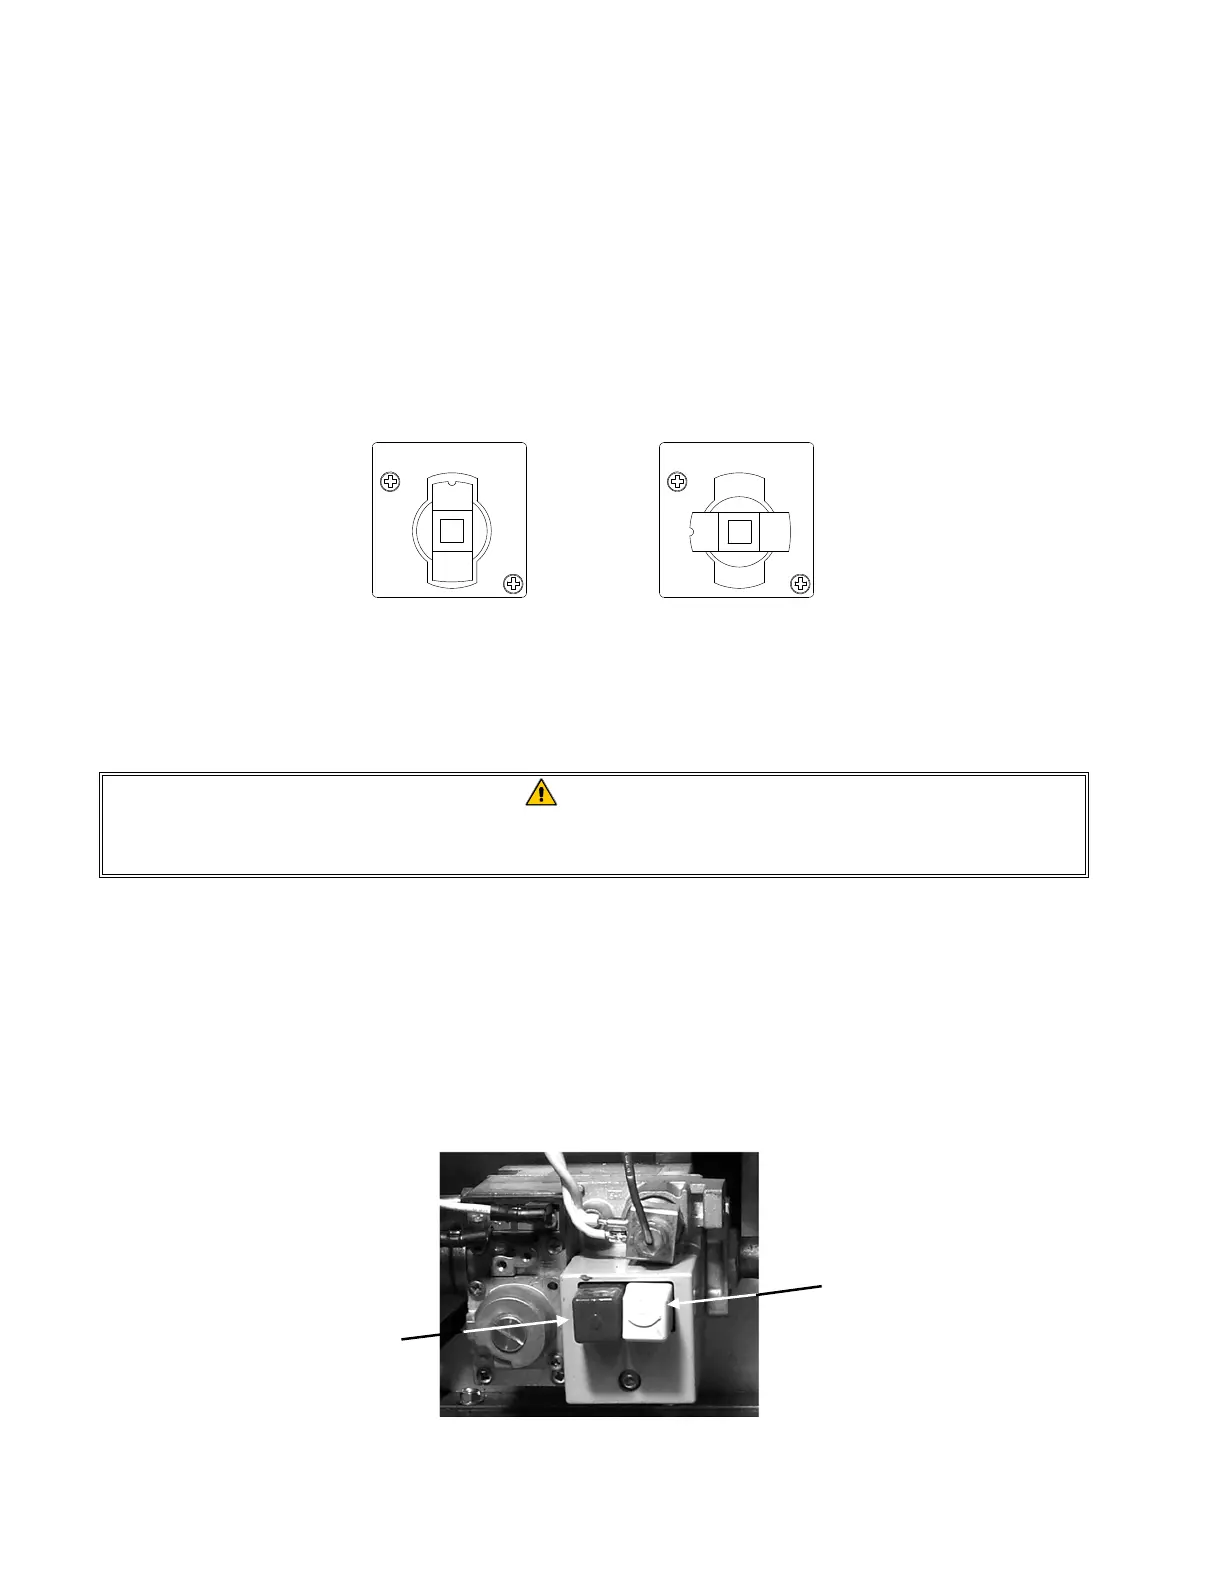
1. Ensure power to the unit is OFF, then press the OFF (red) button on the gas valve (see photo
below). Wait at least 5 minutes.
PILOT Button
OFF Button